Thursday, April 25, 2024

Magical Memories - Striped background

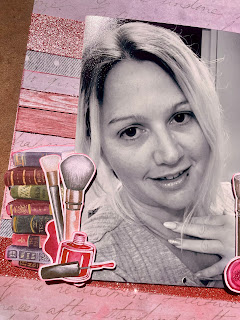
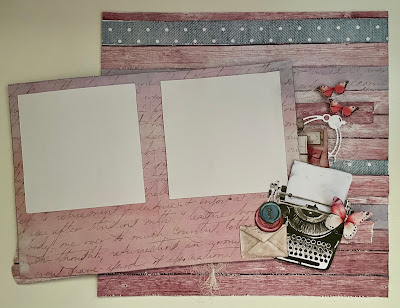
 Recently I was reminded about a couple of layouts that I have previously made and love using the one pp stripe technique. 
This is something I came up with on my own, but am aware there are many others with similar styles over the years. 

I actually made the layouts in the below screenshot as a "how to scraplift" demo on another one of my own layouts from 2020.. 
I ahve included this screenshot especially as it has the top comment from my biggest supporter, my Aunty Di.. She passed 12 months ago and it has been an extremely hard creative time for me. However I'm back at the craft desk, knowing that she would be saying "Toni Pud, you need to get back into it!" and encouraging me along the way as she always was. 


Anyway, as almost a little tribute to the layouts that I have already shared above, I wanted to creative something simple as a throw back but also with it's own little spin. 
So I made this with an tiny interactive element, by flipping open the photo to showcase more inside. 


You will need two of the #2 pattern papers for this project and about half of the #3 paper as well. 

Magical Memories #2 - Fussy Cut all design pieces. 
Magical Memories #2 - Cut along all of the weather board strips 
Magical Memories #3 - cut 4x 1" strips for additional highlights on the background. 

The only embellishment clusters I used were from the fussy cut pieces. 
However I did add a little gauze for the soft white texture element and a circle bubble die-cut piece that helps to make it feel right with the sizing and spacing of the clusters on either side of the photo mat.


There is a step by step video being edited right now for this layout, so please look back for that when released. (to be shared on Youtube, Facebook and here on Blogger) 


Let me know what you think! 
Thanks for your time, Happy Scrapping.. 

Magical Memories - Wanderlust

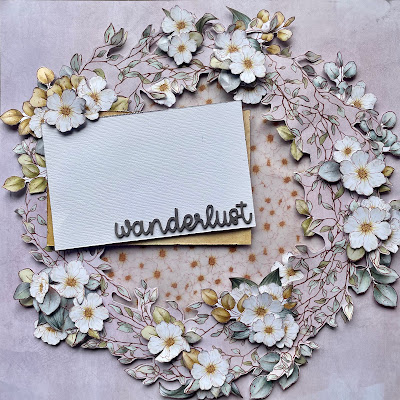
Welcome back.. Today I'm going to share with you one of those layout when imagined up you know it's going to be truly spectacular but only if you can get it all done correctly and pieced just perfectly.. 

Then when it's all coming together and finally finished, it absolutely blows you away cause just some small seeds of doubt started to creep in the back while it was taking 2hours to fussy cut.. lol 


 Wanderlust


Yep, this layout took a bit longer than what I normally create. However it was all time relevant with the fussy cutting. Honestly, once the fussy cutting was done, it only took about 30min to piece all the rest of of it together. 

Fussy cut from;
#4 - wreath
#6 - leaves
Flower essentials sheet

I started off with the pattern paper  #4 base, then cut a second piece of the same for the wreath. 

I torn some of the Vellum floral pattern and stuck that down to the inside of the wreath on the base page. The fussy cut wreath was then foam taped for the 3D element. 

Do not stick down any flowers or leaves though until the photo mat position and size has been confirmed. Then go to town with those random clusters. 

This layout can be done by any level crafter with the confidence and patience to fussy cut. Without that, you are most welcome to add packet flowers or Scrapbook Fantasies ready made Colour Cuts instead for the same feel and design. 


Let me know what you think! 
Thanks for your time, Happy Scrapping.. 

Magical Memories - Colour Cuts

 Yes, yes.. We all know I'm not a fussy cutter!!

Although I somehow end of Fussy Cutting! lol.. 

I then tend to complain ALOT and make sure everyone knows just how worth the time and effort really was for the overall project. 

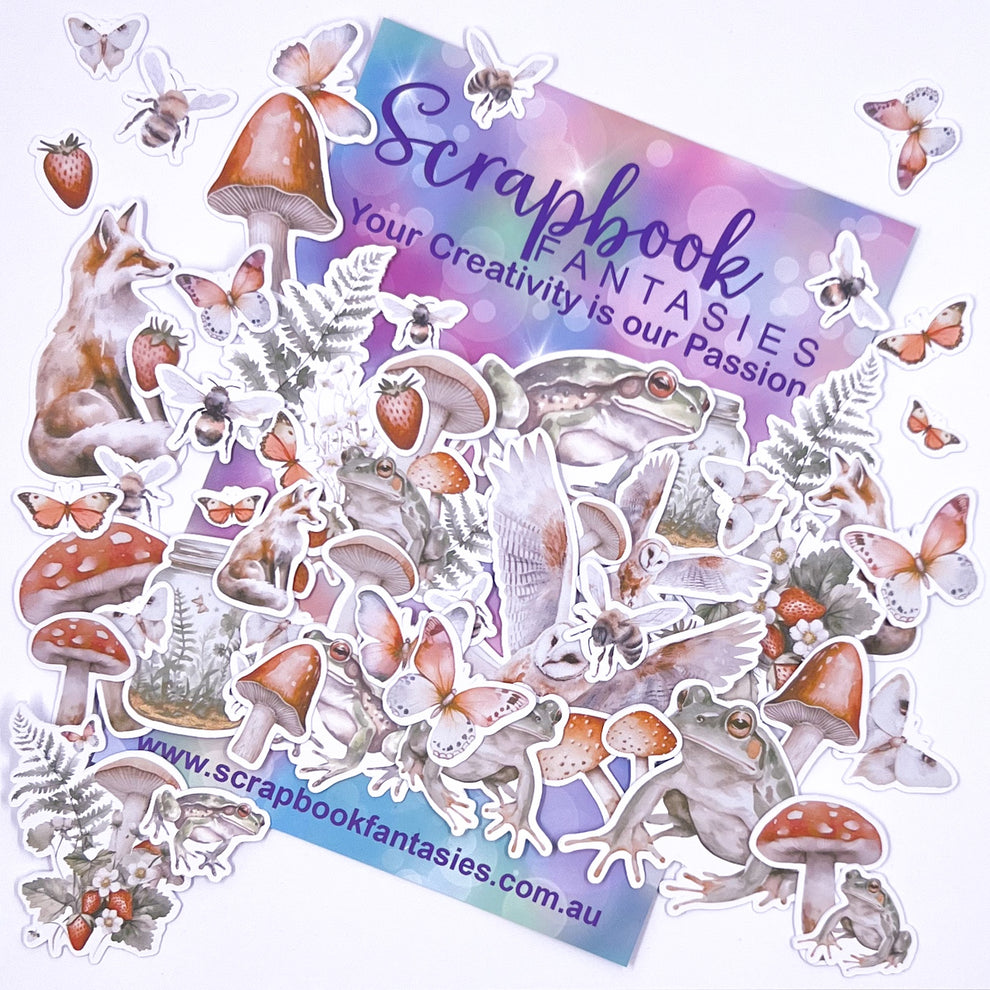
Well, how lucky is this.. Scrapbook Fantasies actually make colour-cuts for all of their collections. 

Yes, there are the traditional Fussy Cut essential sheets for those that love to snip-snip.. But then there are these little pre packaged beauties for us that just aren't as keen with the scissors. 


All of these and more!!


Magical Memories - Adventurous

As one of my first steps when receiving a promo pack, is to look around at some of my favourite challenge blogs to see what I can mix together to gain some interest and exposure from places or crafters that it may not have otherwise been known. 

So this months Archi-scraps challenge of "Use Bricks" fit with the pattern paper so perfectly I know it was the first layout I wanted to put together with this Magical Memories collection. 


Although the inspiration used on the Archi-Scraps blog is of a beautiful old classical Court house red brick building from Victoria, I changed it up to use this fun teal brick colour that the collection is based on. 
I did keep the red brick under tones though by having the Kraft cardstock base and spraying it heavily with the white mist. 
I added extra brick elements with a white paint pen and black fine line marker using a stencil too. 


The process photos above show each step one by one. A simple designed layout that any level scrapper can do and add to as well. 
 
Below are the minimal embellishments I added. I wanted to keep it design focused instead of clusters covering the layout. 

I started this with using foam tape under the book style large piece in the middle, however sewing down the middle for that solid 3D effect.  

pattern paper - Magical Memories #1

The added the photos mats, which were gutted from the base kraft piece. Put on 4x4" white cardstock for the photos to sit on and then stuck down the die-cut leaves. 

That fun "adventurous" chipboard title has been inked with Moonlight White Archival ink pad to flow with the white highlights and spray. 


Let me know what you think! 
Thanks for your time, Happy Scrapping.. 

Magical Memories - step 1

 Insight to my process -

As my imagination is going wild with ideas for projects as soon as I open promo packages, I have to remind myself to settle down and focus.. lol

One of the first things I tend to do is look through some of my favourite challenge blogs to see if anything with fit for the time that I have to create. This helps to get an expanded exposure for the products in a way that it may not have been able to reach otherwise. Getting the most media exposure in return for the collection as possible is the most important thing for me to show them how thankful I am for their trust in using the products.

Sometimes I use / add photos, but sometimes I don't. Remember for me, the creative process itself is what I enjoy. Once the layout is done, most of the time (whether it has a photo on it or not) I don't really care about it and probably will never look at it again.

Honestly, Scrapbooking for me isn't about the sharing or capturing of memories every single time. But it is like an art therapy for me though. The only place in time that my OCPD traits are minimised.

I love to create layouts for others! I love to be able to share what I do with other crafters for inspiration and I of course love to try out new ideas, techniques or products.

I selected all of the pieces I would require for the first 4 layouts of the audition process using the Magical Memories collection by Alicia Redshaw at Scrapbook Fantasies.


Video can be found ---- over at my FB - SCRAP CRAZY WITH TONI page

As my imagination tends to go wild, if I have an idea I need to get it down on paper as fast as I can. Whether that is with random notes with steps and products or just drawing out a sketch.

Thanks for stopping by. Definitely go check out the Scrapbook Fantasies website for more information on  their Magical Memories collection. 


Happy Mail - Scrapbooking Fantasies - Magical Memories

A few weeks ago I was lucky enough to be selected to participate in an audition process with Scrapbook Fantasies to trial for their Creative team. 

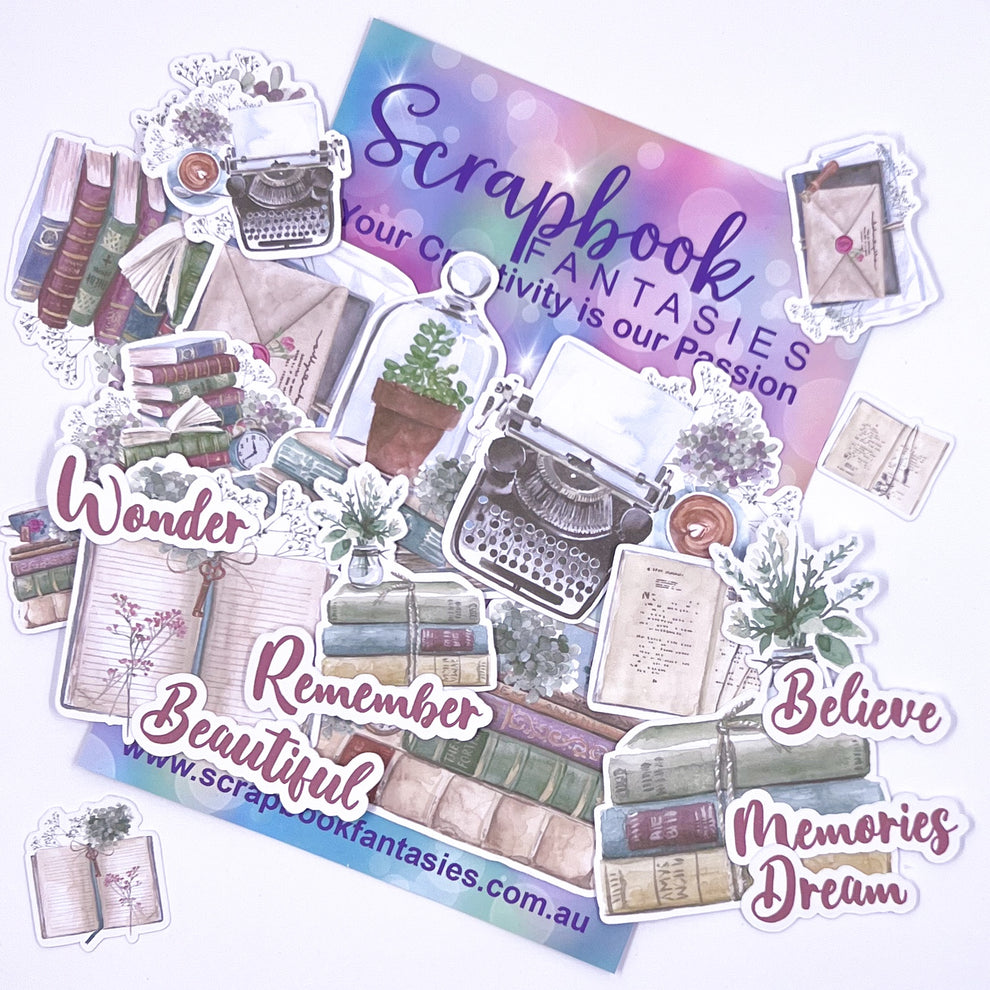
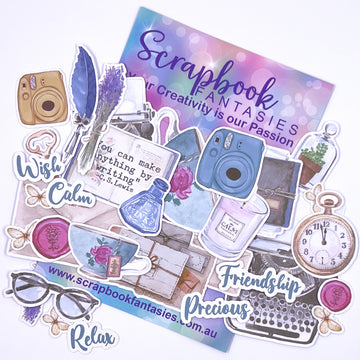
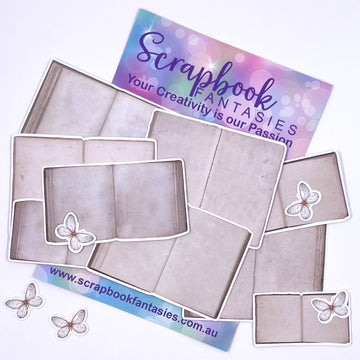
The package they sent me was beautiful and full of so many goodies.  

WATCH THE VIDEO BELOW


Between work, sports and speedway I have managed to put a few layouts and projects together. 

So definitely check back for when they are released. 


Let me know what you think! 
Thanks for your time, Happy Scrapping.. 

Wednesday, April 17, 2024

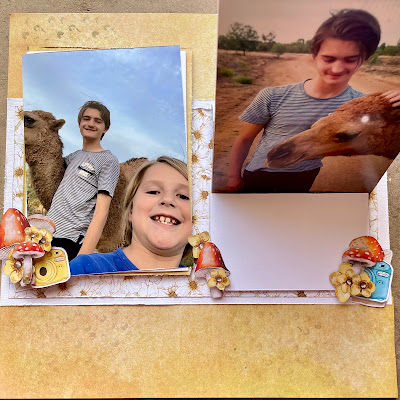
Circle & Stars layout

Another challenge layout from the White With One cyber crop over the weekend.
Challenge 1 - use one colour plus two shapes.
So I chose an “Altantic” blue with Circles & Stars.


I can not believe the inspiration that smacked me in the face when I found a 10yr old packet of Heidi Swapp stars in my stash..
Then adding a fun blue & silver star pattern paper from Kaisercraft set this up perfectly.
I used Silver as the additional element to tie it all together (bit like how we normally use Black or White)…

Adding in the stencil circles on the base, punched out different size half circles on the blue pp and then diecut both white & silver circle bubble clusters for more flat dimensional texture. A very quick & easy layout that was actually quite a pleasure to put together and it flowed so well. Yay!  


Let me know what you think! 
Thanks for your time, Happy Scrapping..