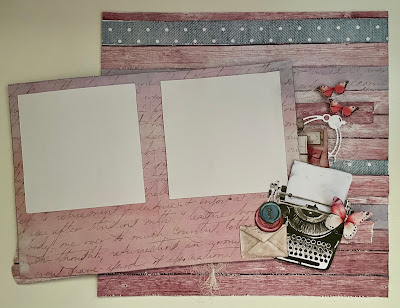
Recently I was reminded about a couple of layouts that I have previously made and love using the one pp stripe technique.
This is something I came up with on my own, but am aware there are many others with similar styles over the years.
I actually made the layouts in the below screenshot as a "how to scraplift" demo on another one of my own layouts from 2020..
I ahve included this screenshot especially as it has the top comment from my biggest supporter, my Aunty Di.. She passed 12 months ago and it has been an extremely hard creative time for me. However I'm back at the craft desk, knowing that she would be saying "Toni Pud, you need to get back into it!" and encouraging me along the way as she always was.
Anyway, as almost a little tribute to the layouts that I have already shared above, I wanted to creative something simple as a throw back but also with it's own little spin.
So I made this with an tiny interactive element, by flipping open the photo to showcase more inside.
So I made this with an tiny interactive element, by flipping open the photo to showcase more inside.
You will need two of the #2 pattern papers for this project and about half of the #3 paper as well.
Magical Memories #2 - Fussy Cut all design pieces.
Magical Memories #2 - Cut along all of the weather board strips
Magical Memories #3 - cut 4x 1" strips for additional highlights on the background.
The only embellishment clusters I used were from the fussy cut pieces.
However I did add a little gauze for the soft white texture element and a circle bubble die-cut piece that helps to make it feel right with the sizing and spacing of the clusters on either side of the photo mat.
However I did add a little gauze for the soft white texture element and a circle bubble die-cut piece that helps to make it feel right with the sizing and spacing of the clusters on either side of the photo mat.
There is a step by step video being edited right now for this layout, so please look back for that when released. (to be shared on Youtube, Facebook and here on Blogger)
Let me know what you think!
Thanks for your time, Happy Scrapping..
Thanks for your time, Happy Scrapping..


No comments:
Post a Comment