Showing posts with label colour cuts. Show all posts

Tuesday, May 5, 2026

Blossom layout


 Scrapbook Fantasies   Creative Team. 


Blossom


This is another strips & scraps element layout. Using leftovers can help extend the use of your collections and allow for so many more projects to be made.
Blossom started off with a white cardstock base and smooshing pink ink.
Diagonal torn floral pattern paper with thinner strips placed under it for layering.
Finish it off with some photo mats and clusters and the layout is done.
This is one that can be completed in under 60min.
So if you need a fun and fast layout design that doesn’t need too much brain power, this is a perfect example!


Let me know what you think! 
Thanks for your time, Happy Scrapping.. 

Wednesday, April 8, 2026

Nautical Dreams

 catching up on updating blog posts that were not shared from my facebook page. 

This layout was made in OCTOBER 2024 as part of the DESIGN TEAM projects for the NAUTICAL DREAMS collection from  Scrapbook Fantasies .


Nautical Dreams


I'm so thankful that Alicia, Quentin and the Redshaw family saw the spark in me back in 2024 to get back into crafting. Unfortunately it fell flat pretty quickly afterwards, but I'm not back at it. April 2026.. I am trying to catch up on posting / uploading projects and working on plenty of new one's as well. 


Let me know what you think! 
Thanks for your time, Happy Scrapping.. 

Tuesday, April 30, 2024

Magical Memories - Added Easel

* SCRAPLIFT   INVITE *

A few weeks ago I was so honoured to be allowed to promote this Magical Memories collection from Scrapbook Fantasies as part of their audition process for their Creative Team. 
For me it has been the boost that I've needed to get out of the horrible hole I've been in and unable to go near my craft desk for the past year +.. 

Alicia, Quentin and the Redshaw have been friends for a long time and to feel the support from them at this tough time has been inspirational and heart warming. I hope that the support and promotion that I'm able to give now with their products is at the least a small part of paying them back for their kindness. 

So now I would like to invite the incredible members of the Scrapbook Fantasies Creative Families group to Scraplift this layout design and share with us in the facebook group. 
It's an easy and simple layout that anyone of any ability can put together using any of the exclusive collections by Alicia and Naomi-Jon.


This layout is one of many that I would love to share that has a special design technique element. 
I love putting new ideas onto layouts and showing others that it can be done with some imagination. 
I don't always get it right and quite often have to put quite a bit of thoughts into the logistics and measurements before I even begin.. Then I tend to get it wrong and have to wing it as I go along.. lol

Camel buddy

These photos capture my beautiful boys meeting and playing with a Camel calf a few years ago during our trip to the Gemfields. We were staying at a small caravan park called "Gemini", which happens to be right next to the Camel farm. 


I started off with a kraft cardstock piece as the base. You can use anything for this, as it won't be seen underneath!
Using Magical Memories # 5 - cut it in half 6"x12" with the solid tan piece, then cut in half again 3"x12". These will be adhered to the top and bottom of the base layout piece. 
Fussy cut the other side of Magical Memories # 5 for the embellishment cluster pieces. 

Grab a couple of White Cardstock pieces for highlighting and photo mating pieces. 
12"x6.5" - stick it down in the middle, making sure to go over the top of the solid tan strips. 
Cut two 5"x6" photo mats 
and one 5"x8" piece to be used for the easel. Score at 1" and 4.5"

Magical Memories 3 4 - Cut to layer on top of the middle white cardstock. 11.5"x6"

I had leftover scrap piece of solid tan from another layout that I used for the first photo mat on the left side, sandwiched with an off centre white mat and then photo on top. 

The easel 1" piece will go under the white middle layer piece. 
It will be lay over the top of the middle pattern paper layers. Fold creases. 
Add the white photo mat to the bottom section of the easel and then the photo on top too. 

Add the white journal piece and fussy cut clusters. 
To finish it off, blend on some spots using the Blotchy Spots stencil. 


Another very simple and basic layout that can be added to to create your own design. 
This is one that I've already got plans to scraplift myself again. 
If you would like to try out the idea, then please feel free to scraplift this yourself as well and share it in the Scrapbook Fantasies Creative Families facebook group. 

Magical Memories # 5
Magical Memories # 4 
Blotchy Spots Stencil

Progress video still to come! 


Let me know what you think! 
Thanks for your time, Happy Scrapping.. 


Magical Memories - LM 697

It has been amazing getting back into the crafty chair lately. 
Of course it's much easier working with a great promo pack from Scrapbook Fantasies. 
The Magical Memories collection by Alicia Redshaw is full of designs that you can honestly create so many different projects it's truly unlimited with possibilities. 


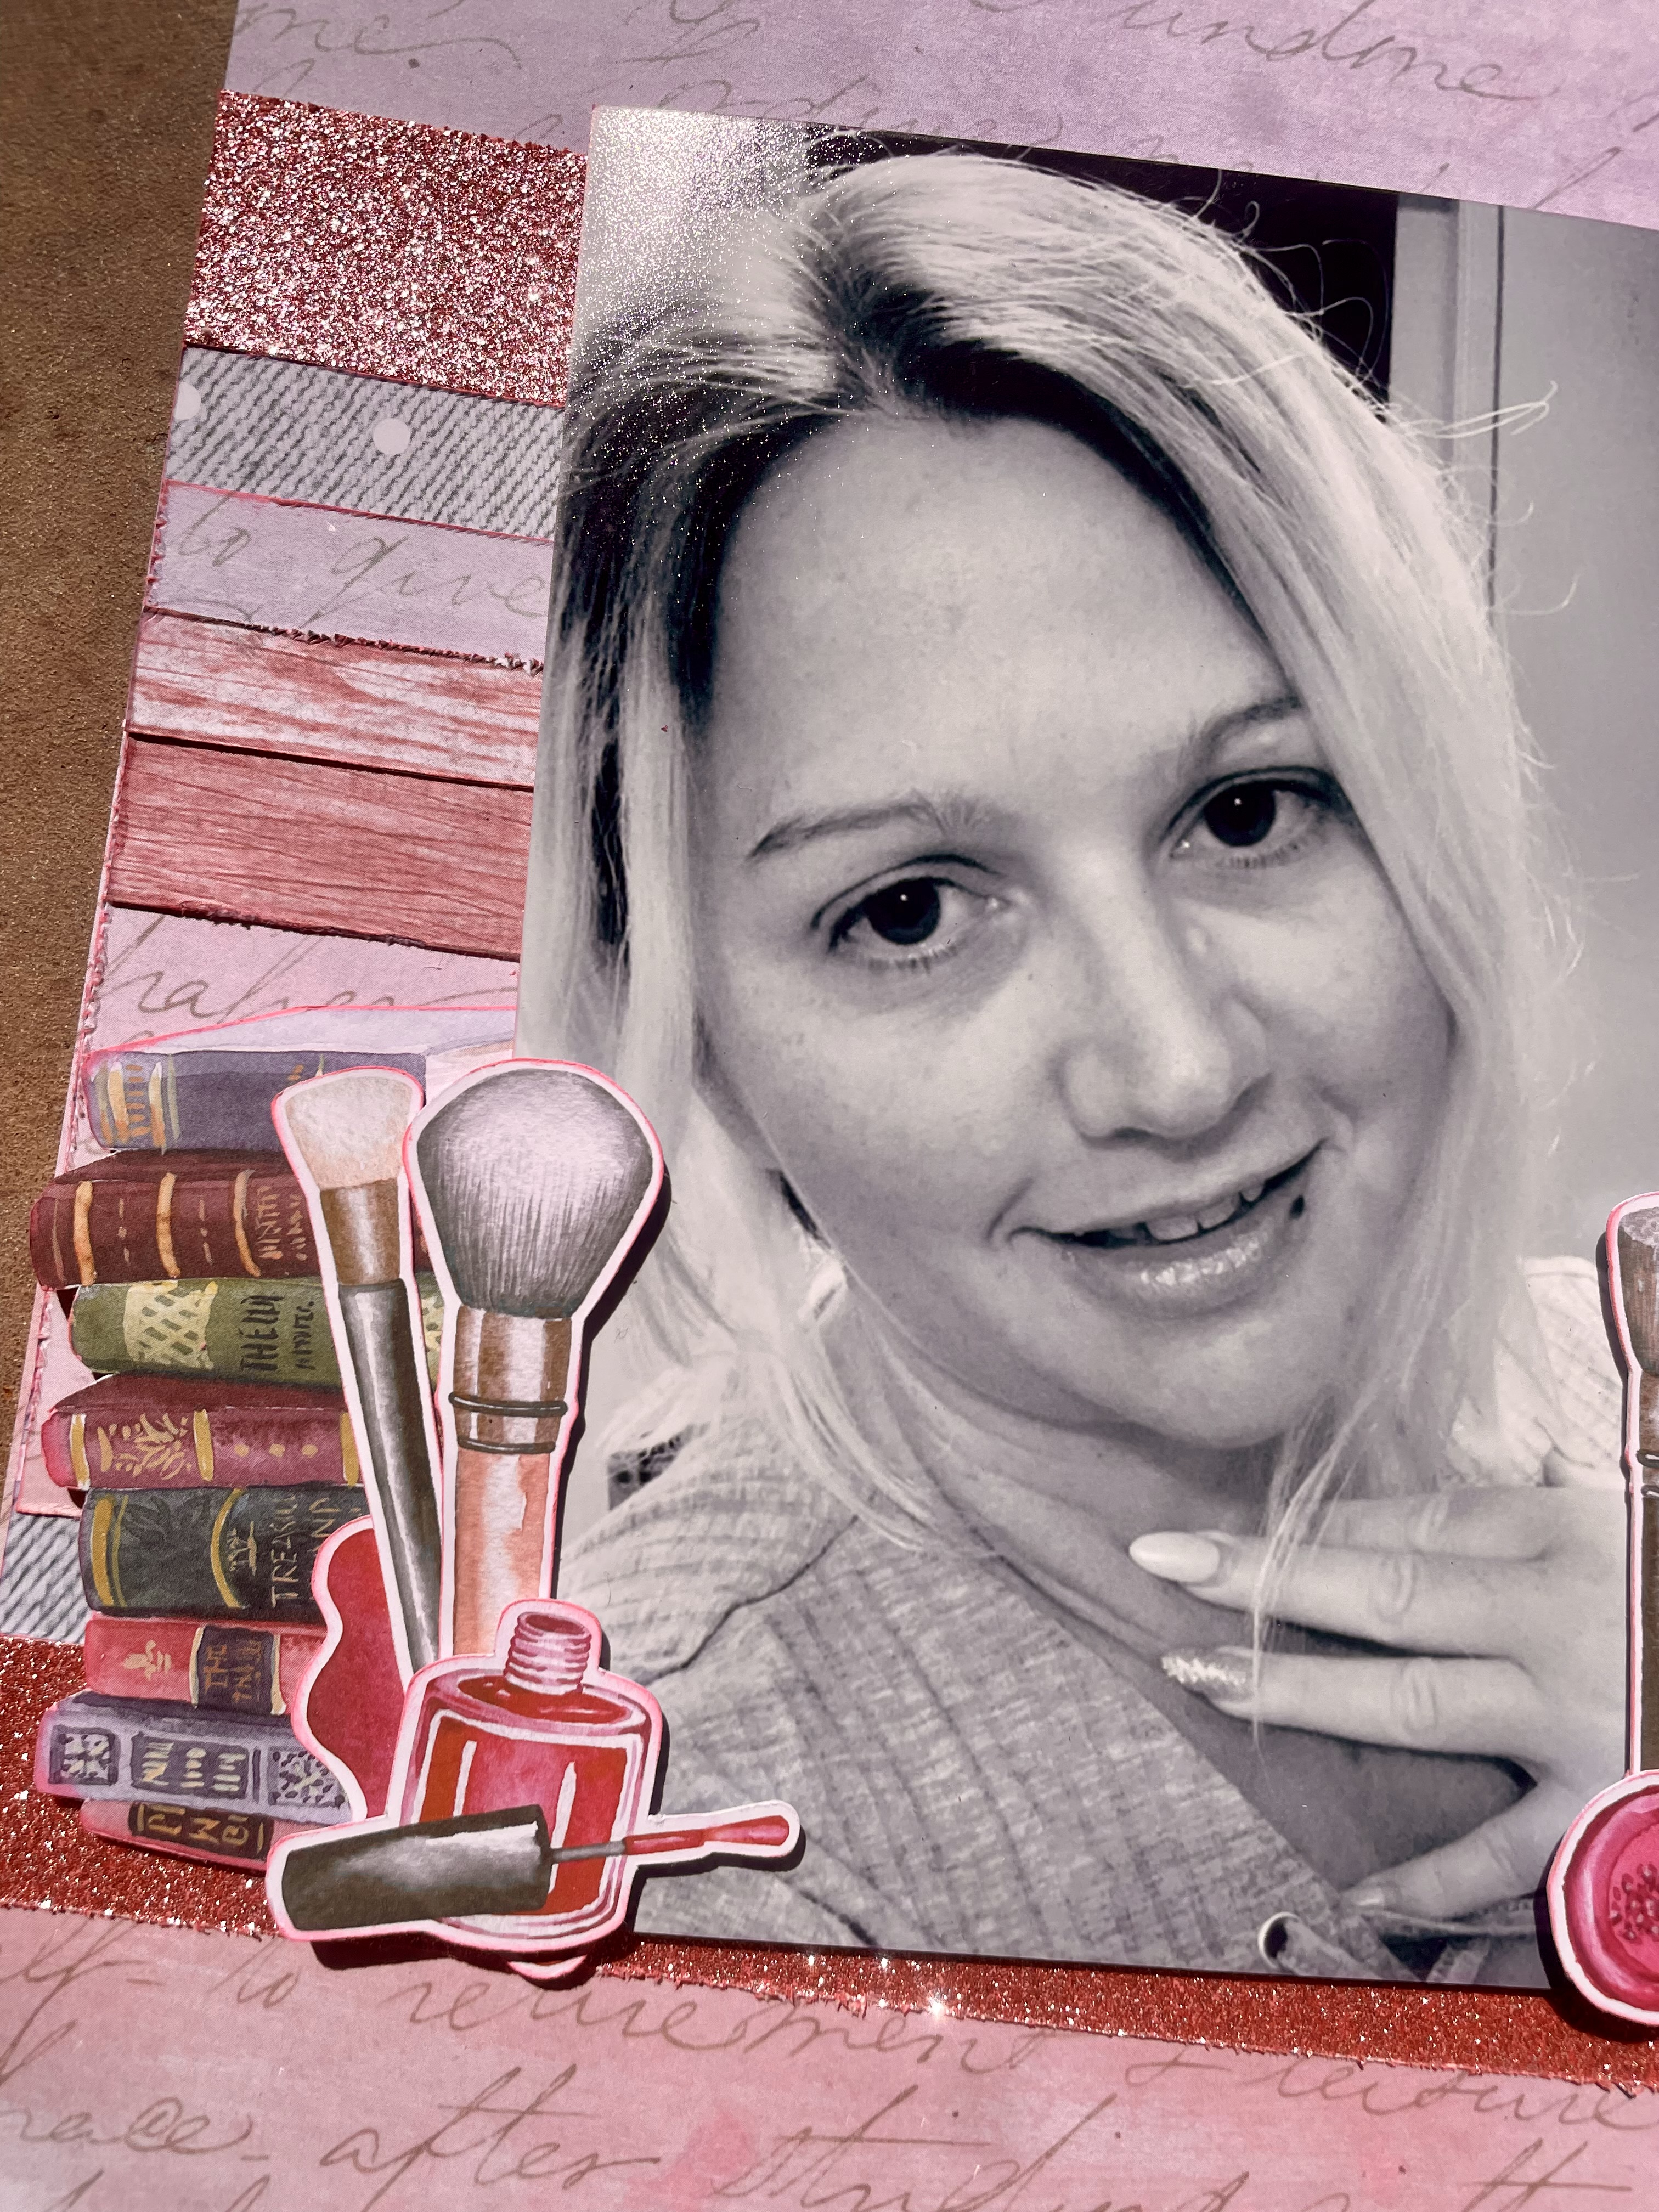
For this layout I chose one of the amazing sketches shared by Lasting Memories layout challenge blog this month. We all know I love a good sketch, so of course it was the first option when I started to play with the leftovers of the collection. 

Beautiful


This fun sketch was perfect for some of the scraps and pattern papers. 
I started with two Magical Memories # 3 sheets. 
The first I used as the base piece. The second I cut 12"x5" and again 12"x4". 
The pink Glitter cardstock has two 1" strips as well. 
Plus two wooden strips leftover from another layout. 


Start by layering the # 3 mats on top of each other and them stick down in the middle of the page. I love the idea of the base pattern and the top middle pattern flowing together as an illusion. 
I chose to adhere the glitter strips flush to the top and bottom instead of under or on top. 
The wooden strips though, I did stick on as extra layer elements. 

A simple photo on top. Add the colour cut clusters and title. 
Very basic, but great for scrappers of all levels. Beginning can follow along the sketch or Advanced crafters can add and adjust as much as they want and make it their own. 

Magical Memories # 3 - base page and middle layers
Magical Memories # 2 - scrap pieces of weather board strips & fussy cut pieces
Make Up Colour Cuts


Let me know what you think! 
Thanks for your time, Happy Scrapping.. 

Thursday, April 25, 2024

Magical Memories - Colour Cuts

 Yes, yes.. We all know I'm not a fussy cutter!!

Although I somehow end of Fussy Cutting! lol.. 

I then tend to complain ALOT and make sure everyone knows just how worth the time and effort really was for the overall project. 

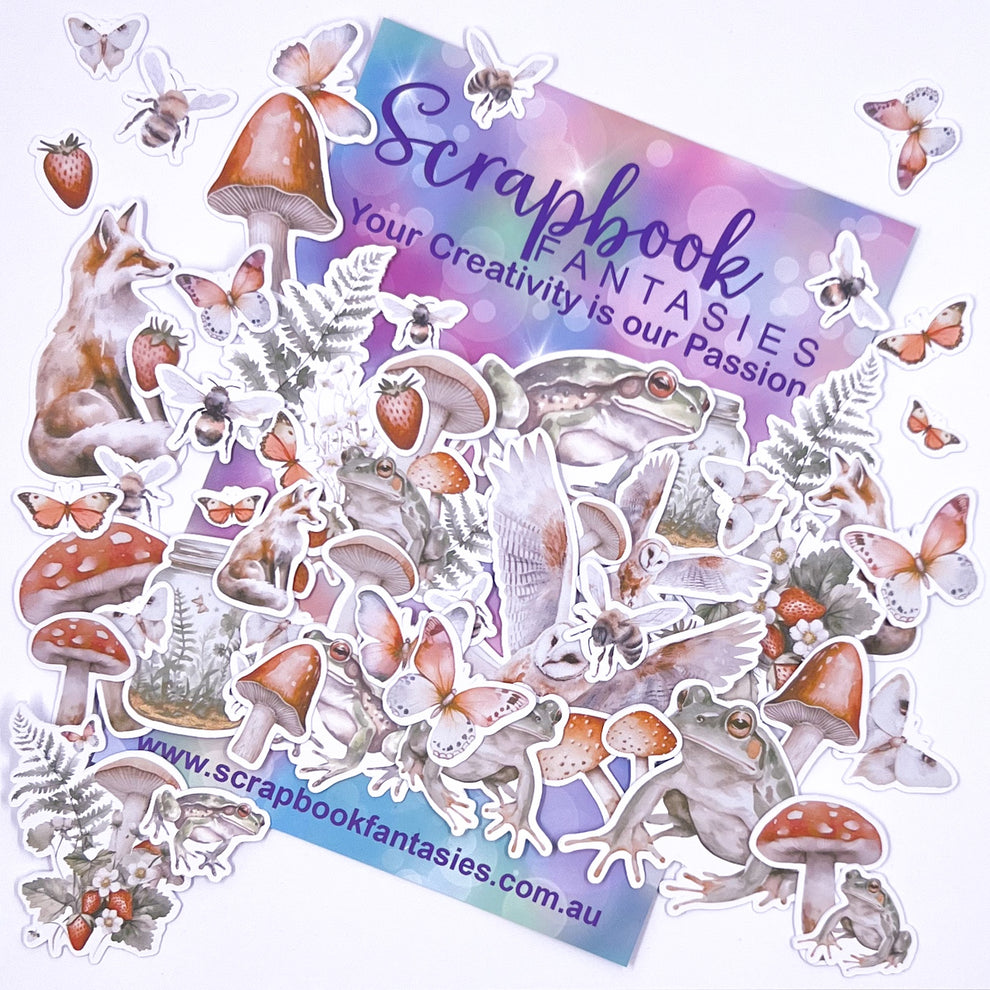
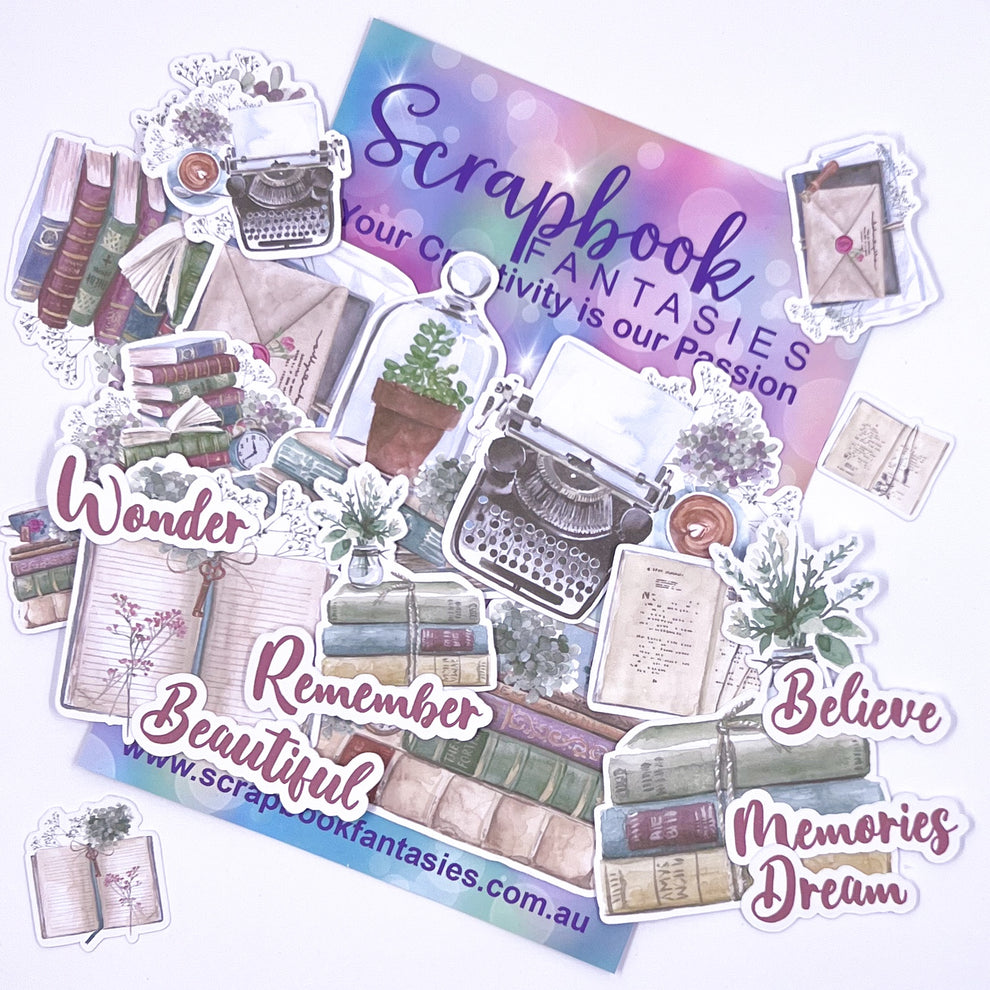
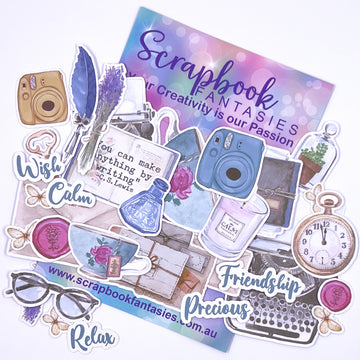
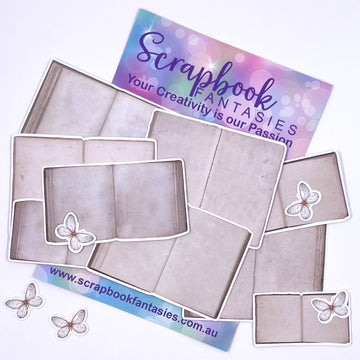
Well, how lucky is this.. Scrapbook Fantasies actually make colour-cuts for all of their collections. 

Yes, there are the traditional Fussy Cut essential sheets for those that love to snip-snip.. But then there are these little pre packaged beauties for us that just aren't as keen with the scissors. 


All of these and more!!


Friday, January 20, 2023

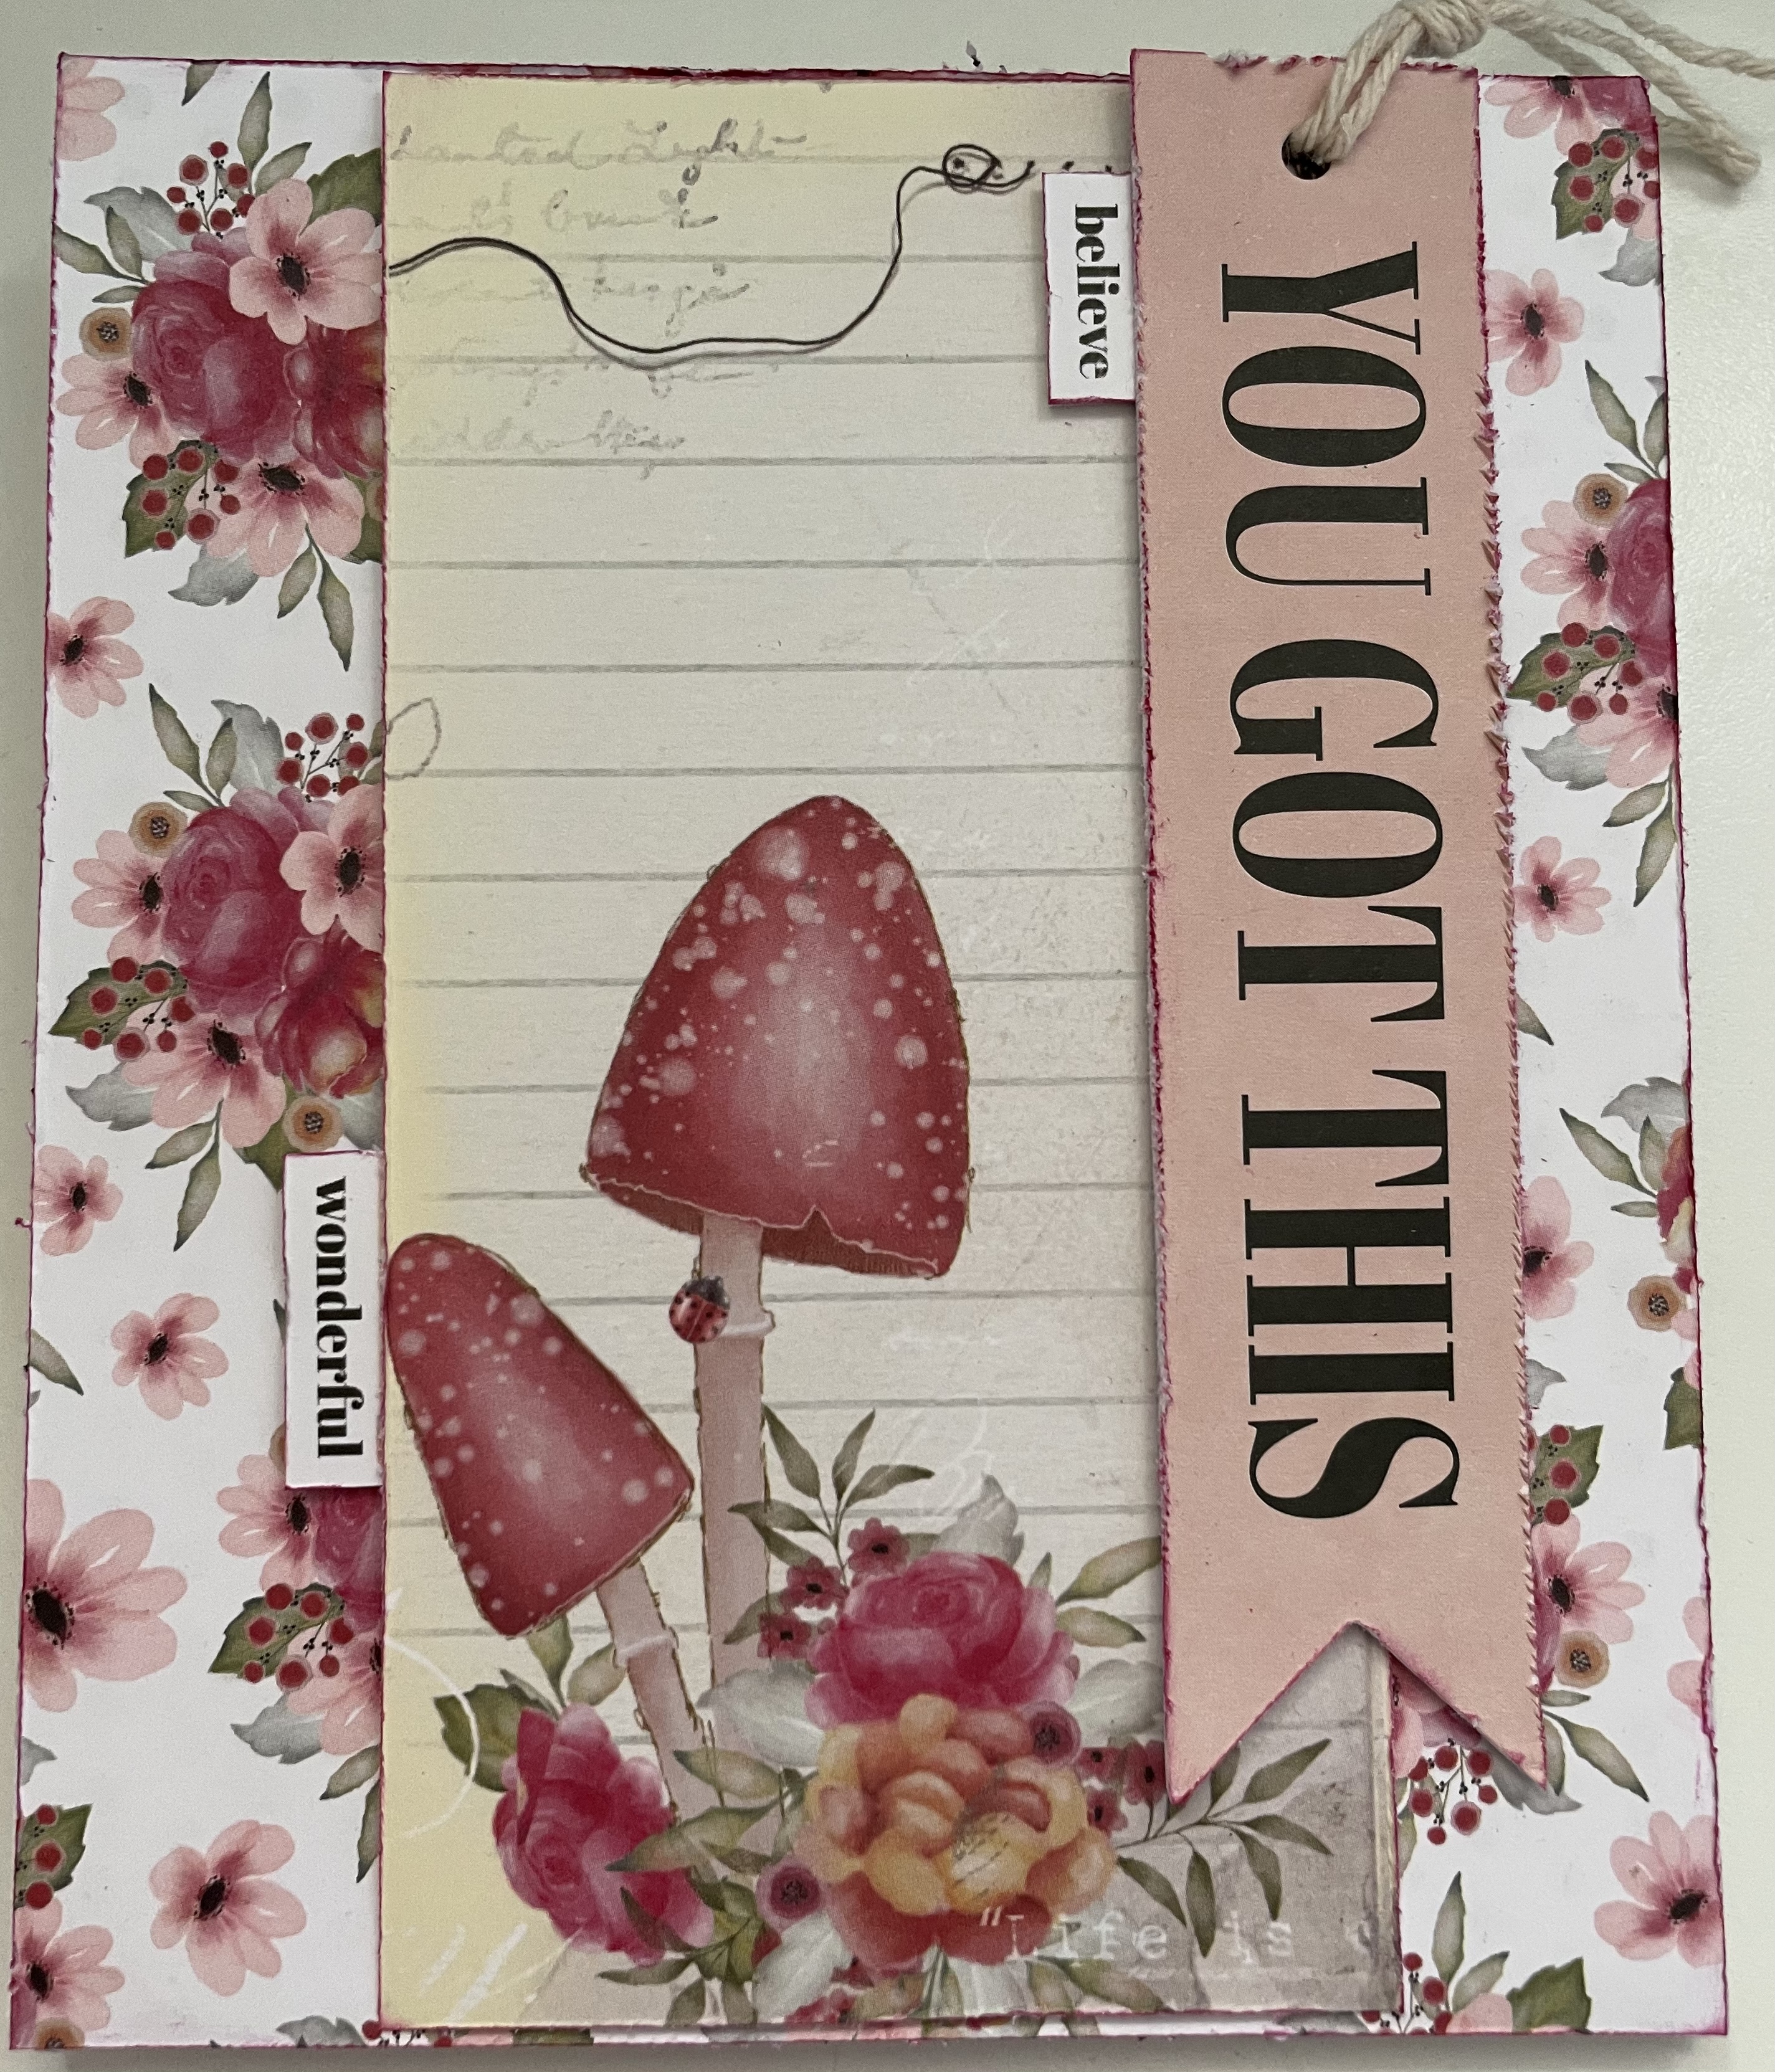
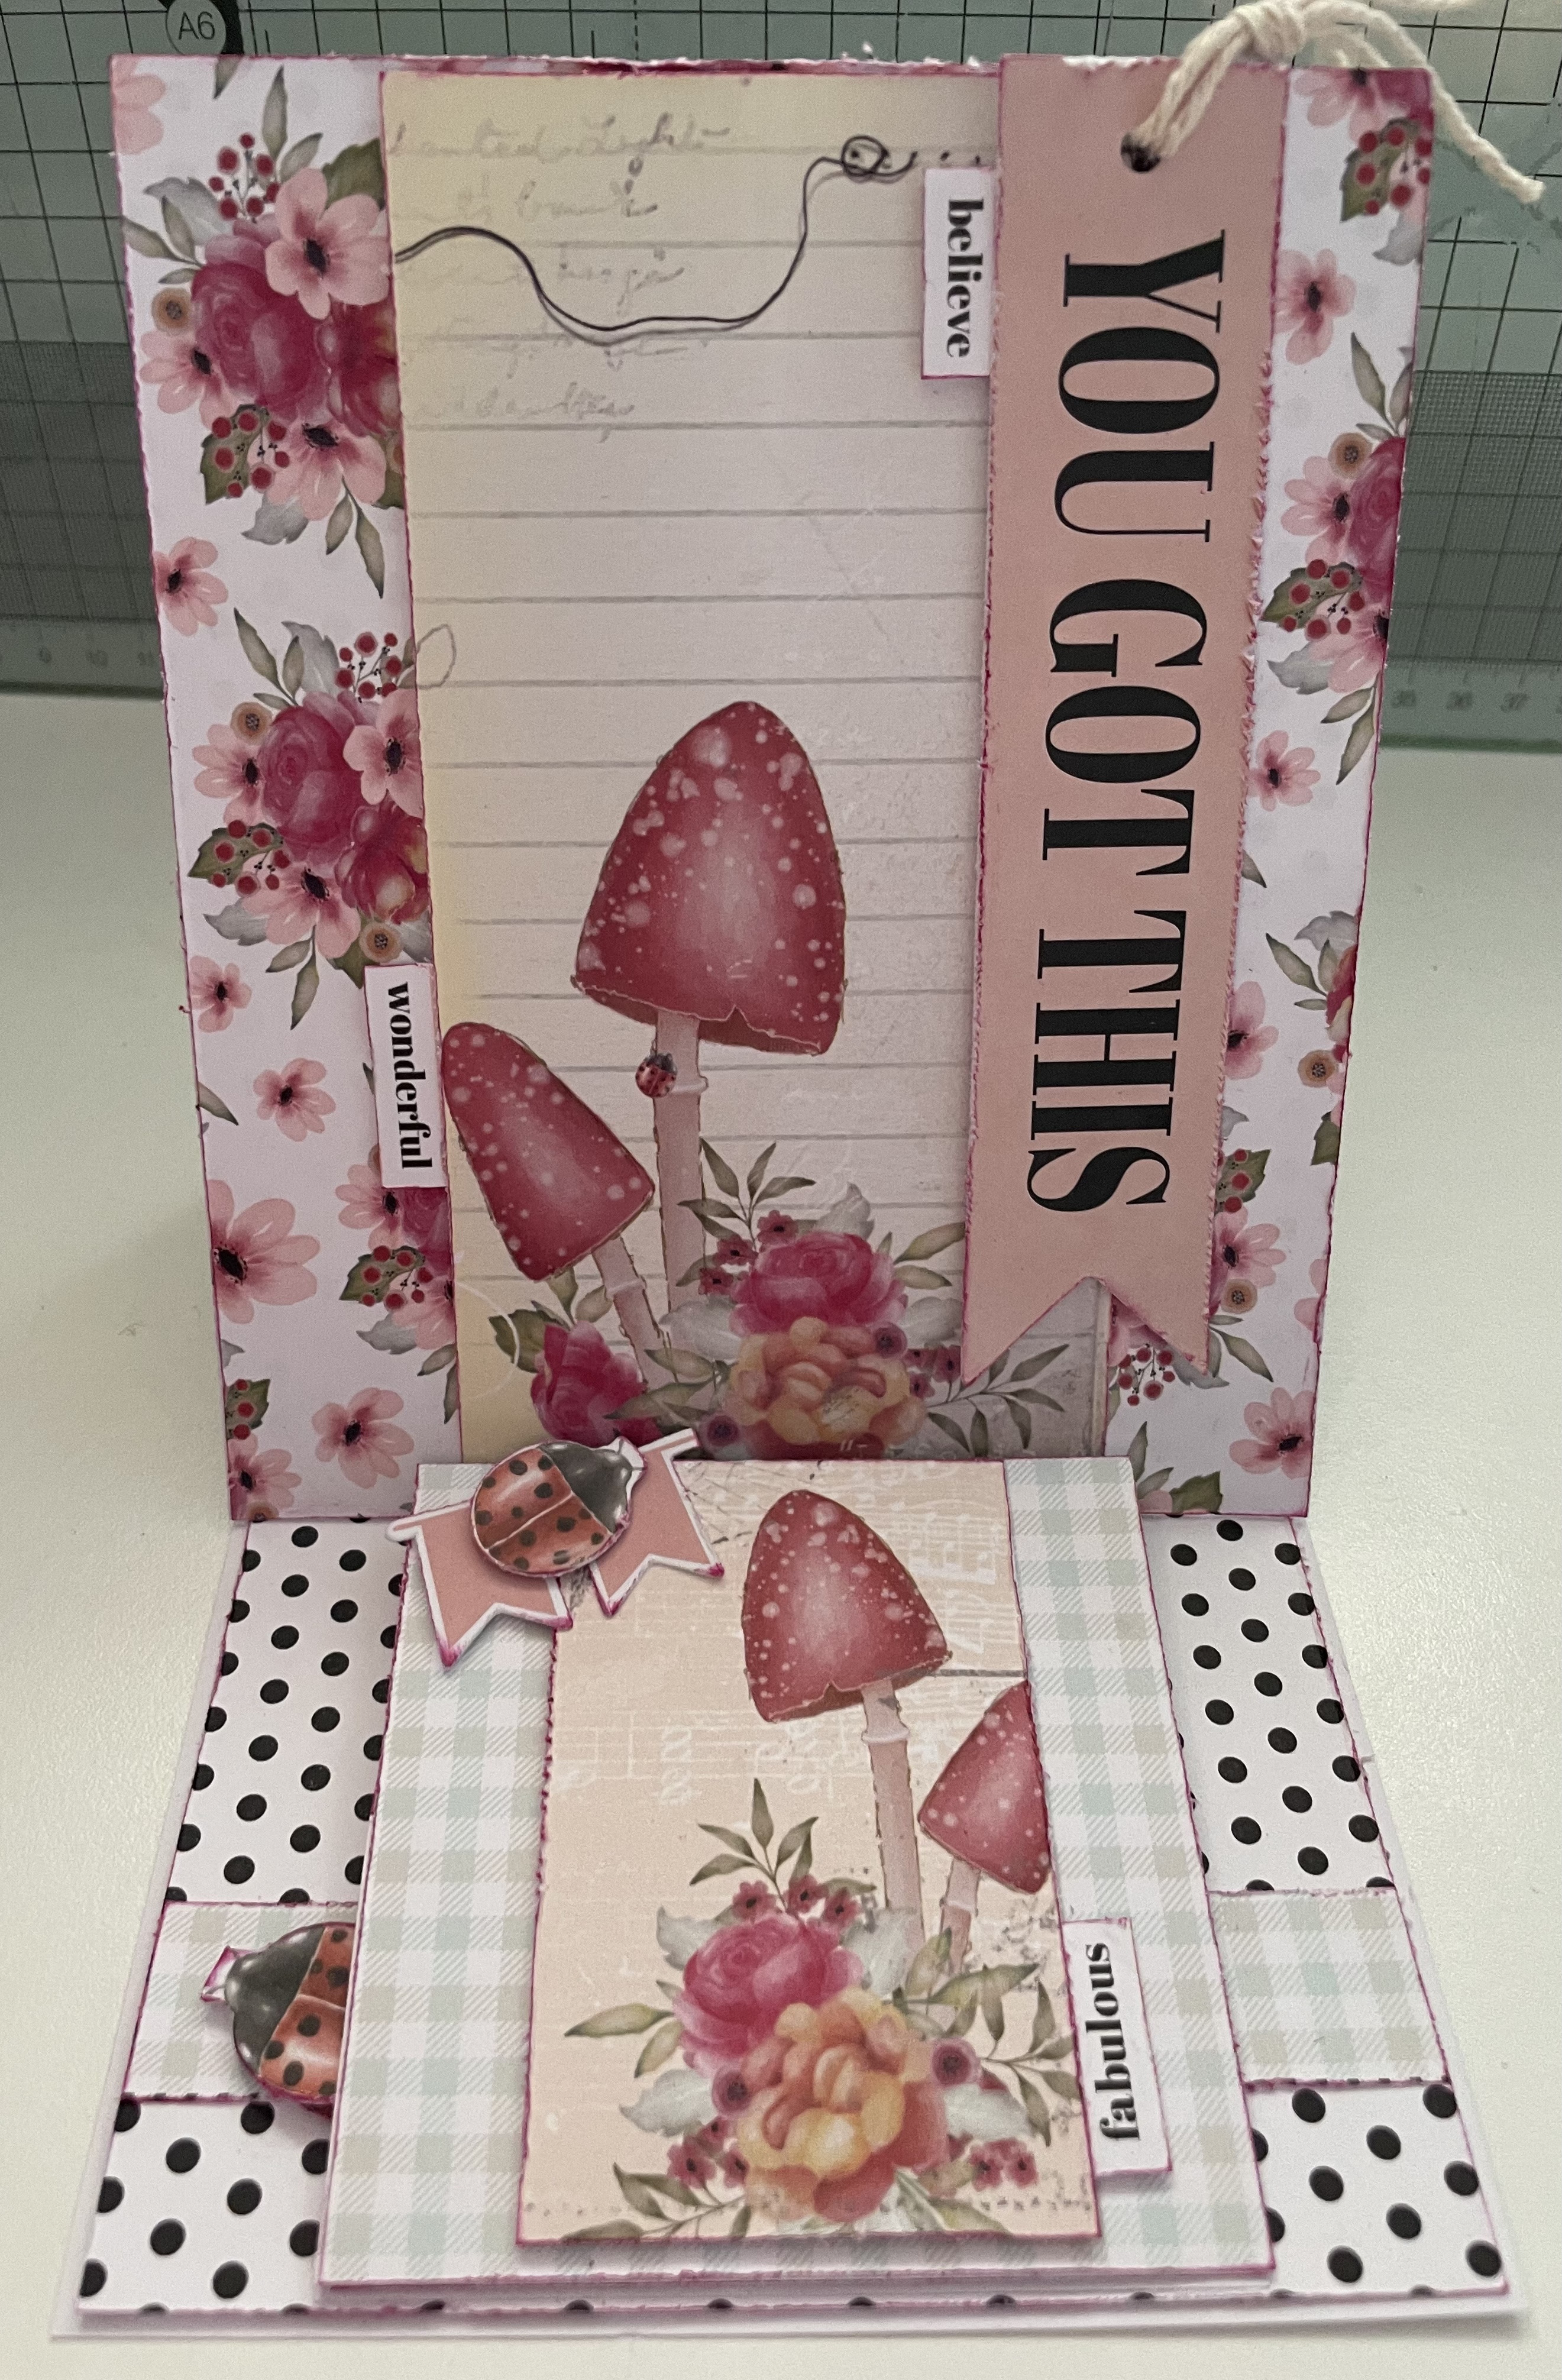
Double Easel card - Mind Over Matter UC

 Another fabulous Double Easel card.. Of course made for a swap.. 

Using the Uniquely Creative - Mind Over Matter collection.. 

I had an idea for an easel card for this swap, but didn't love it and then I had this picture pop up in my imagination featuring this collection and the gorgeous mushrooms.. 


Let me know what you think! 
Thanks for your time, Happy Scrapping.. 


Monday, December 19, 2022

Joy fold card with extra flips

 For a recent swap we were given the freedom to choose a fun fold of our own to send to a partner.. One of my fav folds is actually a Joy Fold.. I wanted to change it up a bit extra, so added some flips to it too. 

I am absolutely in love with how this turned out.. 
Using Kaiser - Outback Eve collection


Let me know what you think! 
Thanks for your time, Happy Scrapping.. 

Wednesday, December 14, 2022

Aussie Christmas Pocket Letter


My very first Christmas themed project for this year... I absolutely love how this pocket letter swap turned out.. It had a criteria of being Aussie Christmas theme. 

I used Aussie Grunge paper collection and colour cuts from Scrapbook Fantasies.. Adding in some silver glitter cardstock to feature some sparkle too.. 


Let me know what you think! 
Thanks for your time, Happy Scrapping.. 

Sunday, October 23, 2022

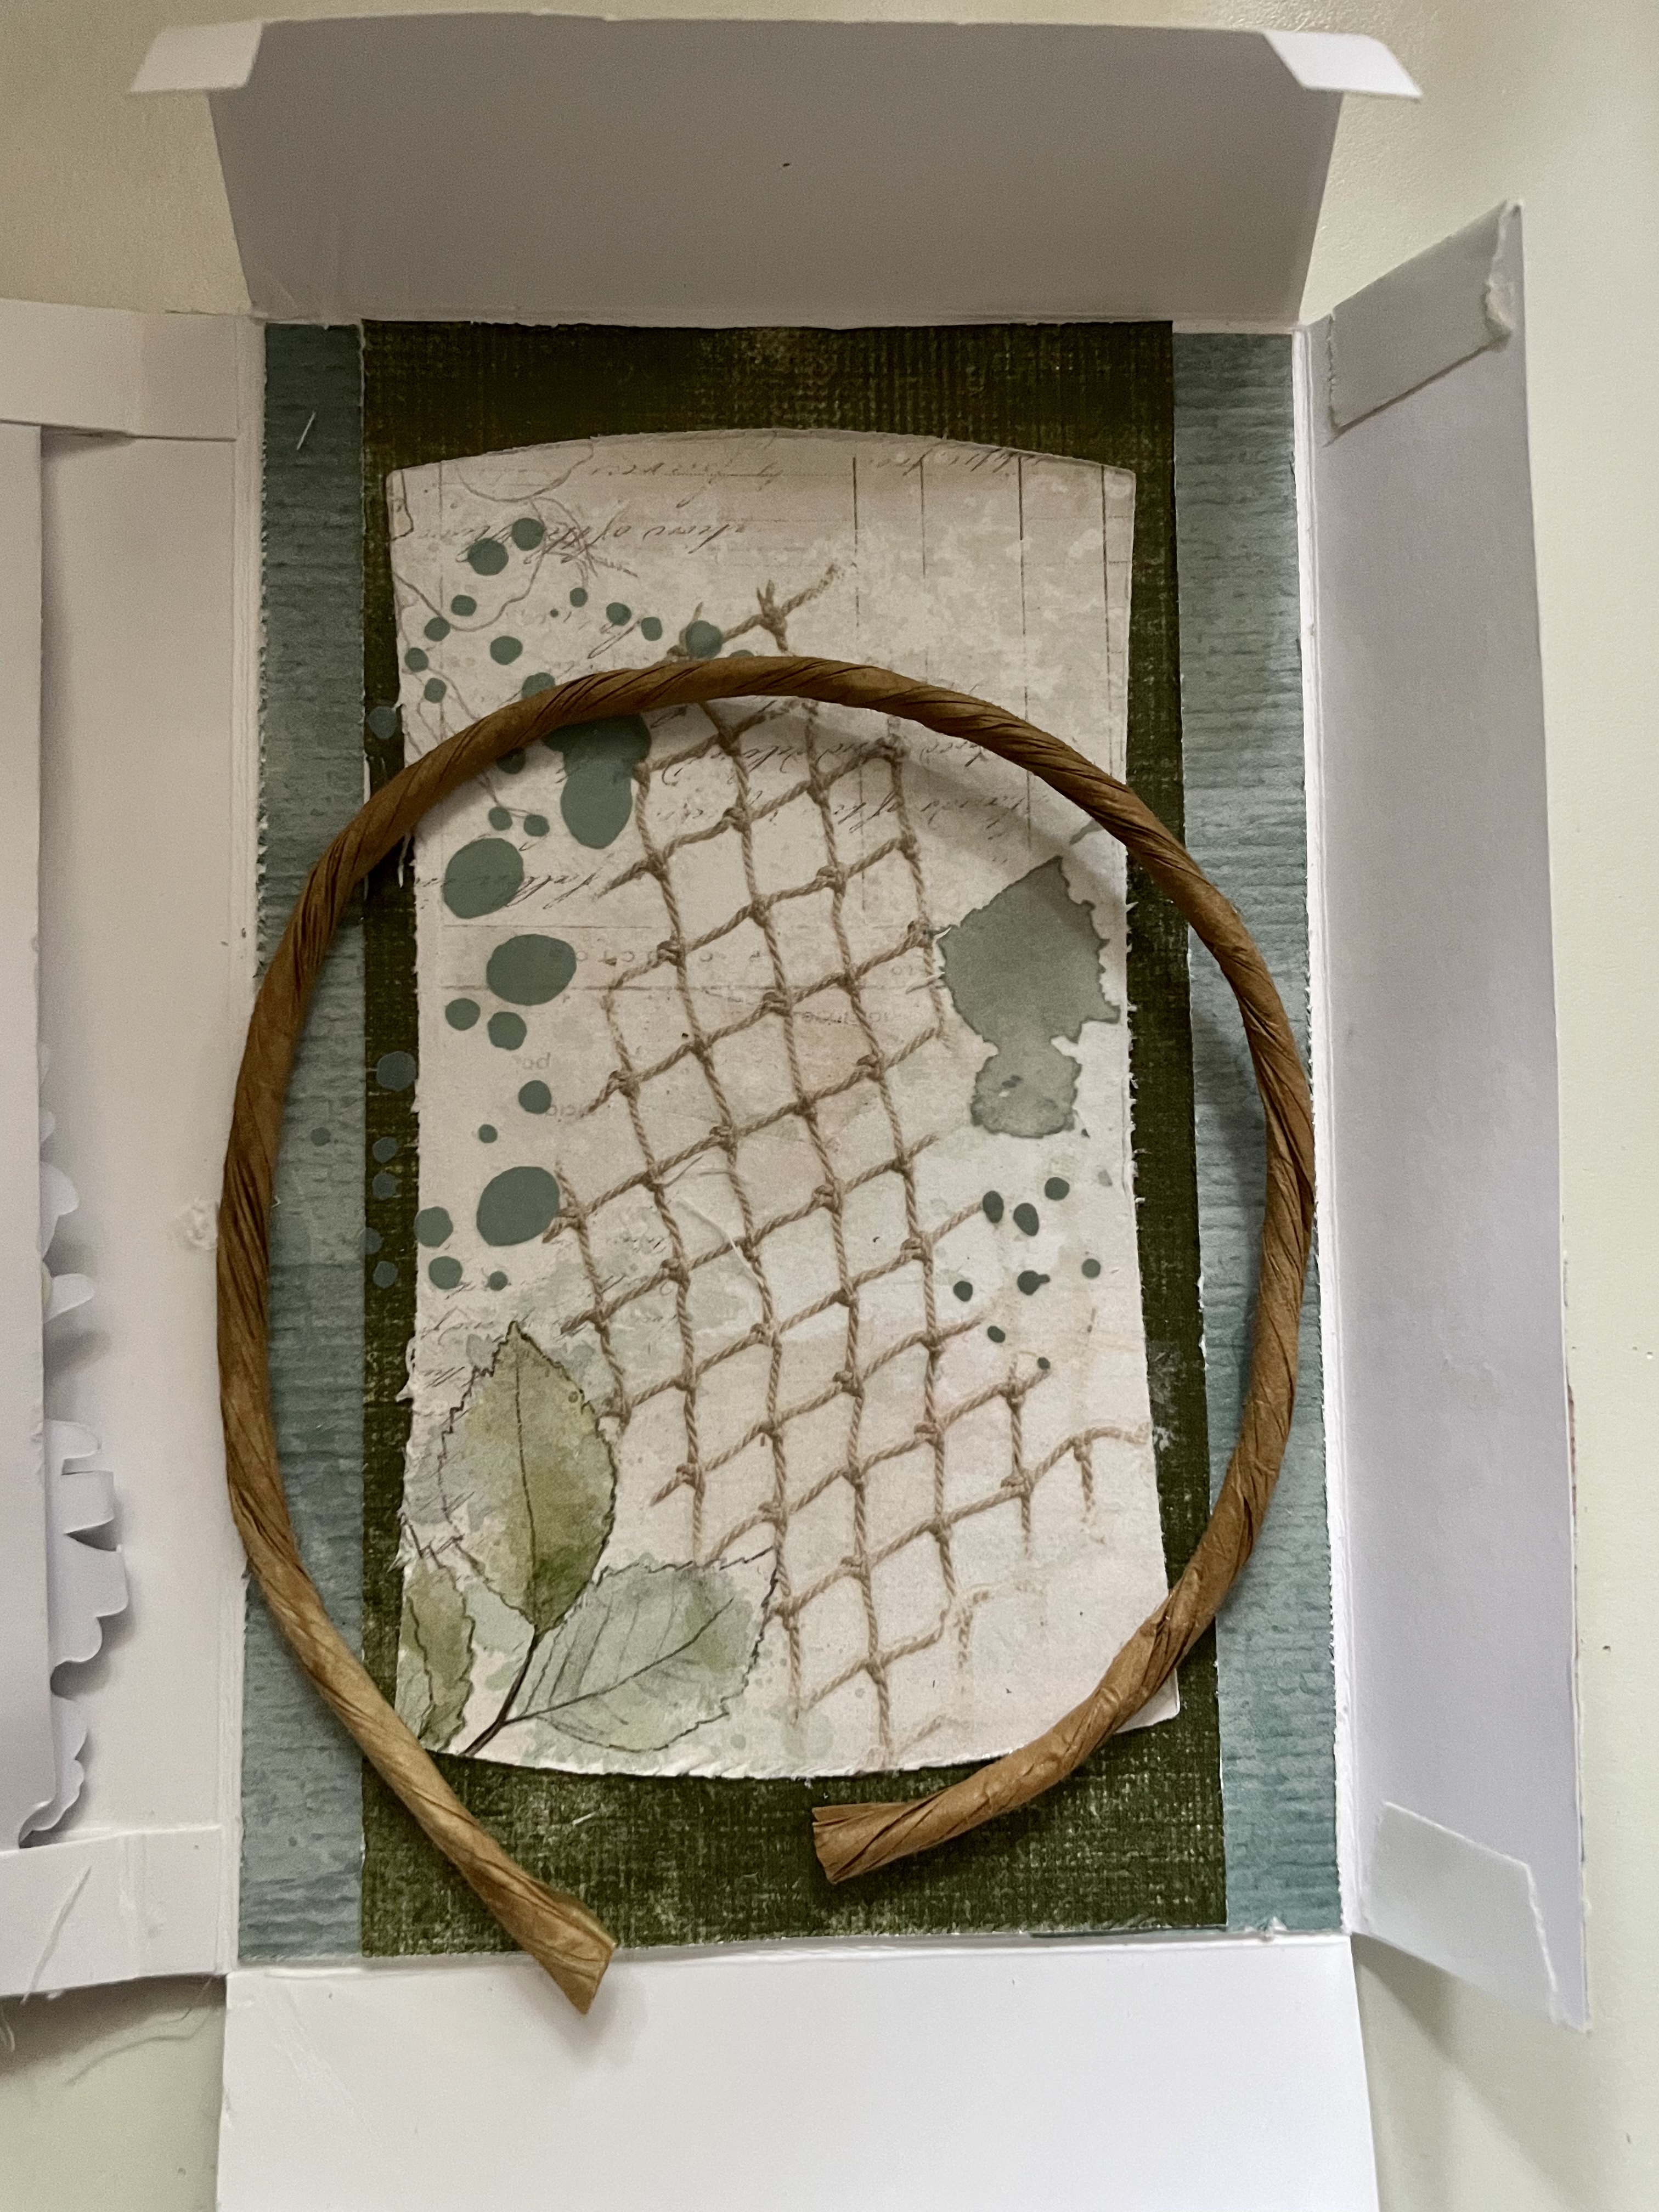
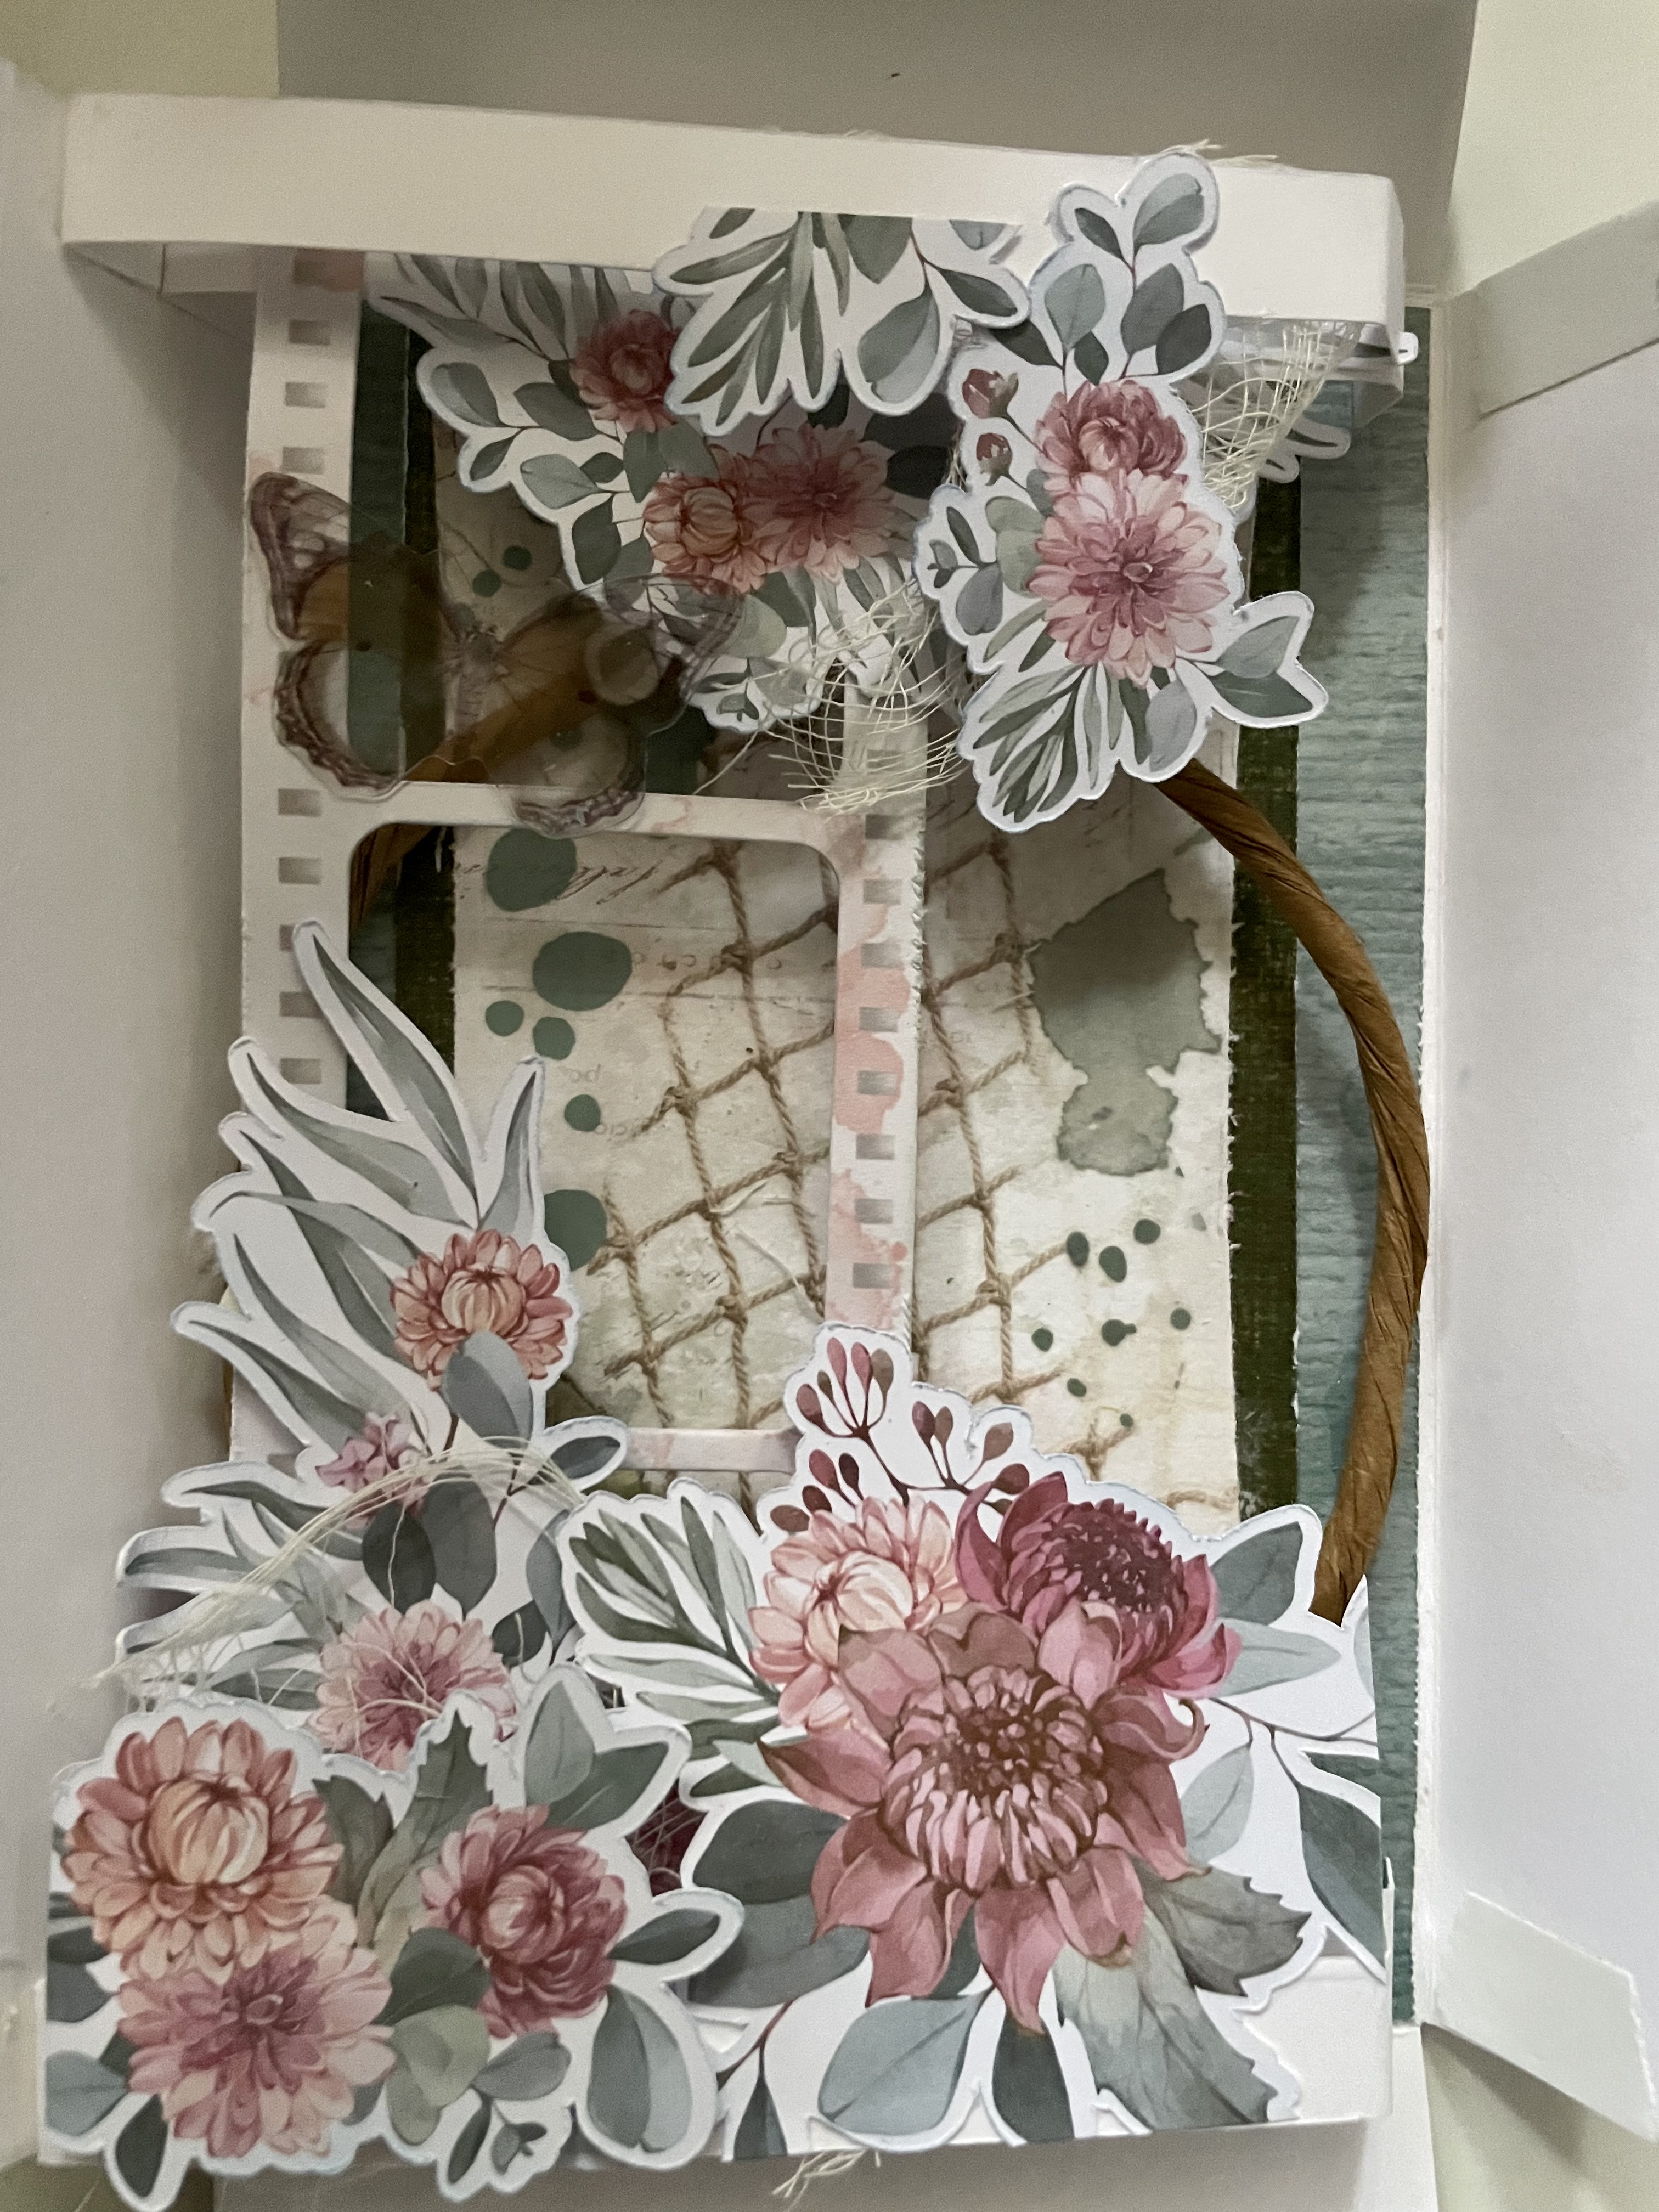
Flower themed Birthday Shadow box card


Recently for my mother's birthday, the boys and I put together this special shadow box frame card.. Using special colour cuts from Scrapbook Fantasies and papers from 49 & Market. 
It was so much fun putting together the layers for this, I have included some photos below to show how it all comes together.. 


Let me know what you think! 
Thanks for your time, Happy Scrapping..