Valentines themed swaps
Part 2
This swap project is using the PhotoPlay - Love Letters collection.


Let me know what you think!
Thanks for your time, Happy Scrapping..
Visit my on FACEBOOK to keep up to date with my projects in real time
Valentines themed swaps
Part 2
This swap project is using the PhotoPlay - Love Letters collection.
Let me know what you think!
Visit my on FACEBOOK to keep up to date with my projects in real time
Grease Monkey Signature album
Project share..
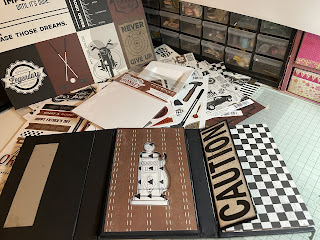
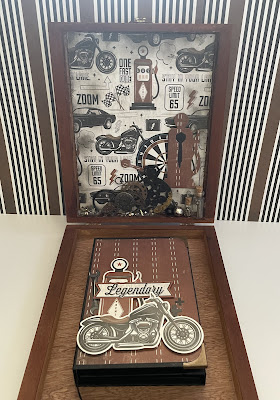
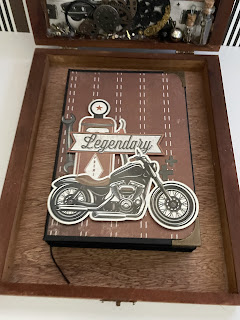
Using a repurposed Cigar Box, I put together this truly stunning male themed Grease Monkey Signature album and Memory box for a special family friend for his 60th Birthday.

Visit my on FACEBOOK to keep up to date with my projects in real time
6 simple and easy Scrapbooking layouts – made by Toni Herron for Twitchit Craft Kits

Christmas Traditional Kit

*tip- Begin by fussy cutting everything out from your bonus mystery sheets. This makes designing and placing your cluster pieces much easier and quicker later on.
Start by cutting a large circle from your base pattern paper using a circle cutter / electric cutting machine / tracing a plate towards the bottom left side– Ornaments approx. 9” diameter. Flip the circle over, the reverse side will be included in the layered design.
Place your pattern circle on top of this, roughly in the middle of the 12” layout so it is off centre to the layers. I have included a 5”x7” photo insert. You are able to use whatever size photo suits your needs.
To make the layout pop, use foam tape / 3D dots to raise your cluster elements. I have used fussy cuts from the bonus sheets, stickers from the sticker sheet and tags. *tip- lay all of your pieces before sticking them down. Take a photo with your phone, then use that as a guide to stick all pieces onto your layout. Creating dimension with foam tape as you go.


Visit my on FACEBOOK to keep up to date with my projects in real time
Box with 3 cards – made by Toni Herron for Twitchit Craft Kits
Christmas Traditional Kit
Bottom box –
DK Green / Woodgrain 8.1/4”x10.1/4”.
Score short side at 1”, 2”, 6.1/4” & 7.1/4”.
Score long side at 1”, 2”, 8.1/4” & 9.1/4.
Fold, cut and stick together to create box shape.


Lid- Plain cardstock
8.3/8”x10.3/8” *tip- for perfect fit
over bottom box, add extra 1/8” to the centre measurements. Score one side at a
time at 1” & 2” then rotate and repeat on all 4 sides. This will automatically give you
the extra 1/8” in the centre. Fold, cut and stick together to create box shape.
Card Topper –
Poinsettias 4.1/4”x8.1/4” + Woodgrain 6”x3.3/4”
+ 2 Red/Green 1”x6.1/4”
Score Poinsettia pattern piece at 1” on the two short ends, this will cover the
top and hang over the box ends to decorate those two sides. Add the two Red
pieces to the long sides of the box. I then added a long sentiment strip from
the sticker sheet and used a circle punch to create two half circles for finger
hole grips, making it easier to slide open the box.
Add some double sided foam tape or chipboard under the Woodgrain pattern piece
and still onto the top. Then I added some Gauze and created an embellishment cluster
with the Ute & Tree from the sticker sheet. Plus a tag and sentiment piece from
the bonus mystery sheets. I inked all edges of the top box.


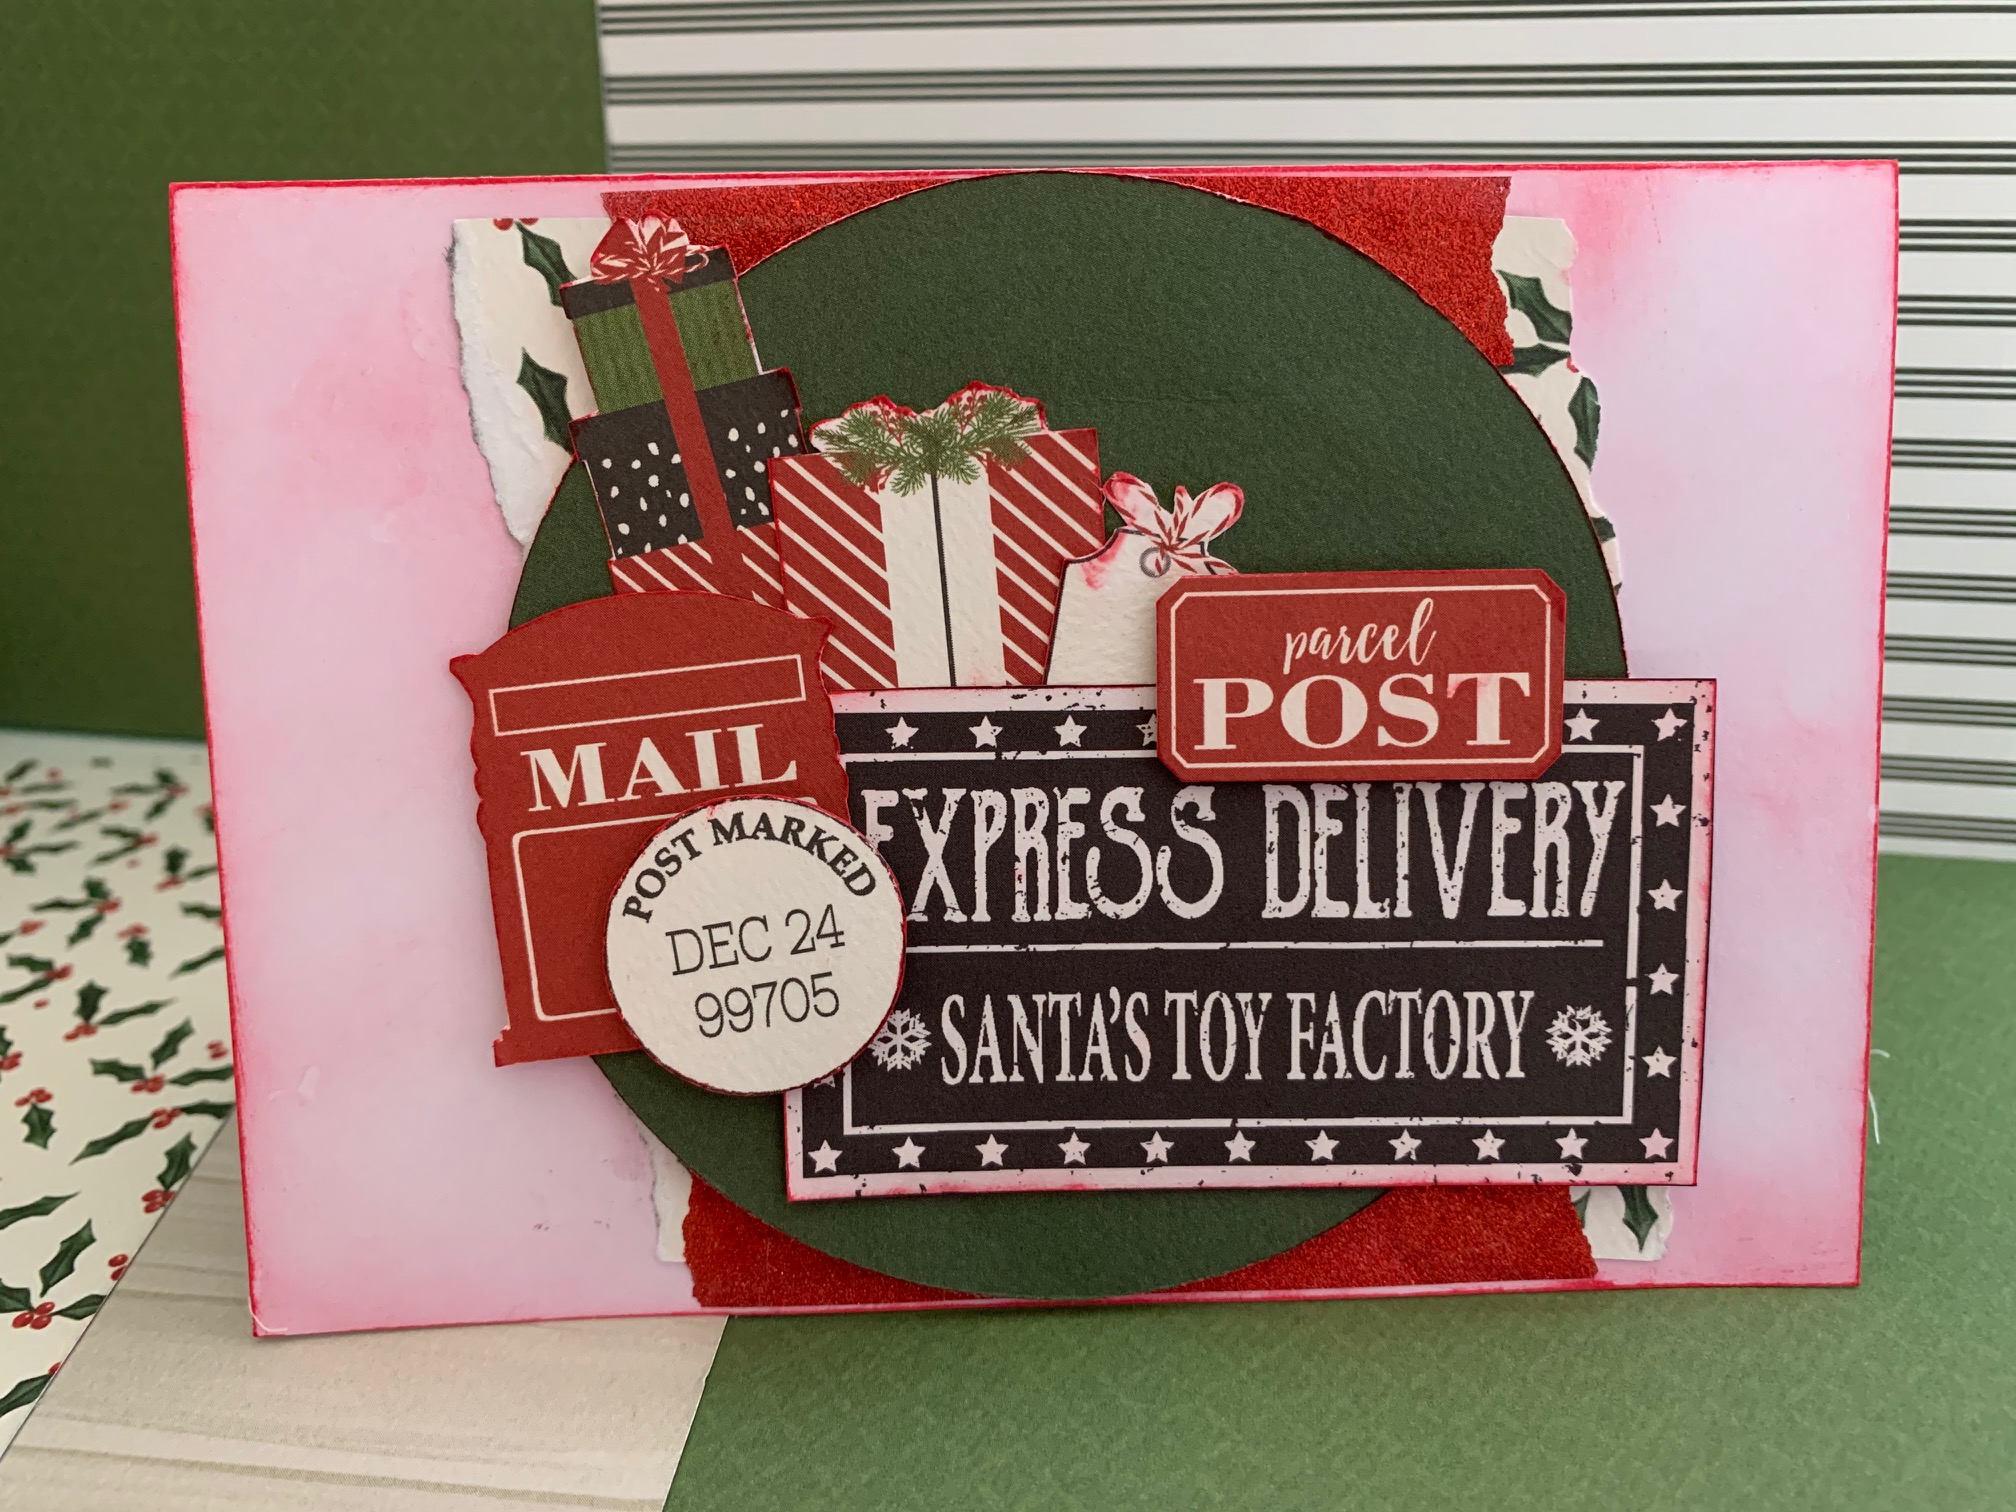
PROJECT TWO-
Start with 3 plain cardstock at 4”x12”
OR regular A4 cut in half. Now fold each into a card base.


3. Red/Green (cut out a circle) +
Poinsettia off cuts
Using a blending brush, add a distressed ink look to the
base of the card. Then build your topper on to the circle.
Ink around all pieces to be used on card.
Firstly I placed the circle and added the torn pattern pieces behind and added
washi tape to hide any gaps.
Fully adhere all of these before adding fussy cut pieces to create a cluster.
*tip- add foam tape / 3D dots / chipboard to pop the layers.
Visit my on FACEBOOK to keep up to date with my projects in real time
Flags, Tags & More box – made by Toni Herron for Twitchit Craft Kits
Christmas Traditional Kit

I then used
several off cuts, scraps and fussy cuts to create tags and other useful goodies
that can be layered together to make clusters.


Visit my on FACEBOOK to keep up to date with my projects in real time