Box with 3 cards – made by Toni Herron for Twitchit Craft Kits

Christmas Traditional Kit
Bottom box –
DK Green / Woodgrain 8.1/4”x10.1/4”.
Score short side at 1”, 2”, 6.1/4” & 7.1/4”.
Score long side at 1”, 2”, 8.1/4” & 9.1/4.
Fold, cut and stick together to create box shape.


Lid- Plain cardstock
8.3/8”x10.3/8” *tip- for perfect fit
over bottom box, add extra 1/8” to the centre measurements. Score one side at a
time at 1” & 2” then rotate and repeat on all 4 sides. This will automatically give you
the extra 1/8” in the centre. Fold, cut and stick together to create box shape.
Card Topper –
Poinsettias 4.1/4”x8.1/4” + Woodgrain 6”x3.3/4”
+ 2 Red/Green 1”x6.1/4”
Score Poinsettia pattern piece at 1” on the two short ends, this will cover the
top and hang over the box ends to decorate those two sides. Add the two Red
pieces to the long sides of the box. I then added a long sentiment strip from
the sticker sheet and used a circle punch to create two half circles for finger
hole grips, making it easier to slide open the box.
Add some double sided foam tape or chipboard under the Woodgrain pattern piece
and still onto the top. Then I added some Gauze and created an embellishment cluster
with the Ute & Tree from the sticker sheet. Plus a tag and sentiment piece from
the bonus mystery sheets. I inked all edges of the top box.


PROJECT TWO-
Start with 3 plain cardstock at 4”x12”
OR regular A4 cut in half. Now fold each into a card base.


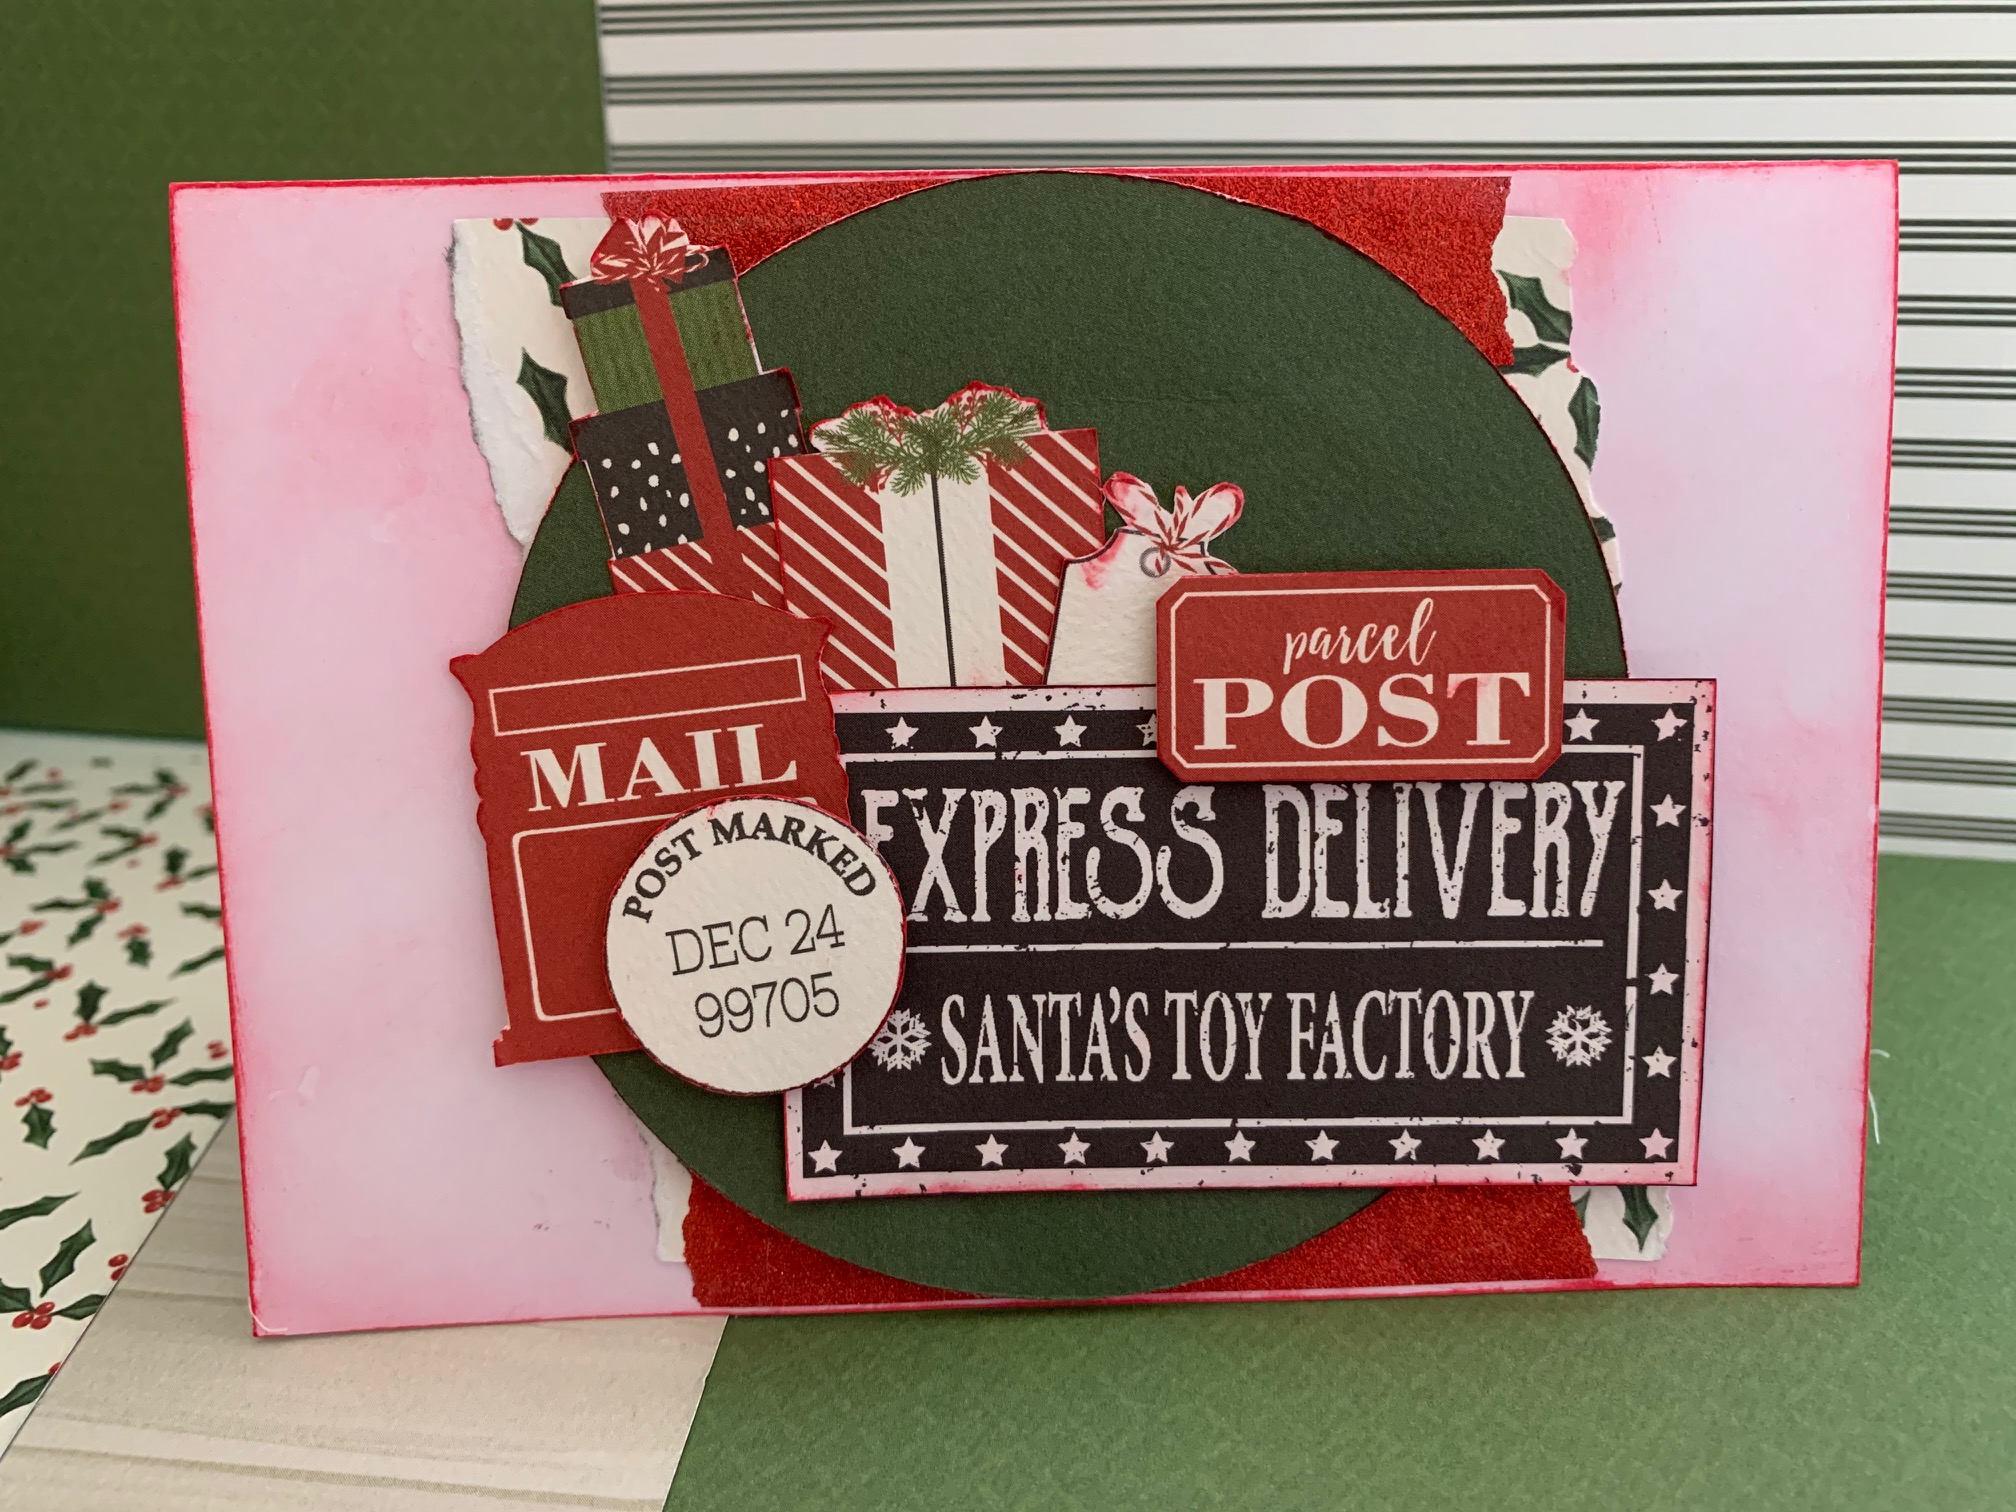
3. Red/Green (cut out a circle) +
Poinsettia off cuts
Using a blending brush, add a distressed ink look to the
base of the card. Then build your topper on to the circle.
Ink around all pieces to be used on card.
Firstly I placed the circle and added the torn pattern pieces behind and added
washi tape to hide any gaps.
Fully adhere all of these before adding fussy cut pieces to create a cluster.
*tip- add foam tape / 3D dots / chipboard to pop the layers.
Visit my on FACEBOOK to keep up to date with my projects in real time
No comments:
Post a Comment