Showing posts with label fussy cut. Show all posts

Tuesday, April 30, 2024

Magical Memories - Added Easel

* SCRAPLIFT   INVITE *

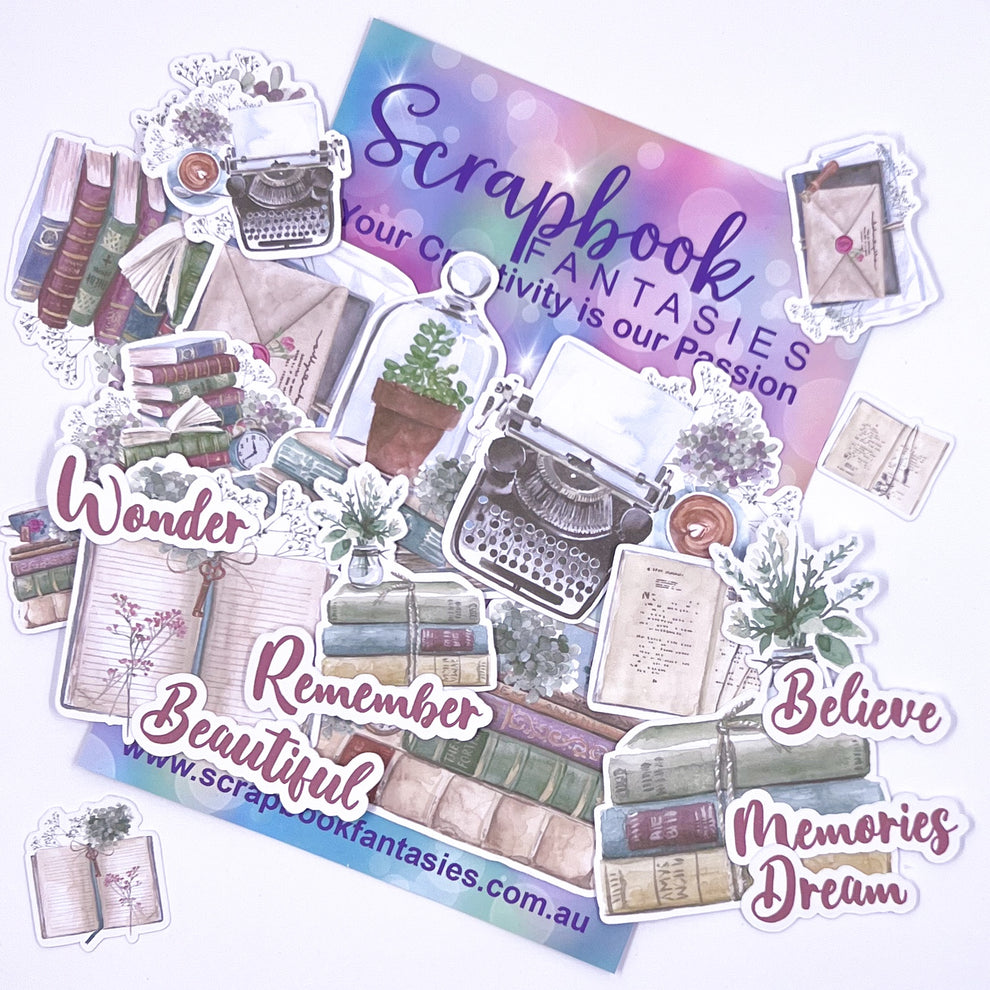
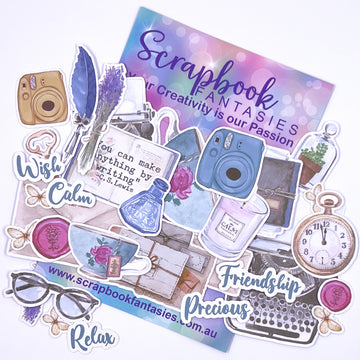
A few weeks ago I was so honoured to be allowed to promote this Magical Memories collection from Scrapbook Fantasies as part of their audition process for their Creative Team. 
For me it has been the boost that I've needed to get out of the horrible hole I've been in and unable to go near my craft desk for the past year +.. 

Alicia, Quentin and the Redshaw have been friends for a long time and to feel the support from them at this tough time has been inspirational and heart warming. I hope that the support and promotion that I'm able to give now with their products is at the least a small part of paying them back for their kindness. 

So now I would like to invite the incredible members of the Scrapbook Fantasies Creative Families group to Scraplift this layout design and share with us in the facebook group. 
It's an easy and simple layout that anyone of any ability can put together using any of the exclusive collections by Alicia and Naomi-Jon.


This layout is one of many that I would love to share that has a special design technique element. 
I love putting new ideas onto layouts and showing others that it can be done with some imagination. 
I don't always get it right and quite often have to put quite a bit of thoughts into the logistics and measurements before I even begin.. Then I tend to get it wrong and have to wing it as I go along.. lol

Camel buddy

These photos capture my beautiful boys meeting and playing with a Camel calf a few years ago during our trip to the Gemfields. We were staying at a small caravan park called "Gemini", which happens to be right next to the Camel farm. 


I started off with a kraft cardstock piece as the base. You can use anything for this, as it won't be seen underneath!
Using Magical Memories # 5 - cut it in half 6"x12" with the solid tan piece, then cut in half again 3"x12". These will be adhered to the top and bottom of the base layout piece. 
Fussy cut the other side of Magical Memories # 5 for the embellishment cluster pieces. 

Grab a couple of White Cardstock pieces for highlighting and photo mating pieces. 
12"x6.5" - stick it down in the middle, making sure to go over the top of the solid tan strips. 
Cut two 5"x6" photo mats 
and one 5"x8" piece to be used for the easel. Score at 1" and 4.5"

Magical Memories 3 4 - Cut to layer on top of the middle white cardstock. 11.5"x6"

I had leftover scrap piece of solid tan from another layout that I used for the first photo mat on the left side, sandwiched with an off centre white mat and then photo on top. 

The easel 1" piece will go under the white middle layer piece. 
It will be lay over the top of the middle pattern paper layers. Fold creases. 
Add the white photo mat to the bottom section of the easel and then the photo on top too. 

Add the white journal piece and fussy cut clusters. 
To finish it off, blend on some spots using the Blotchy Spots stencil. 


Another very simple and basic layout that can be added to to create your own design. 
This is one that I've already got plans to scraplift myself again. 
If you would like to try out the idea, then please feel free to scraplift this yourself as well and share it in the Scrapbook Fantasies Creative Families facebook group. 

Magical Memories # 5
Magical Memories # 4 
Blotchy Spots Stencil

Progress video still to come! 


Let me know what you think! 
Thanks for your time, Happy Scrapping.. 


Thursday, April 25, 2024

Magical Memories - Striped background

 Recently I was reminded about a couple of layouts that I have previously made and love using the one pp stripe technique. 
This is something I came up with on my own, but am aware there are many others with similar styles over the years. 

I actually made the layouts in the below screenshot as a "how to scraplift" demo on another one of my own layouts from 2020.. 
I ahve included this screenshot especially as it has the top comment from my biggest supporter, my Aunty Di.. She passed 12 months ago and it has been an extremely hard creative time for me. However I'm back at the craft desk, knowing that she would be saying "Toni Pud, you need to get back into it!" and encouraging me along the way as she always was. 


Anyway, as almost a little tribute to the layouts that I have already shared above, I wanted to creative something simple as a throw back but also with it's own little spin. 
So I made this with an tiny interactive element, by flipping open the photo to showcase more inside. 


You will need two of the #2 pattern papers for this project and about half of the #3 paper as well. 

Magical Memories #2 - Fussy Cut all design pieces. 
Magical Memories #2 - Cut along all of the weather board strips 
Magical Memories #3 - cut 4x 1" strips for additional highlights on the background. 

The only embellishment clusters I used were from the fussy cut pieces. 
However I did add a little gauze for the soft white texture element and a circle bubble die-cut piece that helps to make it feel right with the sizing and spacing of the clusters on either side of the photo mat.


There is a step by step video being edited right now for this layout, so please look back for that when released. (to be shared on Youtube, Facebook and here on Blogger) 


Let me know what you think! 
Thanks for your time, Happy Scrapping.. 

Magical Memories - Wanderlust

Welcome back.. Today I'm going to share with you one of those layout when imagined up you know it's going to be truly spectacular but only if you can get it all done correctly and pieced just perfectly.. 

Then when it's all coming together and finally finished, it absolutely blows you away cause just some small seeds of doubt started to creep in the back while it was taking 2hours to fussy cut.. lol 


 Wanderlust


Yep, this layout took a bit longer than what I normally create. However it was all time relevant with the fussy cutting. Honestly, once the fussy cutting was done, it only took about 30min to piece all the rest of of it together. 

Fussy cut from;
#4 - wreath
#6 - leaves
Flower essentials sheet

I started off with the pattern paper  #4 base, then cut a second piece of the same for the wreath. 

I torn some of the Vellum floral pattern and stuck that down to the inside of the wreath on the base page. The fussy cut wreath was then foam taped for the 3D element. 

Do not stick down any flowers or leaves though until the photo mat position and size has been confirmed. Then go to town with those random clusters. 

This layout can be done by any level crafter with the confidence and patience to fussy cut. Without that, you are most welcome to add packet flowers or Scrapbook Fantasies ready made Colour Cuts instead for the same feel and design. 


Let me know what you think! 
Thanks for your time, Happy Scrapping.. 

Magical Memories - Colour Cuts

 Yes, yes.. We all know I'm not a fussy cutter!!

Although I somehow end of Fussy Cutting! lol.. 

I then tend to complain ALOT and make sure everyone knows just how worth the time and effort really was for the overall project. 

Well, how lucky is this.. Scrapbook Fantasies actually make colour-cuts for all of their collections. 

Yes, there are the traditional Fussy Cut essential sheets for those that love to snip-snip.. But then there are these little pre packaged beauties for us that just aren't as keen with the scissors. 


All of these and more!!


Tuesday, April 16, 2024

Garden Inspired layout

 Garden themed inspiration layout created for a Scrapbook Fantasies cyber challenge.


I loved putting this together.
May not have enjoyed the fussy cutting quite so much, so I made sure I used all of those suckers! Although I think I cut off more scraps than I kept..
I used the Imagine with Alice collection from Scrapbook Fantasies.

Isn’t this rainbow cut out adorable!!
I added a green foil to back it.
Of course I layer most of the elements on this layout with foam dots.
I believe that even the simpler designs like this, can be taken to an extra level with something as basic as layering. Which obviously is one of my favourite additions, as you probably recognise by now anyway.


Let me know what you think! 
Thanks for your time, Happy Scrapping.. 

Thursday, April 11, 2024

Leaves Glore

 Another project inspired by the Scrapbook Fantasies cyber crop challenges from March.. .

Leaves Glore

Life is measured by moments


I know the layouts are suppose to have photos. But I’m not interested in ‘prizes or comps’.. I’m just super stoked to have made the steps to be creating and excited about the process again.
I truly loved putting this layout together!
There was even some fussy cutting involved with minimal whinging..
Using the Kaisercraft “Fallen Leaves” collection, I may have been designing this in my head during work yesterday.. Thankfully it turned out exactly what I was hoping for.
Plenty of layers with papers, cuts, stencils and even some acetate included in the 3x4 photo mats too. All elements that make this pop in real life as the eye takes it all in..


Let me know what you think! 
Thanks for your time, Happy Scrapping.. 

Monday, January 16, 2023

Autumn Twilight double page layout

 Threw together this double page layout at the end of October, following an inspirational example sketch used in an online virtual retreat.. Being a "fall / autumn" themed collection felt perfect as the sassy ladies in the USA that were also doing the retreat had Fall themed collections to work with too.

Lemon Craft - Autumn Twilight collection.

Of course, like normal I did change a couple things up with the sketch.. Mostly the photo mats. I kept the 5 panels on the base for both sides and used the smooshing technique underneath for some colour. I am absolutely stoked how this actually ended up. Quite a easy layout to put together and even better since I had pre fussy cut a 12x12 sheet probably close to 2 years ago.. lol


Let me know what you think! 
Thanks for your time, Happy Scrapping.. 

Monday, January 9, 2023

Flower Shoppe Card + Layout

 These projects using Kaisercraft -Flower Shoppe collection were designed for a local scrapbooking and card making class.. Proudly it was well received and loved so much that extra kits had to be packed up for postage to customers at a distance.. Thank you everyone for the support that I received then and now on my new adventures.. 


Cards and Carry holder