Showing posts with label easy box. Show all posts

Saturday, December 17, 2022

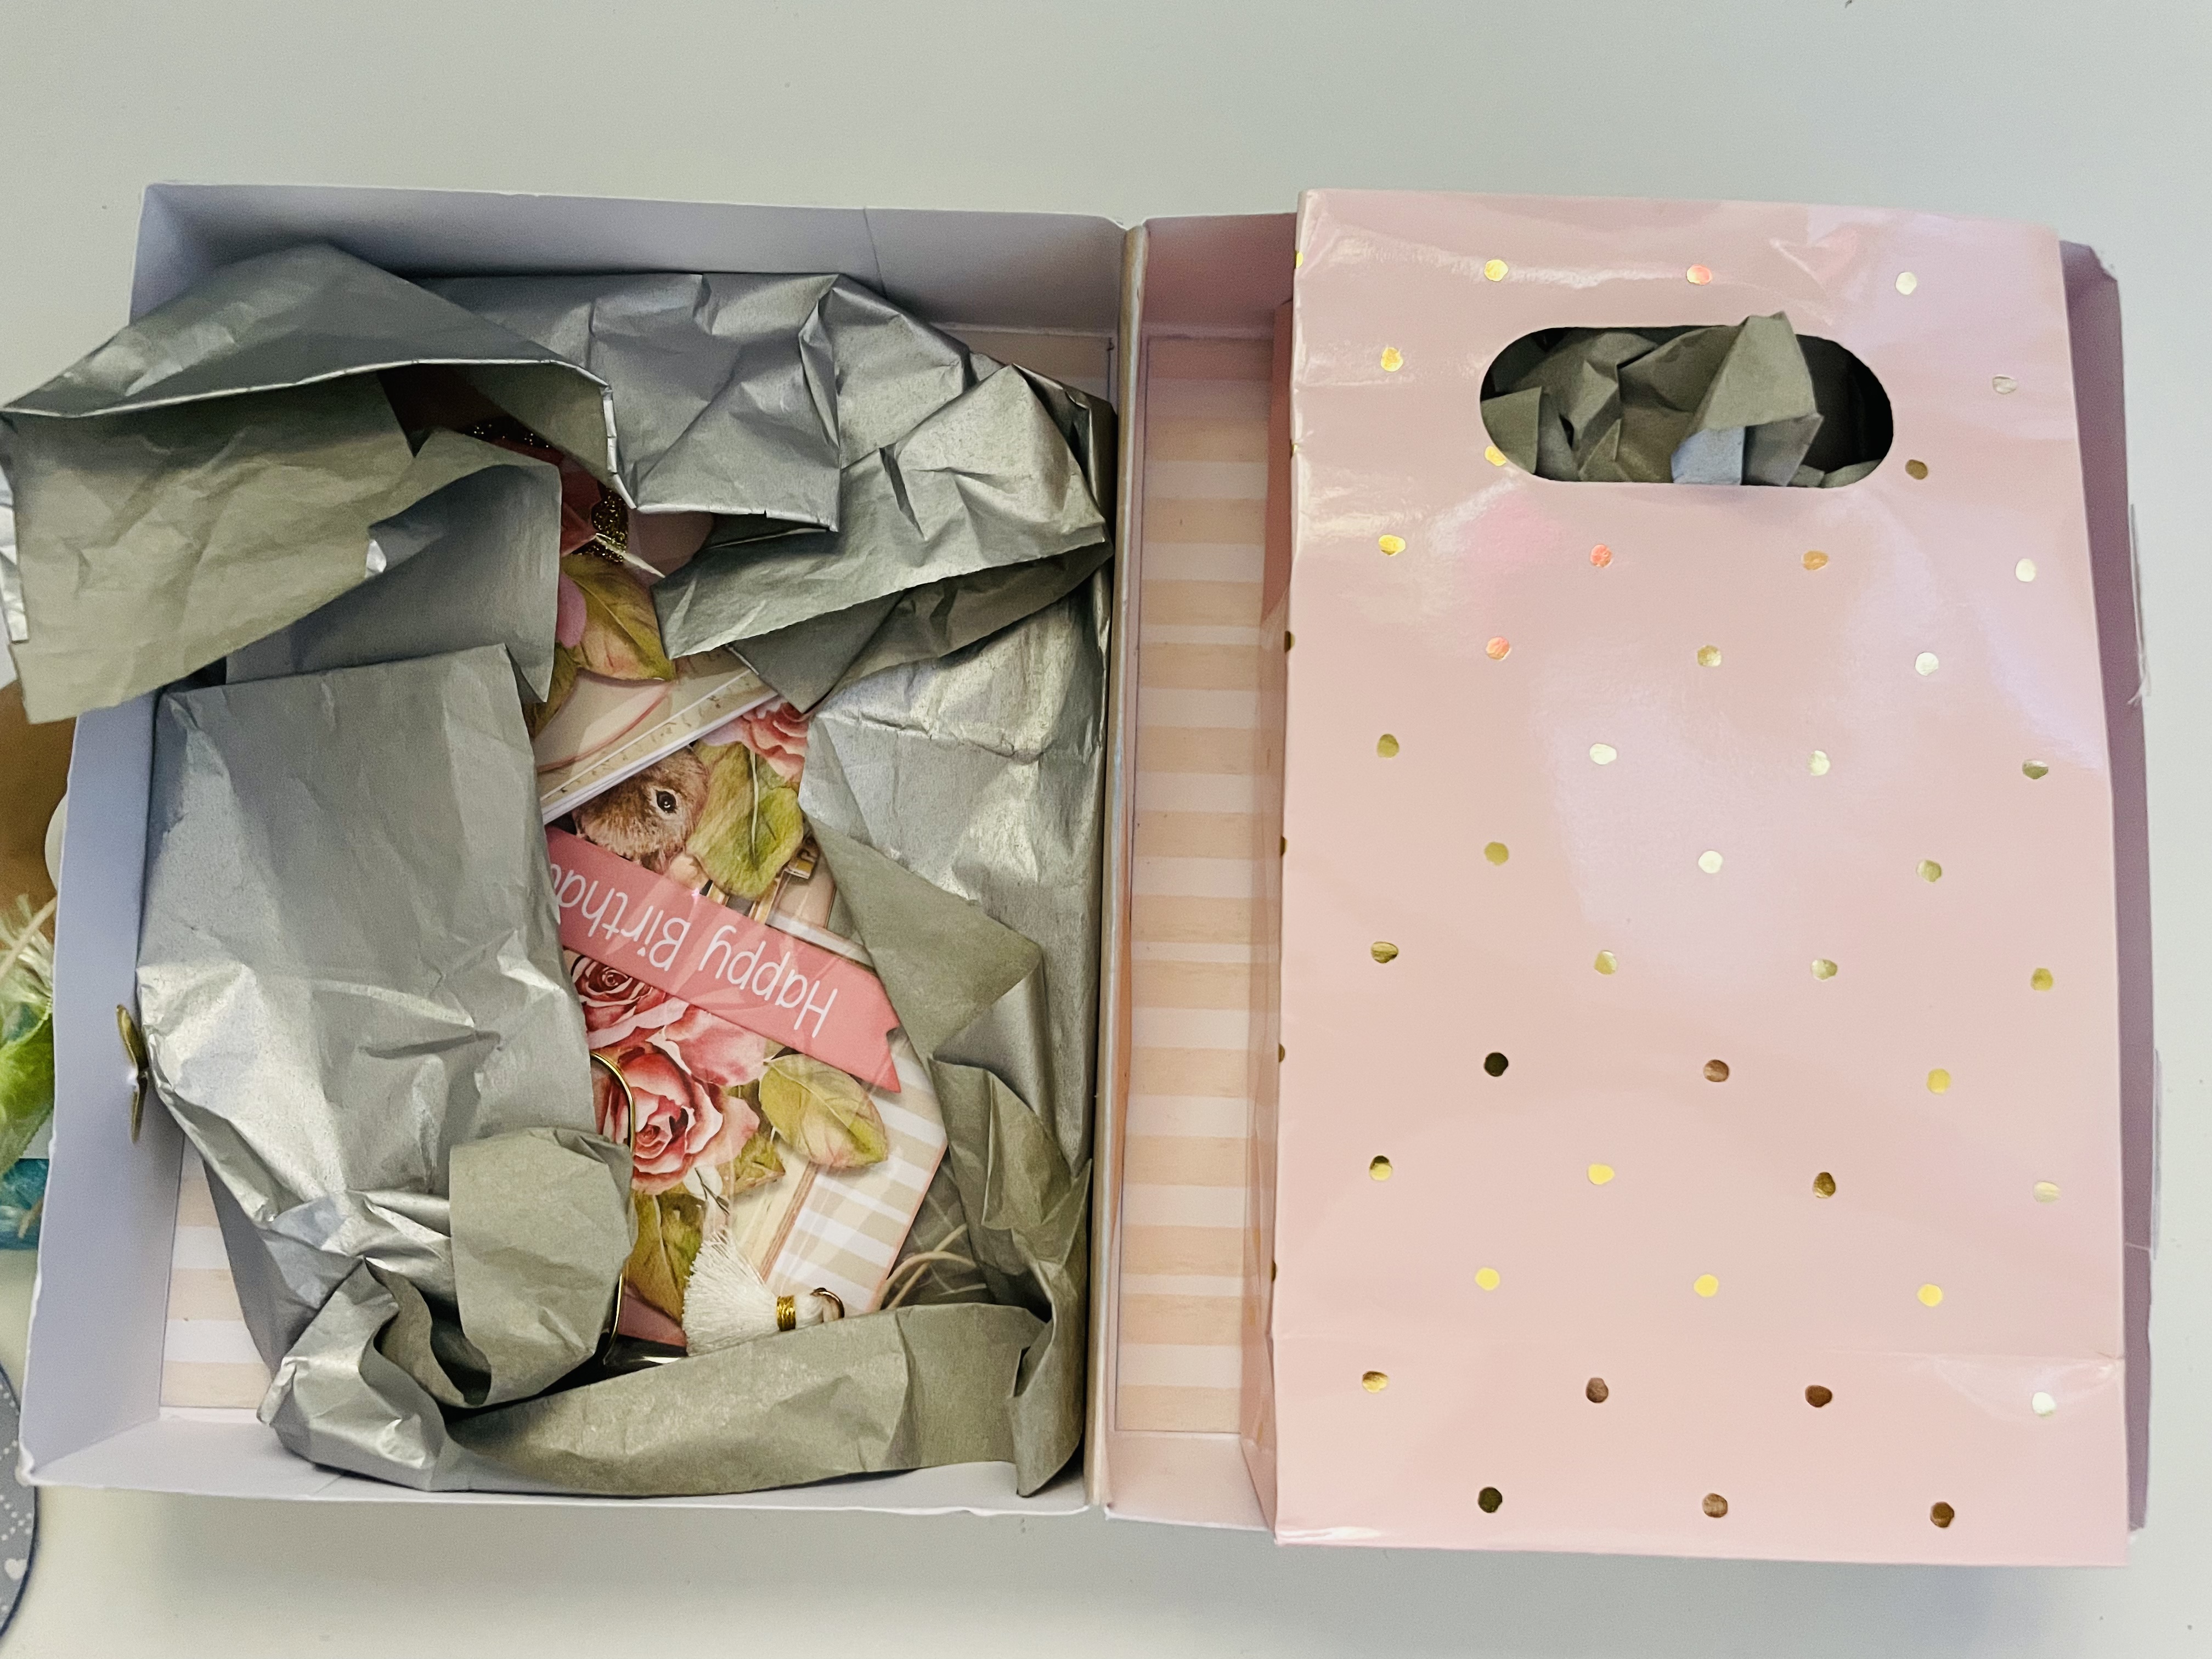
Christmas swap box & projects - AB Studios Christmas Days

 I grabbed this AB Studios - Christmas Days collection a year ago at a local retreat weekend and have been “saving” it… I don’t know what I’ve been saving it for, just didn’t want to use it cause it’s so cute.

But of course that just doesn’t do my overflowing craftroom any good..

As I signed up for another upcoming Christmas swap, I thought it would be the perfect collection to use.
Criteria is a bag / holder + Shaker card + Tag and include a Recipe.. Using the same papers for the all the projects.
I had so much fun, I added a couple extras.
Rosettes, Notepad, Bookmark & Bauble..


Let me know what you think! 
Thanks for your time, Happy Scrapping.. 

Monday, December 5, 2022

Suitcase papercraft swap


Suitcase Papercraft Swap


Using Uniquely Creating - The Story Garden collection


Let me know what you think! 
Thanks for your time, Happy Scrapping.. 

Monday, May 9, 2022

High Tea - Happy Mail penpal idea

 This was just a fun little project I put together featuring Uniquely Creative - High Tea collection.

The base design is loosely based on an idea from Alicia Redshaw at Scrapbook Fantasies.
However the measurements are mine and some design changes were made to not clash with copyright laws.


High Tea - Happy Mail penpal idea


You are welcome to use this project as an inspiration or scraplift if you’d wish!


This would make sure a great little Happy Mail idea to send to a Penpal. It would hold quite a bit of goodies as it’s 1” wide in the holder / pocket area.


Let me know what you think! 
Thanks for your time, Happy Scrapping.. 

Visit on FACEBOOK to keep up to date with my projects in real time 

Scrap Crazy with Toni  


Saturday, April 30, 2022

How to Card In A Box - use your scraps

 How to series - Card In A Box
Use your scraps

A new addition to the How To series is some fun fold cards.

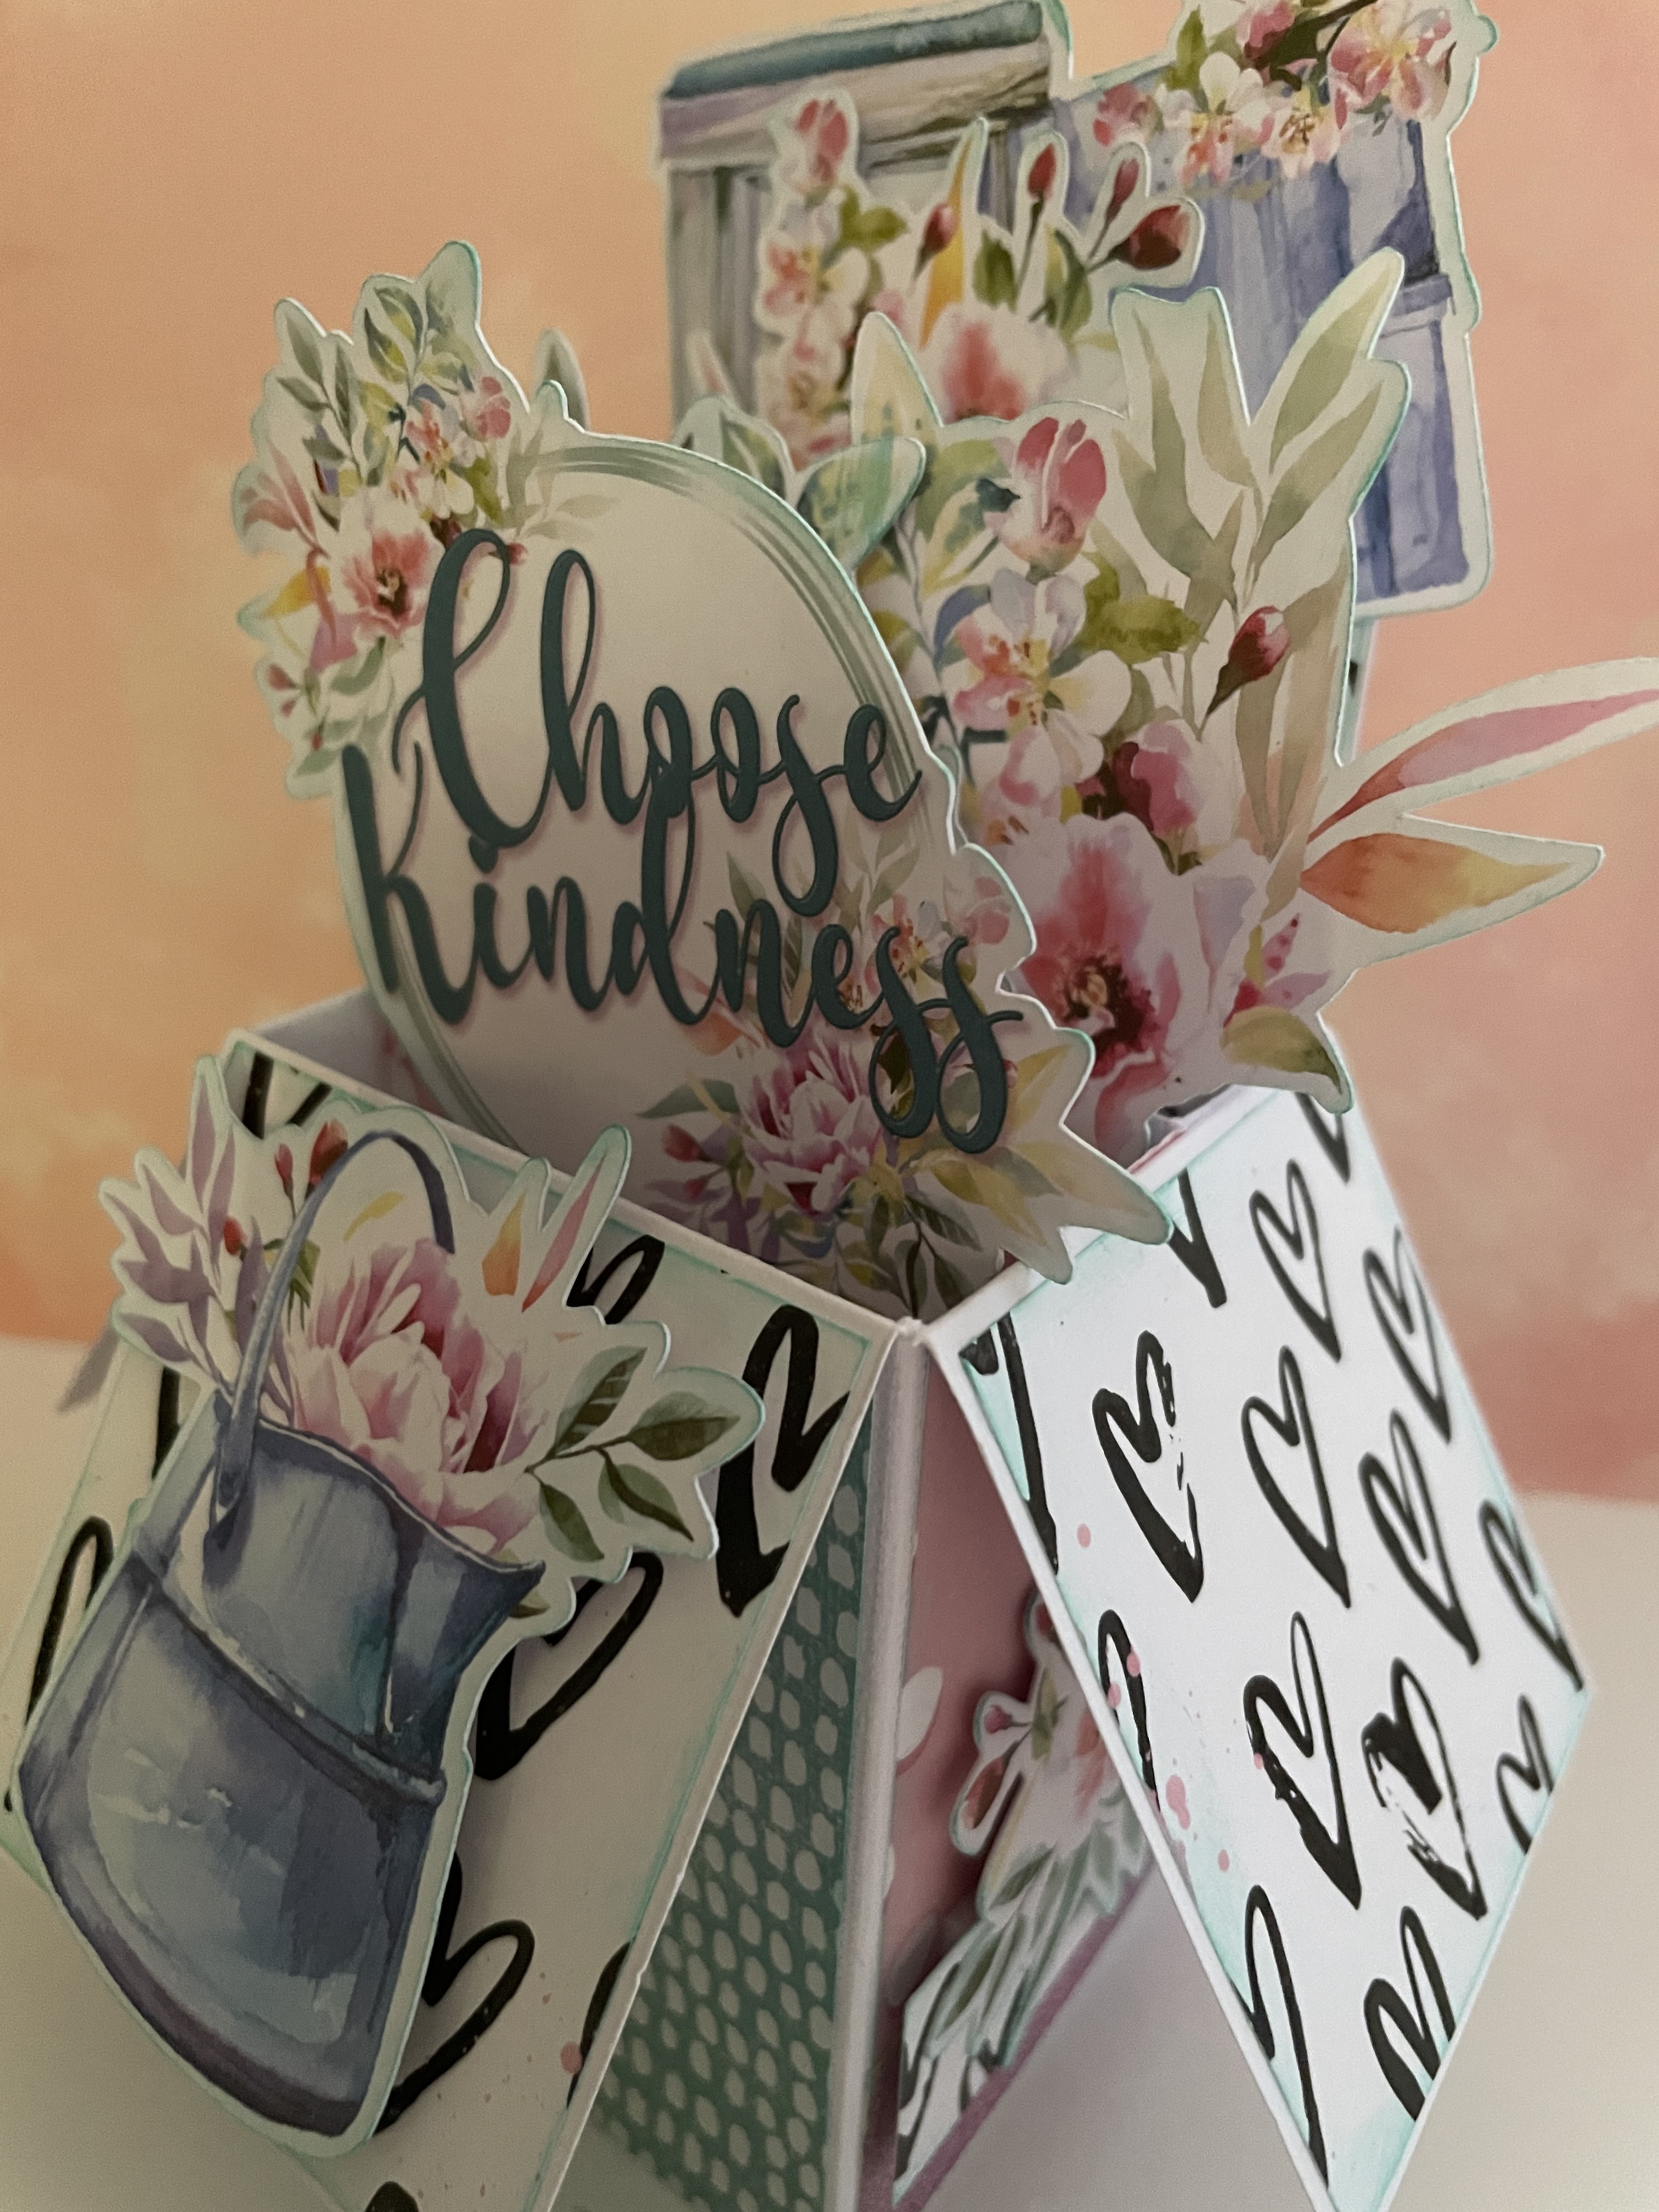
Today I am sharing a small Card In A Box that I recently made. They are so quick to throw together and measurements are easy, that you can put one together in less than 30min (not including any fussy cutting time 😆) This box has a base of 5x8.3/4 I usually make my boxes stand 6" tall with 2.5" panel sides. Which will begin with a base of 6x10.3/4" Of course using colour cuts or pre die cut ephemera pieces will also help to make it a quick project, as fussy cutting pieces can take quite a while.. 🤦‍♀️✂️ I have included measurements & basic instructions in the video & captions.. So please watch & read for more details. These boxes can be used for any theme or occasion. Simply style it to suit. They will also fold flat to fit into an envelope for postage if required. I used the Cocoa Vanilla - Daydream collection for this card. Keep an eye out for more in the "How To" series coming soon.. Would love for you to LIKE my crafty fb page for more updates - Scrap Crazy with Toni


Choose Kindness


Fantabulous   -- card in video -- 


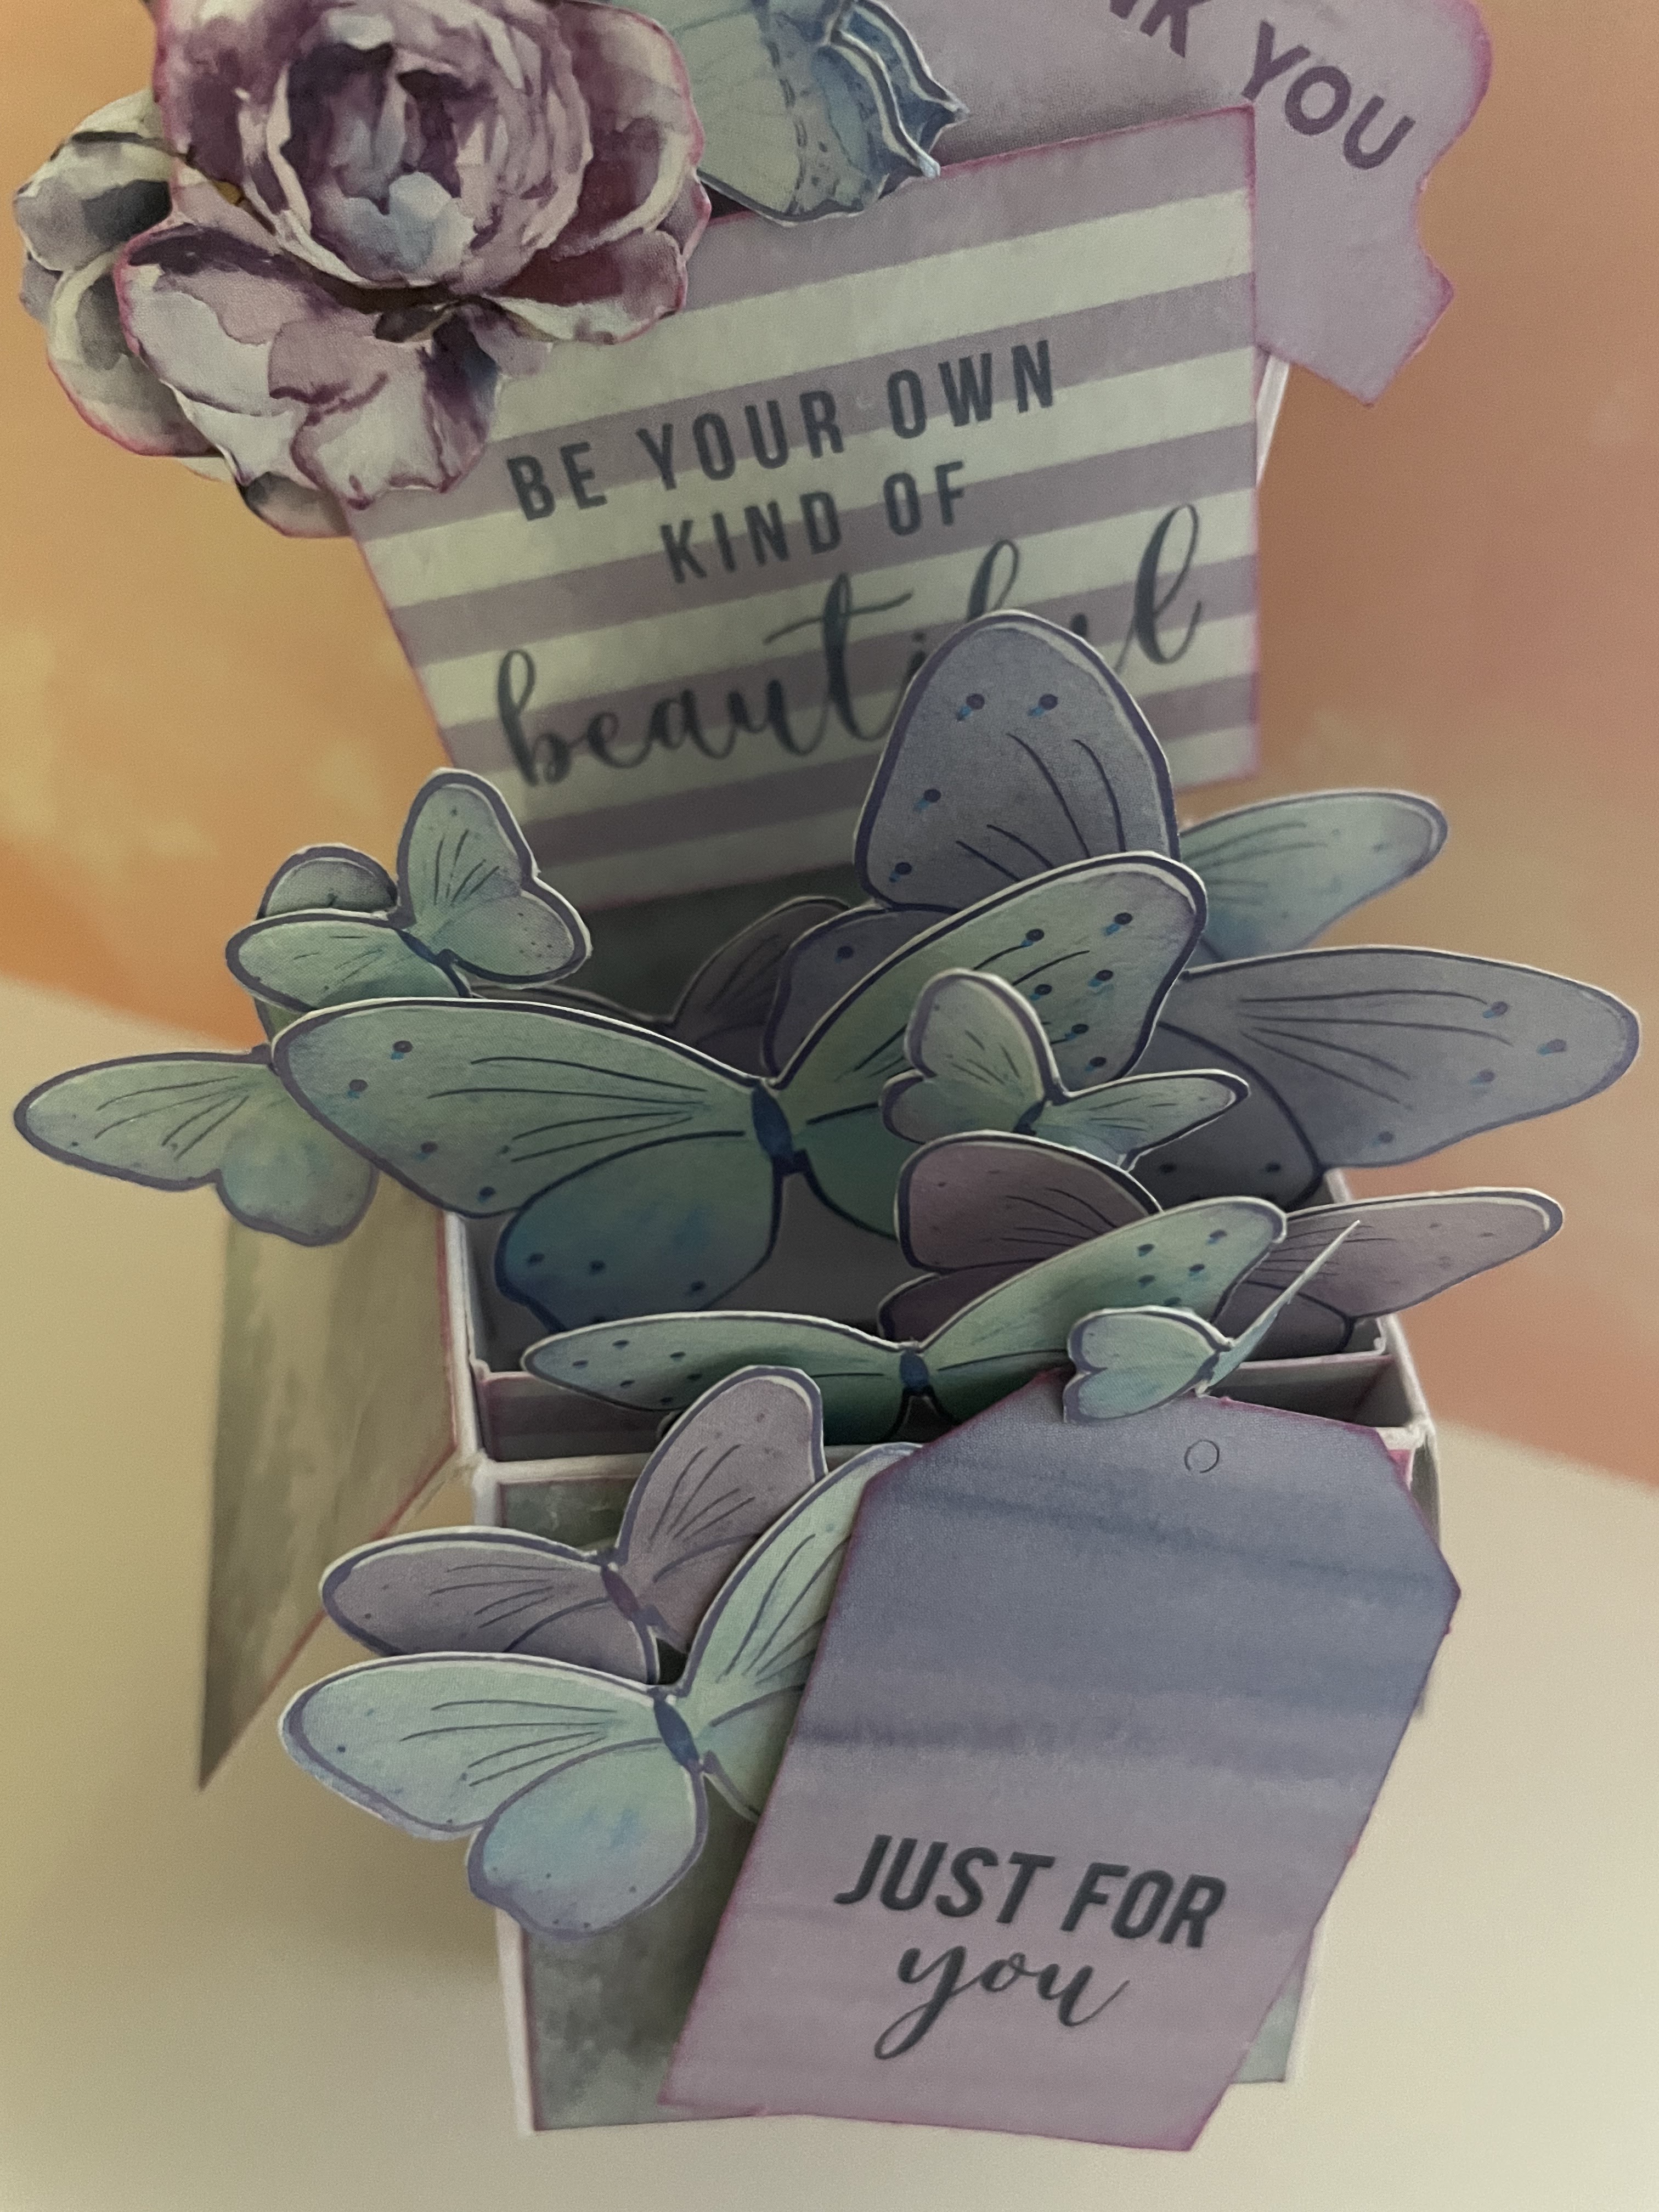
Just for you


Let me know what you think! 
Thanks for your time, Happy Scrapping.. 

Visit my on FACEBOOK to keep up to date with my projects in real time 

Scrap Crazy with Toni  


Tuesday, December 1, 2020

Grab and Go box with cards - Christmas - Twitchit Craft Kits

  Grab & Go box with cards– made by Toni Herron for Twitchit Craft Kits


Christmas Traditional Kit 


This is definitely one of the easiest open topped boxes you’ll ever put together.

Start off with a plain cardstock 12”x7.1/4”

Score the long side at 4.1/2”,  5.3/4”,  10.1/4” &  11.1/2”

Score the short side at 6”  &  7.1/4”

Fold all of the score lines, cut slits into the score lines on the bottom, now wrap the panels until they make a box. Glue the extra flap closed on the long edge. Bring up and glue the bottom panels to create a base. The box is now complete. 


For the cards to be easily seen and picked up, draw and cut a diagonal line across the top of the side panels. From back to front, by 1”

Decorate- Twenty Five Days 5.3/4”x4.1/4” + 2 Red/Green 1”x5.3/4” + Holiday Floral 4.1/1”x4.3/4

Ink all pieces to be used on this project. Finish off with a strip of washi tape on the back. 


PROJECT TWO – simple 5 minute cards

Starting with a plain cardstock 5.3/4”x8”  *tip A4 cut in half is perfect for a card base of 5.3/4”x4”

1.      Poinsettia 5.1/2”x3.3/4” + torn Holiday Floral *1.1/2x5.1/2”

Stick down the Poinsettia pattern paper as the first layer on the bottom. Then using some scraps, I have torn the edges of the red pattern paper. Stick down a strip on top of each card and finish off with a tag. Ink all edges. Use foam tape / 3D dots or cardboard to give the tags some dimension


      2Woodgrain 5.1/2”x3.3/4” + Holiday Floral 4.1/2”x3.1/4” + scraps for strips Twenty Five days and Red/Green and Berry Christmas

 Stick down the Woodgrain as the first layer.

 Create your topper as a second part. 

Using the red pattern paper as the base for the topper, glue down the strips of scrap papers onto the left side. Using some foam tape / 3D dots / cardboard added to the back of the sentiment piece. You can also use the foam tape to the back of the topper also to give extra dimension layers to this card. Ink all edges. 


3.    Woodgrain 5.1/2”x3.3/4” + Holiday Floral 5.1/2”x1” + Acetate 5.3/4”x4”

Measure down 1” from the middle crease. Cut the card there. Add Acetate to the inside of the flap panel to equal the length of the missing card. Add washi to the back of this panel.

On the front, add a pattern paper layer and washi over the top of the cut. Choose a sticker from the sticker sheet included in the kit, place it in the middle to replicate an invisible card front.

Stick the woodgrain to the inside of the card. This will create a background for the sticker on the front. 


Visit my on FACEBOOK to keep up to date with my projects in real time 

Scrap Crazy with Toni