Wise & Free - triple z card
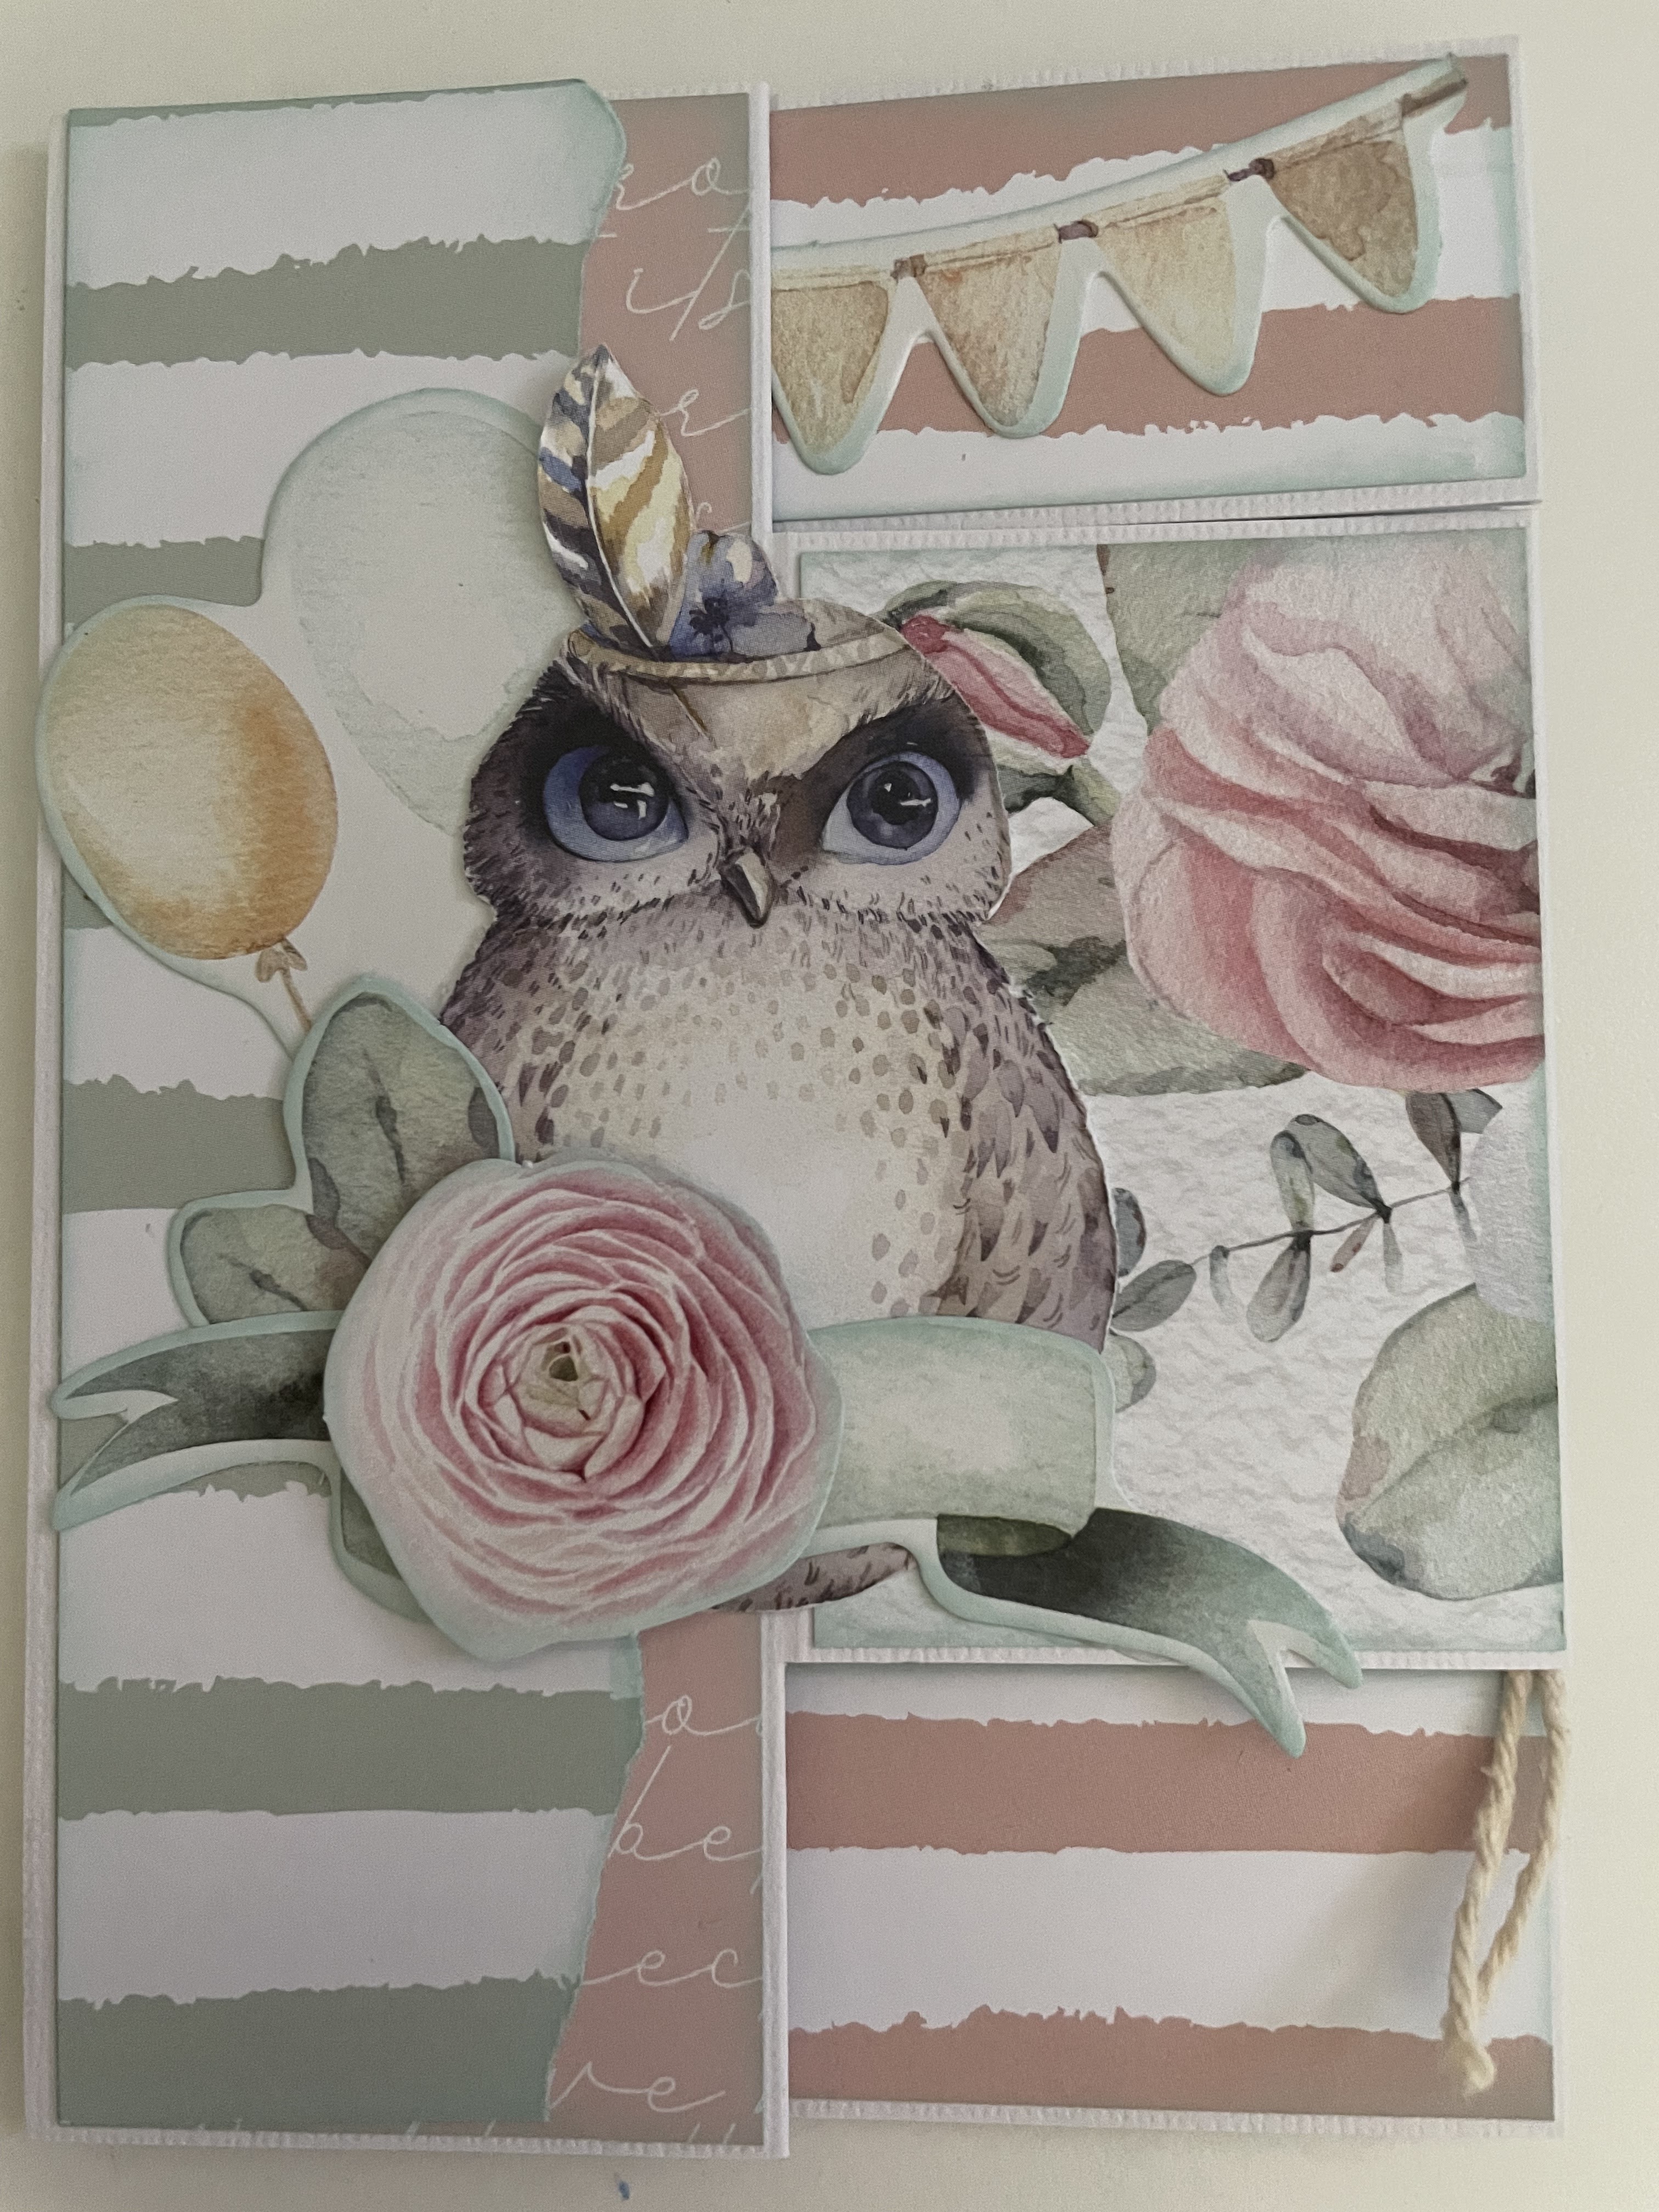
Today I'm sharing this super cute card to continue with the collection from Uniquely Creative that I shared the layouts of yesterday..


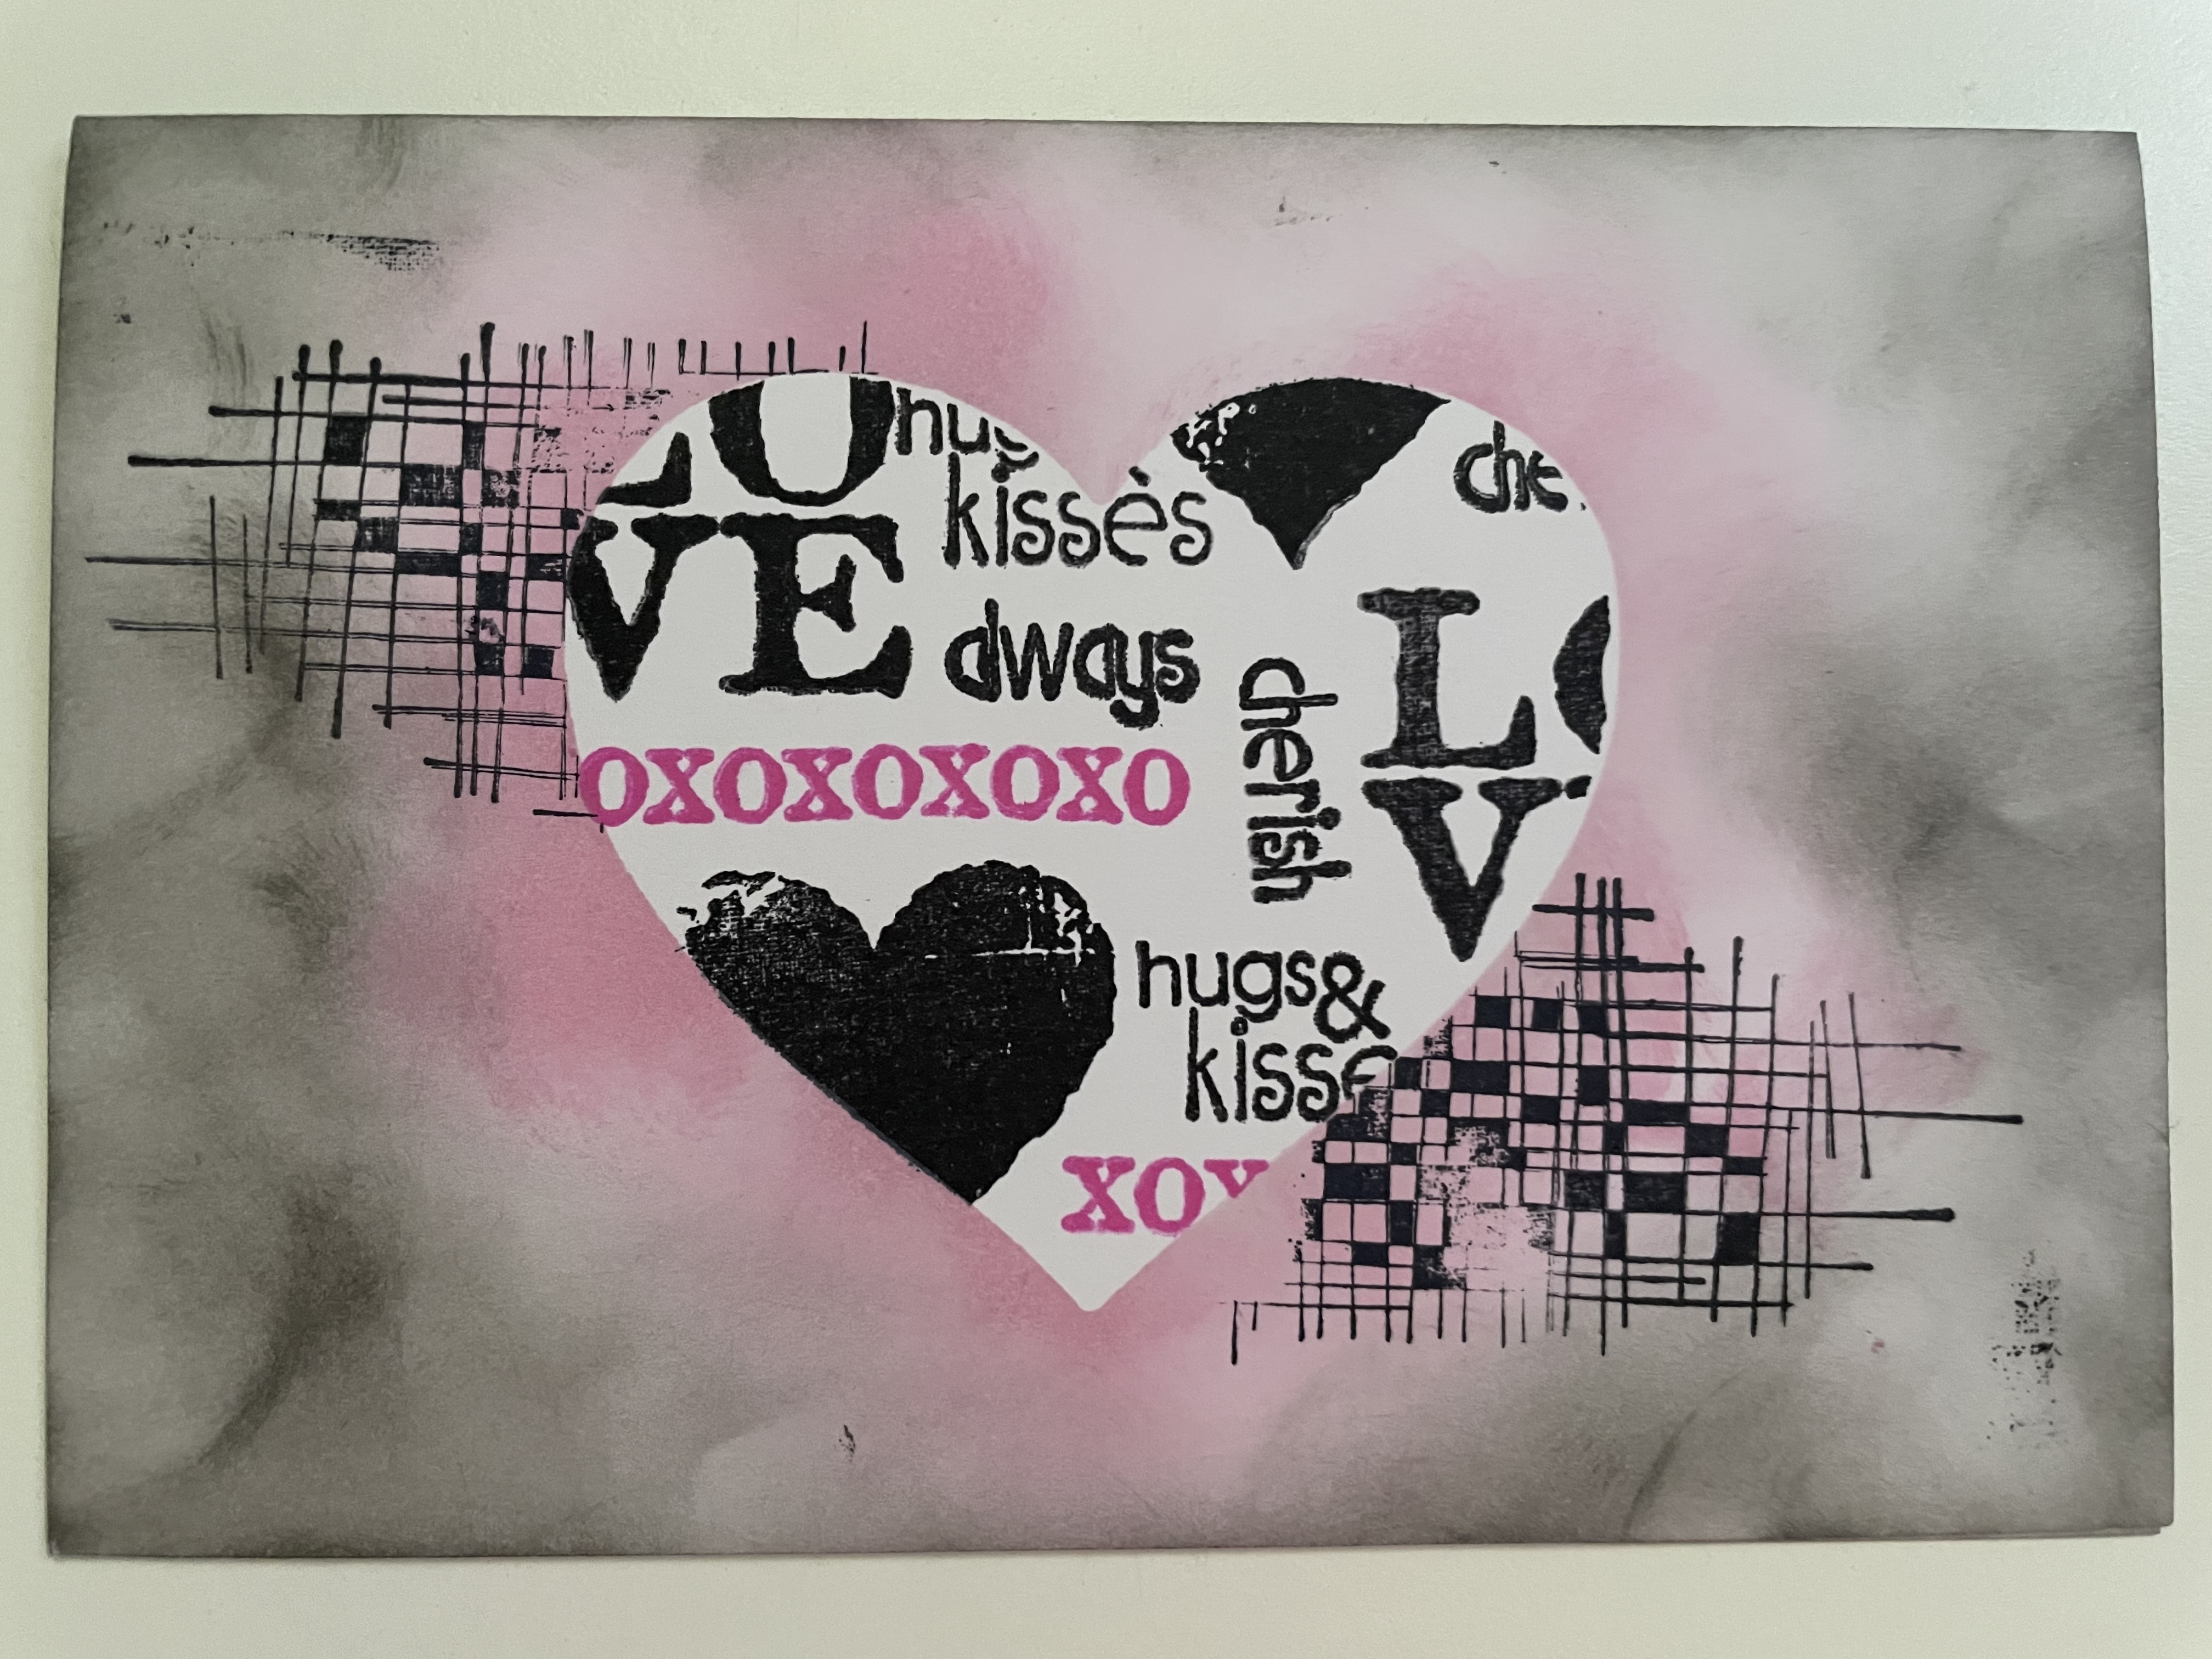
bonus card share - valentine heart spotlight card..
Today I'm sharing this super cute card to continue with the collection from Uniquely Creative that I shared the layouts of yesterday..
I was very honoured last year to be a part of a small group of card makers that created some special custom cards for teachers to show our support and appreciation.. I put together 4 of each design..


Visit my on FACEBOOK to keep up to date with my projects in real time
Playing catchup yet again with my cards.. Most of these were infact made last year, but have slipped though the cracks with me forgetting to upload and share them here on my blog..
For more current and up to date shares, so you don't miss anything - follow along my crafty projects over on my fb page - Scrap Crazy with Toni..


Visit my on FACEBOOK to keep up to date with my projects in real time
Still playing catch up with all of my Christmas projects from 2021..
Here are some of the cards that I made. Most were for swaps!


Visit my FACEBOOK to keep up to date with my projects in real time
Scraps Cards – made by Toni Herron for Twitchit Craft Kits

Christmas Traditional Kit
These cards are so easy and perfect to use up all the fiddly bits leftover from kits.
Starting off
with plain cardstock to create your usual card base. I used an A4 piece and cut
in half at 5.3/4”. This then folded in half creates the card base at 5.3/4”x4”.
Heavily ink the edges of the card base.
Card topper-
use a larger piece of cardstock from your scraps box. *tip- doesn’t matter what
colour or pattern as it is about to be covered- 5.1/2”x3.3/4”. Stick double sided tape / glue
to fully cover as much as possible. Now using all of your kit scraps, place
each piece randomly to cover the whole topper base. It will look a little like
a mismatch quilt design. Once the whole
base is covered, cut the overhang from the edges. Use some foam tape / 3D dots /
cardboard behind and adhere to the card base. This will give a fun dimensional
element to the card. Place a tag, fussy cut pieces or sentiment to the front of
the card topper to finish off.


Visit my on FACEBOOK to keep up to date with my projects in real time
Grab & Go box with cards– made by Toni Herron for Twitchit Craft Kits
Christmas Traditional Kit
This is definitely one of the easiest open topped boxes you’ll ever put together.
Start off with a plain cardstock 12”x7.1/4”
Score the long side at 4.1/2”, 5.3/4”, 10.1/4” & 11.1/2”
Score the short side at 6” & 7.1/4”
Fold all of the score lines, cut slits into the score lines on the bottom, now wrap the panels until they make a box. Glue the extra flap closed on the long edge. Bring up and glue the bottom panels to create a base. The box is now complete.


For the
cards to be easily seen and picked up, draw and cut a diagonal line across the top
of the side panels. From back to front, by 1”
Decorate-
Twenty Five Days 5.3/4”x4.1/4” + 2 Red/Green 1”x5.3/4” + Holiday Floral 4.1/1”x4.3/4
Ink all
pieces to be used on this project. Finish off with a strip of washi tape on the
back.

PROJECT TWO –
simple 5 minute cards
Starting with a plain cardstock 5.3/4”x8” *tip A4 cut in half is perfect for a card base of 5.3/4”x4”
1. Poinsettia 5.1/2”x3.3/4” + torn Holiday Floral *1.1/2x5.1/2”
Stick down the Poinsettia pattern paper as the first layer on the bottom. Then using some scraps, I have torn the edges of the red pattern paper. Stick down a strip on top of each card and finish off with a tag. Ink all edges. Use foam tape / 3D dots or cardboard to give the tags some dimension
2. Woodgrain 5.1/2”x3.3/4” + Holiday Floral 4.1/2”x3.1/4” + scraps for
strips Twenty Five days and Red/Green and Berry Christmas
Stick down the Woodgrain as the first layer.
Create your topper as a second part.
Using the red pattern paper as the base for the topper, glue down the strips of
scrap papers onto the left side. Using some foam tape / 3D dots / cardboard added
to the back of the sentiment piece. You can also use the foam tape to the back
of the topper also to give extra dimension layers to this card. Ink all edges.

3. Woodgrain 5.1/2”x3.3/4” + Holiday Floral 5.1/2”x1” + Acetate 5.3/4”x4”
Measure down 1” from the middle crease. Cut the card there. Add Acetate
to the inside of the flap panel to equal the length of the missing card. Add
washi to the back of this panel.
On the front, add a pattern paper layer and washi over the top of the cut. Choose a sticker from the sticker sheet included in the kit, place it in the middle to replicate an invisible card front.
Stick the woodgrain to the inside of the card. This will create a background
for the sticker on the front.


Visit my on FACEBOOK to keep up to date with my projects in real time
** – made by Toni Herron for Twitchit Craft Kits
Christmas Traditional Kit
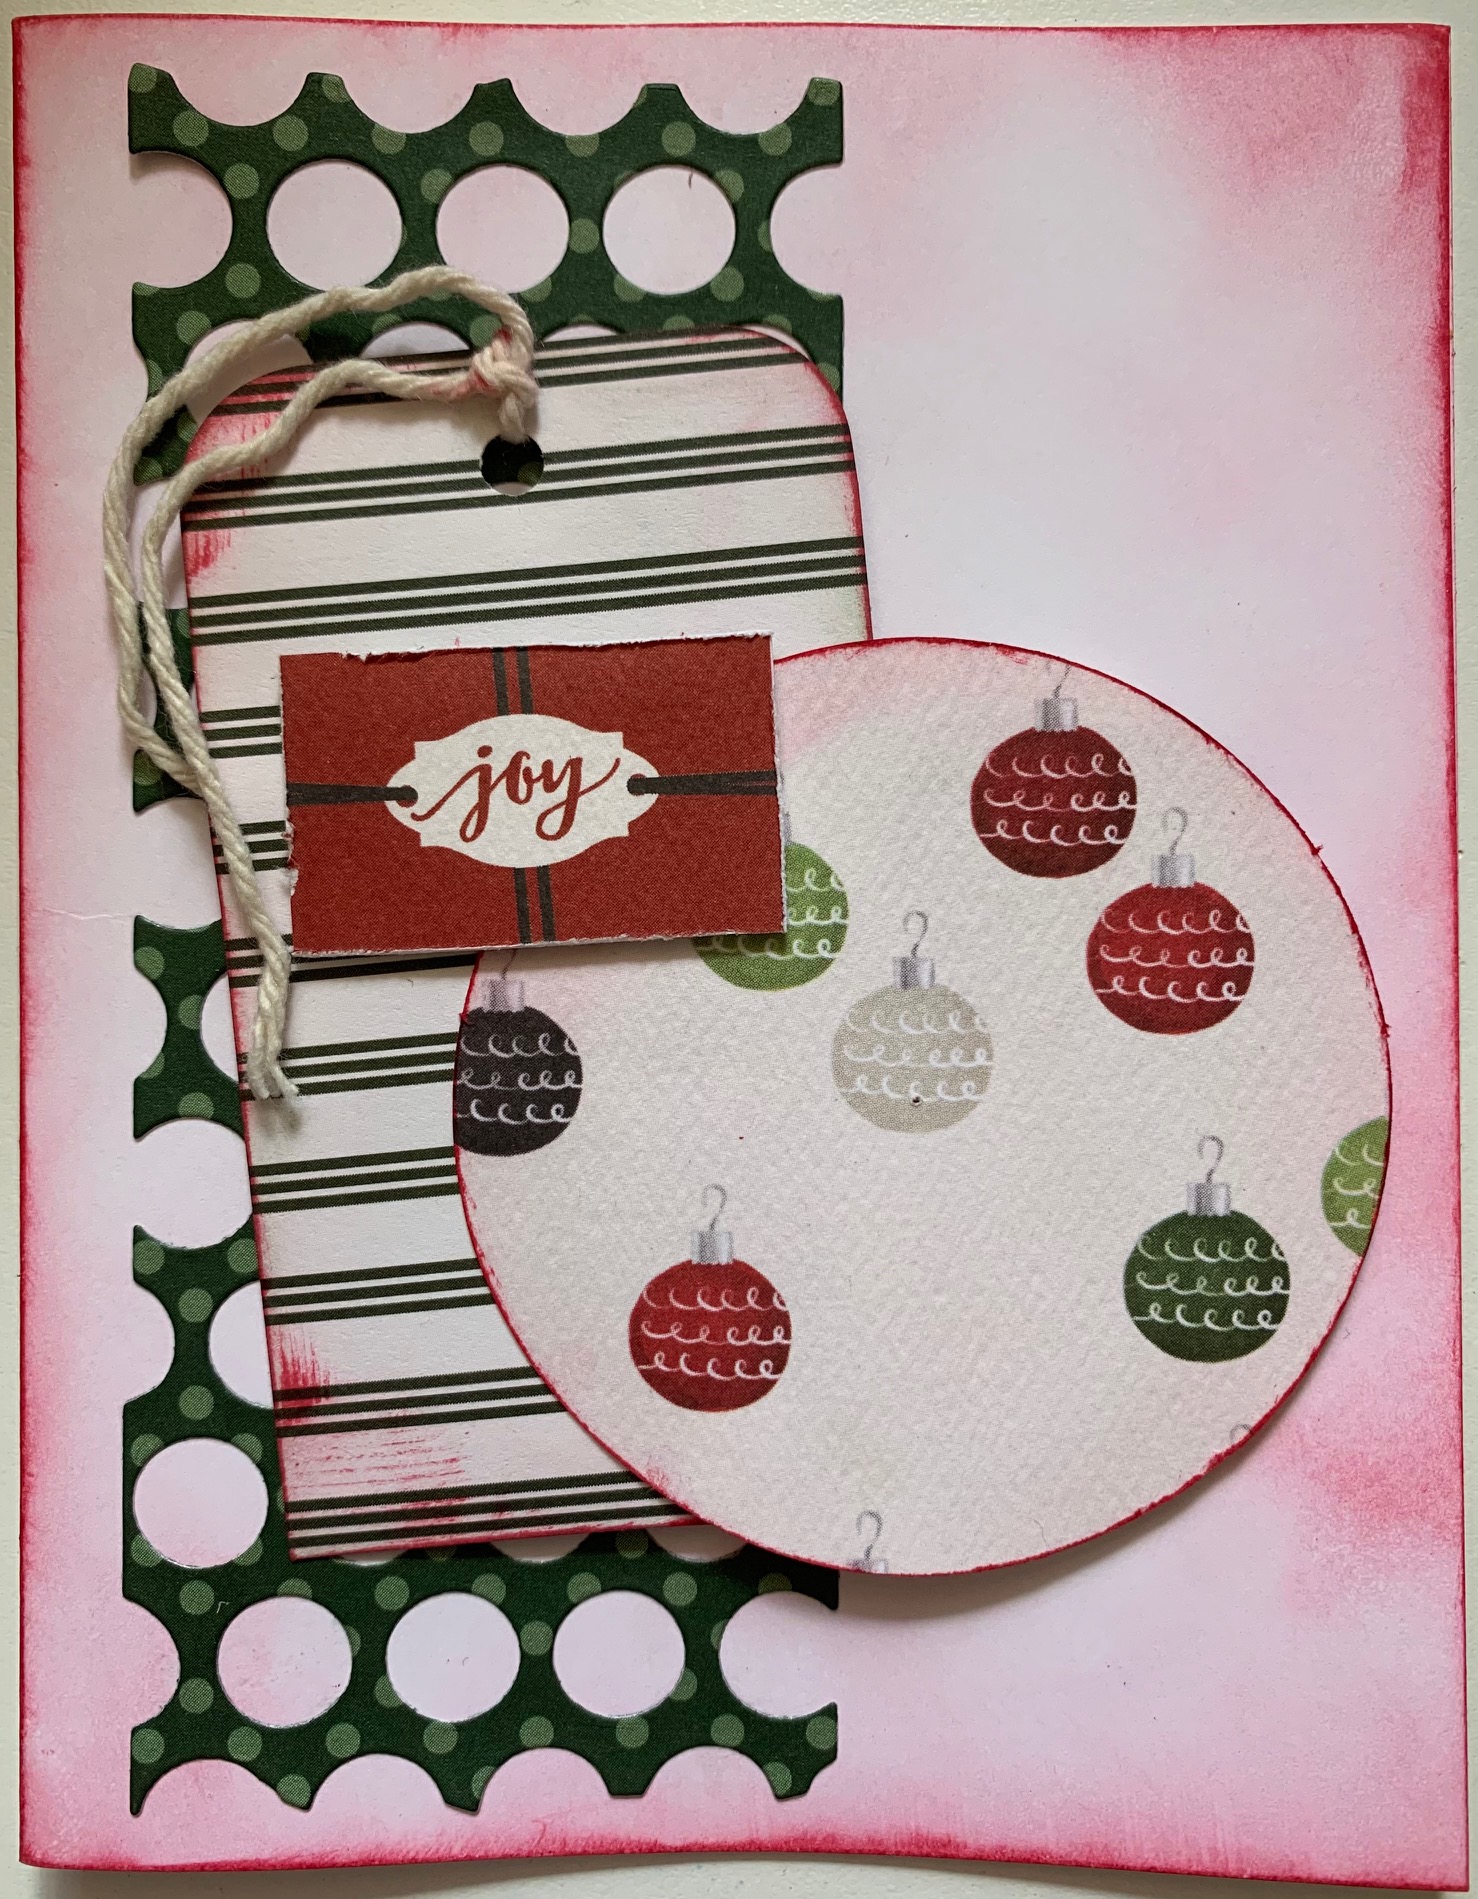
Each card is designed to use up as many scraps as possible. You may add so much more to these cards as you like. Go crazy and really fill them up! I have made these fairly simple so even a beginner can follow along.
Start with plain cardstock to create your usual card base. I used an A4 piece and cut in half at 5.3/4”. This then folded in half creates the card base at 5.3/4”x4”.
Choose which metal dies you would like to use and search through your scraps to find pieces that will suit in size. Run through whatever machine you have Big Shot / Cuttlebug / etc..
I made four cards, all with a distress inked background. I did this with a blending brush.

Dies I used were from Sizzix, Couture Creations and a freebie in a Creative Cardmaking magazine.


Add toppers like tags, fussy cuts, sentiments, washi tape. I even turned the off cut into a second card with a shaker.
You are only limited by your own imagination. So have fun with these!

Visit my on FACEBOOK to keep up to date with my projects in real time


