Friday, July 15, 2016

Loving everyday - small canvas

Good morning crafters. Yes, I know it's been a little while since I last posted. I have been very bust with this thing called life... OOOOh and Pokémon Go! lol..
Anyway, I'm here today to share with you my lastest failure of a creation.. lol.. Not really! It does look much better in real life than the photos though. I'm still not 100% in love with this, but it's a start to a new technique that I'm very tried before..  I have never played with Watercolour Paints and will admit I was terrified. I have made this small canvas topped with some great Memory Maze chipboard for my very first project.  

So after you go through this post, I would love for YOU to go off and maybe try something new too!!
Good luck and hope you're more pleased with the outcome that I initially was.. lol..

Loving every day


Although I know it's not the "best canvas I've ever made", I still think it is important to share this with you as I want you to know it's ok to try things you have never tried before! I tried a few different things that didn't work out well, so fell back to basics. But that's ok, even as a DT member we all have moments that just plain and simple FAIL!


You will be able to find these products everywhere around you.
Newsagents, Department store (Big W / Kmart) and even some budget $2 shops.

Since this is my first time, I wanted to keep it as simple as possible. No fancy Cats, sitting in a boat, on a beautiful lake, surrounded by flowing hills and trees. HAHAHAHA... I couldn't even do that if I wanted to anyway!!!!!  Nooooo, Nooooo! Just a cute little sunburst design with straight lines was definitely going to be my limit for this project. :)

I started by using the Memory Maze stencil as my guide for the sunburst.


I used only 5 of the watercolour paints and spread them out on the canvas. Letting them dry I also added a Black boarder.
Please note some advice: Don't do this while wearing "nice" clothes, it somehow got all over my shirt and pants. *** The shirt has now been designated into the "wear while crafting" pile and the pants, well I just hope I can wash it out... ekkk..
Next was the brick wall stencil and some Modelling Paste on the lower half, just to break up the olours and give the chipboard an extra background effect to sit on.

The swirl and Butterflies I coloured with a Silver Alcohol ink, then painted the words with the Black watercolour paint again. Here is where I tried many different effects that just simply didn't work. So I just kept recovering with the black.
The final touch was the lone black flower in the corner, which was made by Jan McKenzie.


Memory Maze products used;

Flower by Jan McKenzie


Wednesday, June 22, 2016

Journey wedding layout

Well have I got a treat for you?! YES I certainly have! Today I'm back to share my newest DT creation from Memory Maze.
This one, although I am a little bias is definitely a standout! It features a stunning photo (credit to Kristina Childs) of a good friend Shae and her new husband Alex. They finally made it official in Bali in April in a spectacular wedding!
 

Journey Adore Believe Love Together


I started out with a pattern paper from Kaiser as the background. I left it as is.
 
 
Then used this fun Beehive 12x12 chipboard piece as the focal piece for the background. I painted it with a "Linen" coloured paint and randomly plot some "Cotton Candy" paint in some areas. Over the top of that paint I lightly applied some Silver Stickles Glitter glue.


The swirl chipboard pieces used as a cluster branch for the flowers has been coated with a Silver Opal embossing powder. The Words for the title have been coloured using the Adirondack Alcohol Silver ink. I really wanted a flat, clean and shiny finish to the words. So therefore using any sort of embossing powder was out of the question.


The flower clusters include plenty of Kaiser, Manor House and Prima. Of course I added the final touches of some Memory Maze bling in there too.
 
 
I submitted this into my local show a couple of weeks ago, I'm very proud to announce that I captured 1st Place with this gorgeous layout. I hope that this does some justice for the stunning photo!
The layout has now found a new home, as it was a gift to Shae & Alex.
 
 
Memory Maze products used;
 
 
beehive 12 x 12
 
Border 40- NO 11 flourish  PK 25 BULK  approx 140 long
 
Together word sheet sold 3\'s

Wednesday, June 8, 2016

Baby to 1st Birthday - Scrapbook Album

Welcome back to a finally chilly day here in my local town.. Winter has hit!
We basically went from having fans on during the night, to the next night having to warm up the room with the heater. lol..
 
Anyway, today I'm here to share with you this scrapbook album that I have put together for Hunter's teacher from last year. She is expecting her first baby and the entire school is very excited!
 
We designed 20 somewhat basic layouts to fit into the 10page album.
 
Welcome cover page
 
New Born page.
On the opposite side of this one, I have slid in a pattern paper from Karen Fosters Design. I haven't altered it in any way, just left it as is for the Mummy to Be to write info about her pregnancy.
 
 Grandma & Pa layouts.

Great page for Mummy & Me photos.
 
Bath Time & Feeding Time layouts
 
This one is just a play double layout. I don't like it very much so will probably replace it with a better double layout when the baby is born and we know if it's a boy or girl.. lol..
 
Fun Cousins and a Friends page..
 
Aunty & Uncle layouts
 
Baptism layout

Beach layout (we live in a coastal town, so a beach visit is for sure!)

Fun in the Sun. Great for play in the backyard or park.
 
Finally the last page is the 1st Birthday layout.


Sunday, June 5, 2016

Steampunk Canvas

Good evening fellow crafters, I'm here tonight to bring you my latest DT creation for Memory Maze. I wanted to do something a bit different yet again and chose to go wild with this SteamPunk themed canvas.
 

Steam Punk Canvas


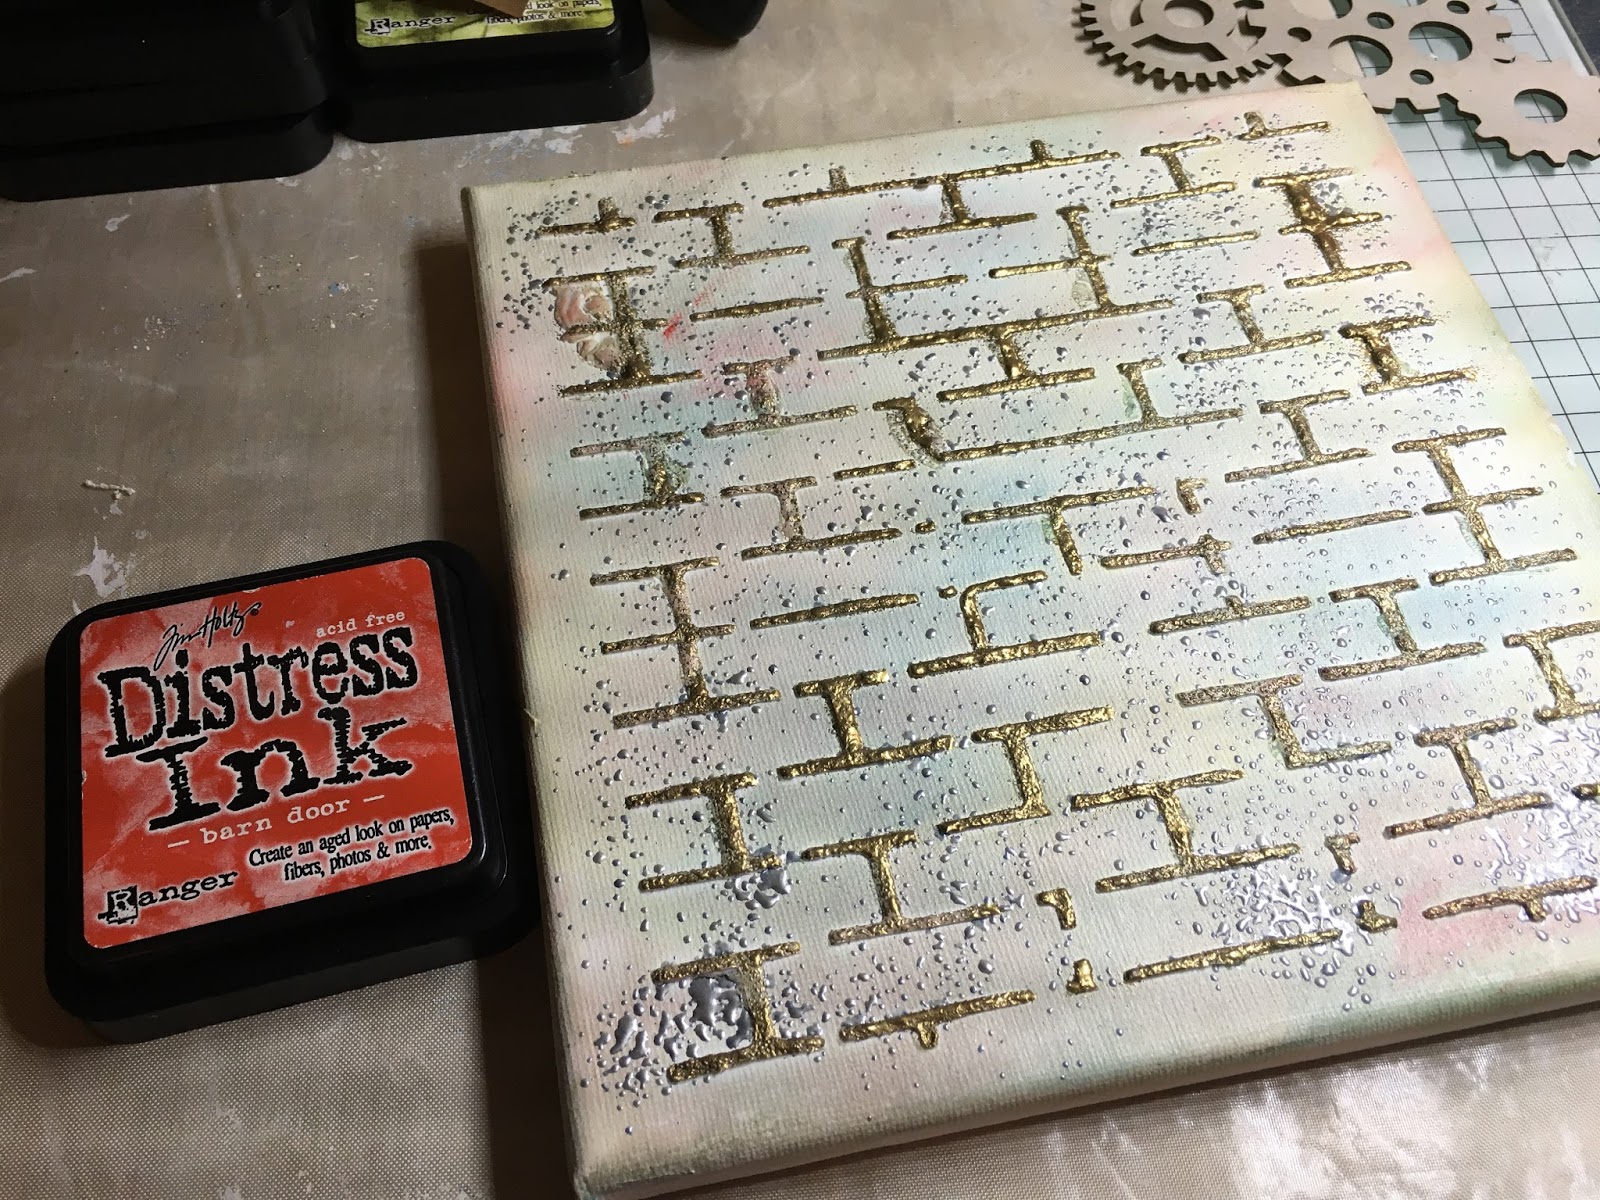
So I started off by preparing this 8"x8" canvas with white Gesso, then before it dried I quickly sprinkled over some Silver Opal embossing powder. When it was heated up, it gave a great melted metal look.
 
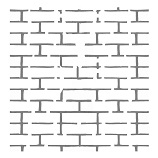
Next I used a MM Brick stencil and Modelling Paste with Gold embossing powder coating it. I loved the look of it bubbling when it was being heat dried. Added that extra special Steampunk feel.
 
I added a little bit of colour to the base with some Distress Inks. And topped it off with a few dashes of Barn Door ink to compliment the chipboard piece that will be featured in the middle of the canvas.
 
Now it was onto colouring the chipboard pieces. Again, I covered some Cogs in the Silver Opal powder and the centre Steampunk piece with Distress Powder.
 
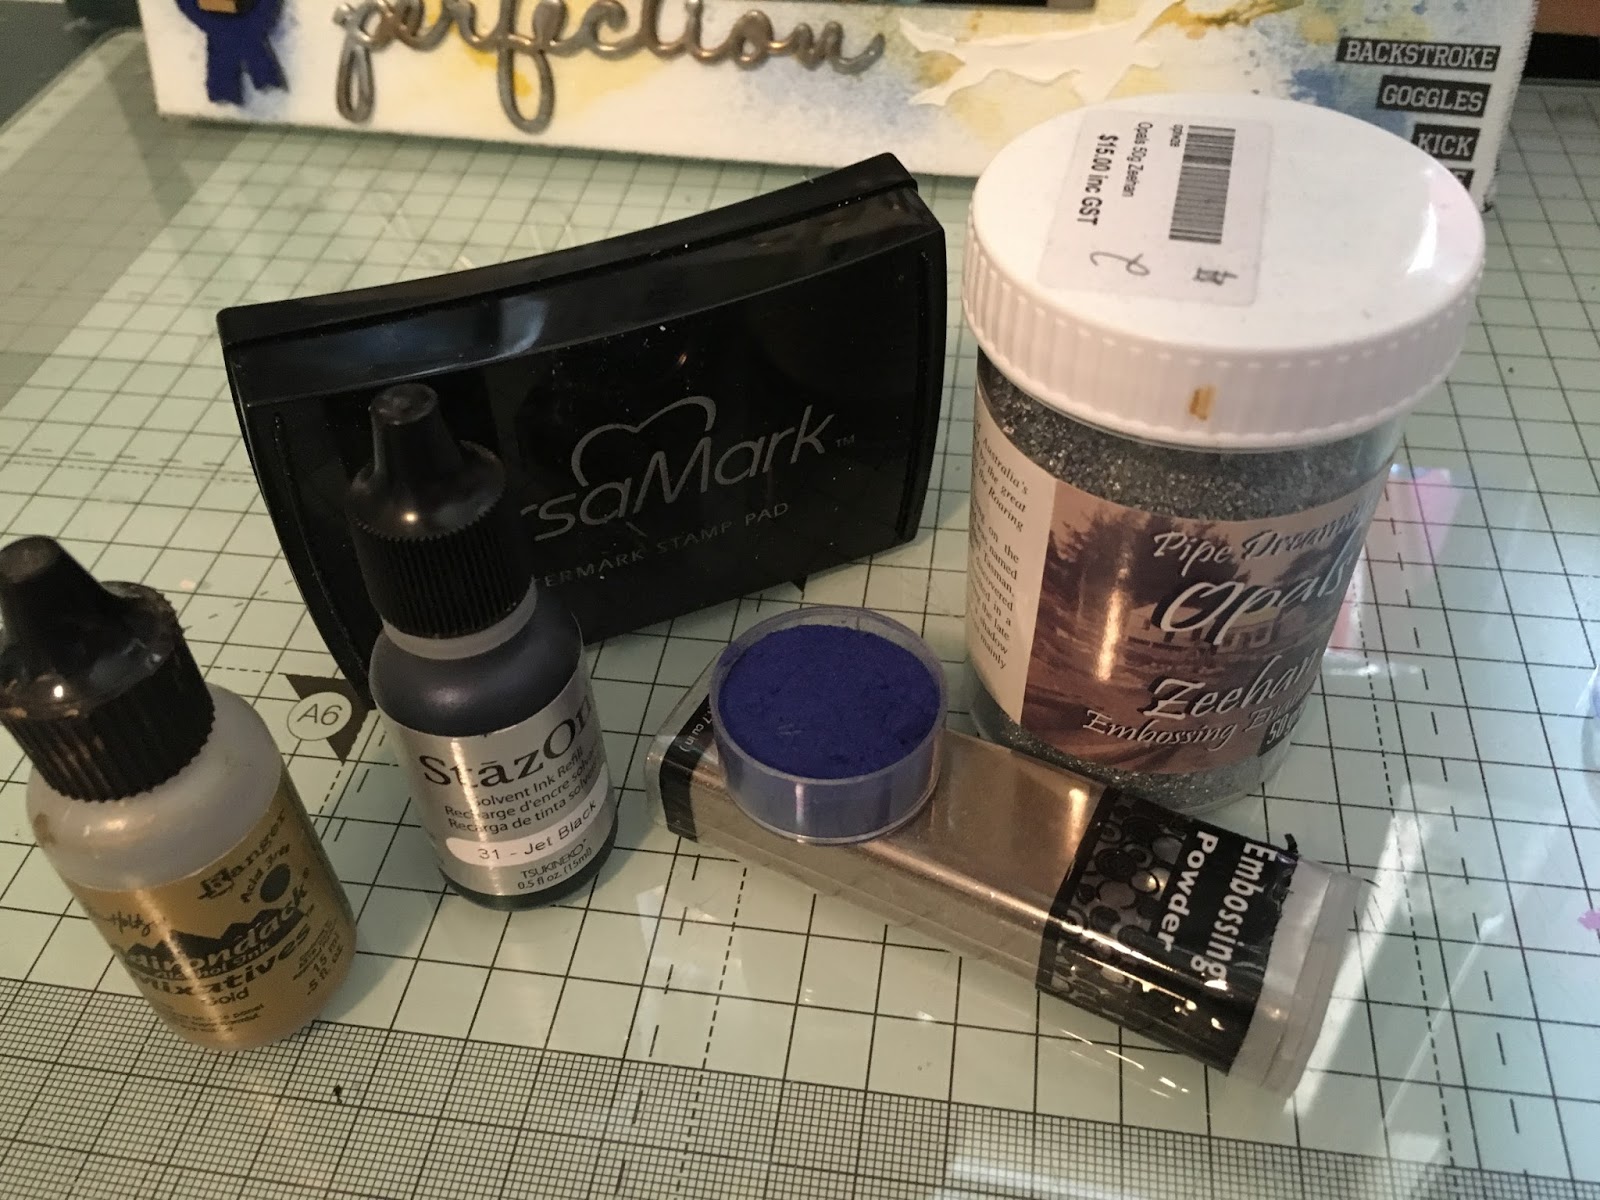
Special mention to my awesome VersaMark watermark ink pad.. It has lasted me at least 6 years so far and I have only just re-inked it tonight. I probably didn't need to be just yet, but when I was going through some draws finding Steampunk goodie ideas, I found the re-inker bottle. So while still fresh in my mind... lol..
 
So the final touches were to hot glue everything down! I added some extra cogs to the other corners. I have used the Silver Opal powder again and two distress inks to softly colour them.
Embellished with plenty of Steampunk themed goodies like; train, key, clock, pins etc..  
 
 
Memory Maze products used;
 
 
12 x 12 all there is is cogs
 
Cogs 
 
Inverted brick 8x8  min buy 3


Tuesday, May 24, 2016

Fairy Garden - update May


Hunter and I have some more photos to share with you featuring our Fairy Garden.. :)
 
We have been a little pre-occupied and very busy lately, but were so excited to finally get a chance to get back into the fairy garden and add some "fake" grass..
 
The fairies section... We will be adding a couple more pots soon, so keep an eye out for next months updates.. :)
 
 
Here is the Dinosaur's section..

 
And the opposite side, near our front door.. The Relaxation area.. :)


Monday, May 23, 2016

Joy wedding layout

Good morning crafting friends and family. I am excited to be back today after quite a big weekend celebrating Lane's 13th birthday. We had another 8 teenage boys here on Saturday for a big day of Mower Racing (only watching.. lol) , then back home for Pizza and plenty of Ice Cream!! lol..
 
Anyway, enough of that as I'm here to bring to you this lovely wedding layout featuring some different techniques used on the Memory Maze chipboard pieces and a stunning photo of my cousin Aleesha and her awesome hubby Andrew..
 

Joy


Using Kaiser papers & flowers, Prima Bling swirl and 3 gorgeous MM chipboard pieces this layout has a very subtle soft vibe to highlight the photo against the busy background paper.
 
Every now and again I think it is important to go back to basics with scrapbooking layouts and do a fairly simple design. I believe it can help to reload our creative imagination and give a nice boost to a lacking mojo.


The beautiful wrought iron gate was quite simple to colour with some black paint. 
 
The title piece "joy" was fun with a few different layers. First was two coats of White Embossing powder. I then realised it still wasn't as white as I wanted it, so I sprayed some Mister Huey's White Mist on it. This definitely helped to get a more solid coverage. I should have inked or painted it first as I wanted it to be stark white. Silly me! It was finished off with a top coat of Dimensional magic.
 
The pretty bicycle piece was first covered with an Opera Pink ink by Versa Color, then sprayed with the Festival pink Glimmermist and top coated with the Dimensional magic. It definitely shines and sparkles!
 
I cut the Say It With Pearls Prima bling piece in half and laid on top of the chipboard either side of the photo. The flowers were the final embellishment.. The single one to the left has been sprayed a little with the Glimmermist also.


Memory Maze products used;
 
Joy 


Friday, April 22, 2016

Swim Champ Canvas

Wow, check out these awesome new Memory Maze chipboard designs!!
 
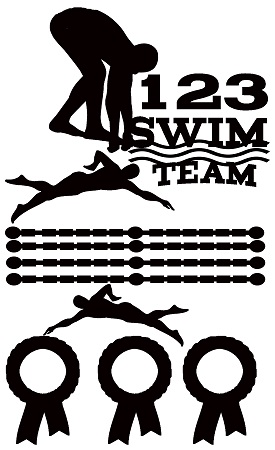
Swim team  110 x 180mm    swimming team carnival, Min buy 3
 
Swim words,  110 x 180 mm  min buy 3
 
Swim, 110 x 180,
 
SWIM stencil 110 x 180mm
 
Today, I get to share with you a project I made using a couple of these pieces.
 
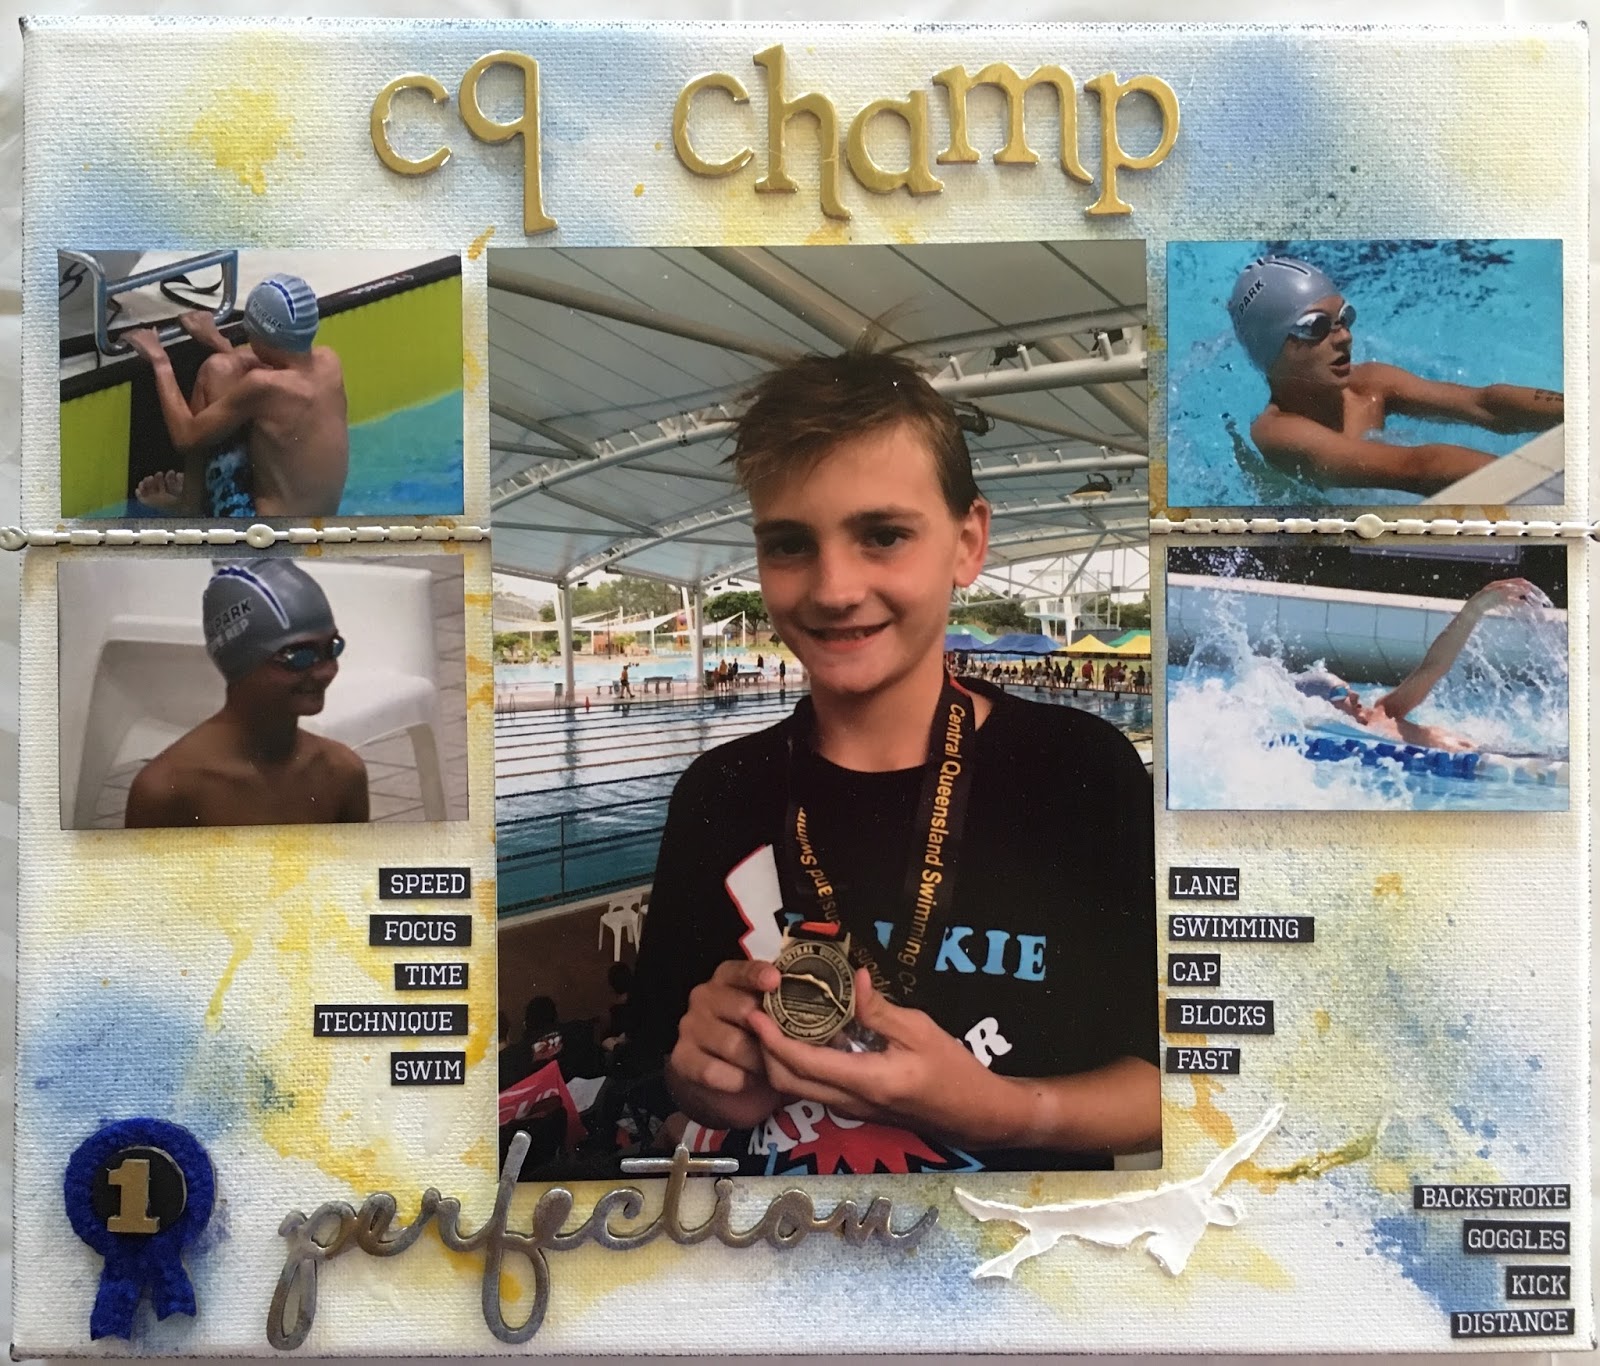
This canvas features my oldest son Lane, whom is the new 2016 CQ Champ for 12yr old Backstroke!
He actually had a terrible swim, but it was still good enough to beat his competition by quite a decent margin..
The photos on the left are from one of the State Championships in Brisbane. The photos on the right are actually from the carnival in Gladstone where he recorded his PB for this event (quite a bit quicker than what he swam in Rockhampton for the CQ Champs).


To start off with, I prepped the base of the canvas with some plain white gesso.. I then sprayed with two Gold mists and a blue.. I went over the top with some Goosebumps spray and a wonderful sprinkling of Distress Clear Rock glitter.. This baby SHINES! :) 
 
For the chipboard pieces, I used the following products and techniques;
*Ribbon - Blue "fluff" to give a Felt feel. Black ink for the inner circle.
*1- Gold ink
*perfection - Dipped in multiple layers of silver Opal embossing powder and then drizzled with Gold embossing powder.
*Lane Ropes - both are covered with multiple layers of the Silver Opal embossing powder
 
Here is the effect of the two different embossing powders on "perfections" and the awesome felt look with the "fluff" on the blue first place ribbon.
 
Although I have used Thickers for the title, you can easily achieve the same effect with Memory Maze Alphas with either some Gold Opal embossing powders / normal Gold embossing powder with Dimensional magic / gold ink with Dimensional magic.
I decided to make the Lane Ropes the silver instead of traditional colours as the Metallic look was really flowing for me..

 
The canvas was finished off with the Memory Maze swimmer stencil. I turned it upside down and on a slight angle to look somewhat like a Backstroker.. Last touches were three clusters of random swimming words. I did ink the edges of the photos very subtly with some black ink. Not very noticeable, but very defining aspect between the colourful canvas base and the colours in the photos.
 
 
I would like to say a very big THANK YOU to Memory Maze and Sally for allowing me to have a little bit of creative input with these swimming designs. I appreciate the opportunity very much, especially with something like this as it is so close to my heart. I love watching my boys swim and get overwhelmed with pride when I see Lane reach yet another goal or achievement!
 
 
Memory Maze products used;
 
Perfection


Swim